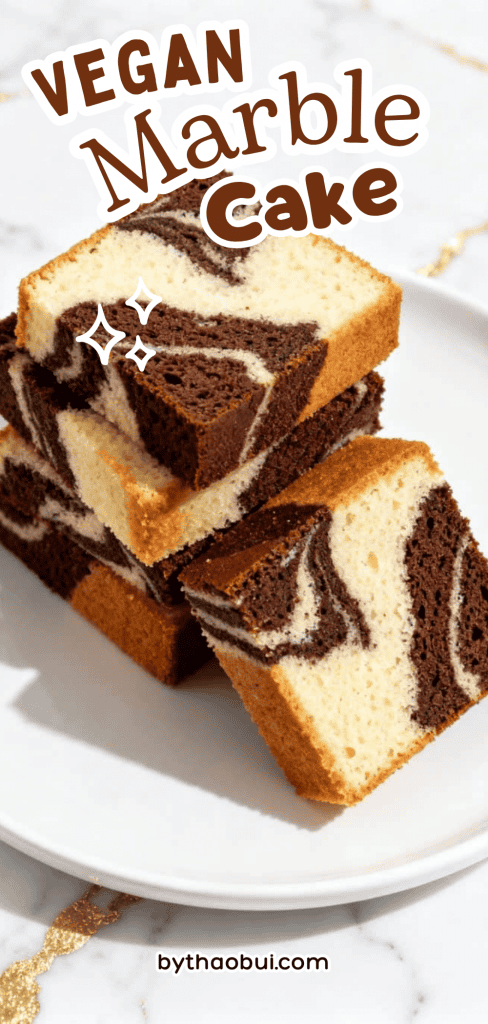
Vegan Marble Cake
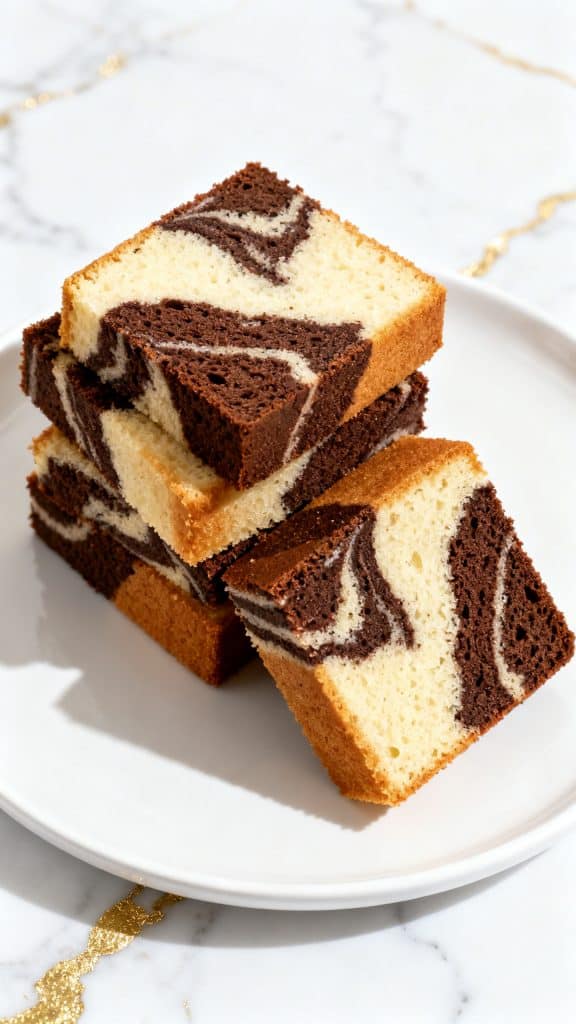
This vegan marble cake is soft, rich, and just the right mix of vanilla and chocolate.
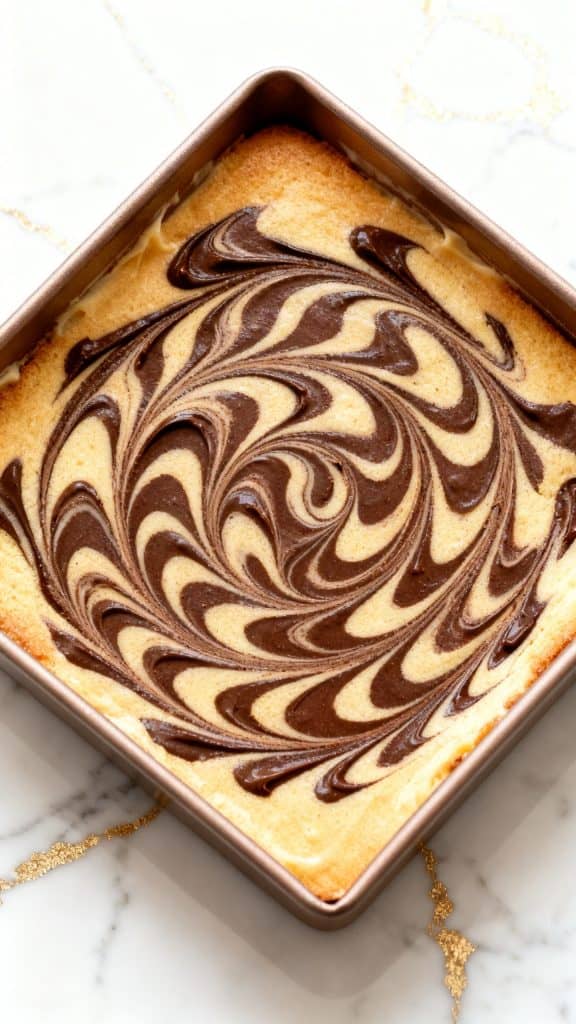
It looks fancy, but it’s actually very simple to make.
I’ve made this on quiet weekends and for small get-togethers, and it always feels like a little treat without being too heavy.
Why I Love This Recipe
I still remember the first time I nailed the swirl. I thought I had overmixed it, but when I cut into the cake, those perfect ribbons of chocolate and vanilla showed up. It felt like a small win in the kitchen.
- It looks impressive but is easy to make
- The texture stays soft for days
- No eggs or dairy, but you’d never guess
- Simple pantry ingredients
- Perfect balance of chocolate and vanilla
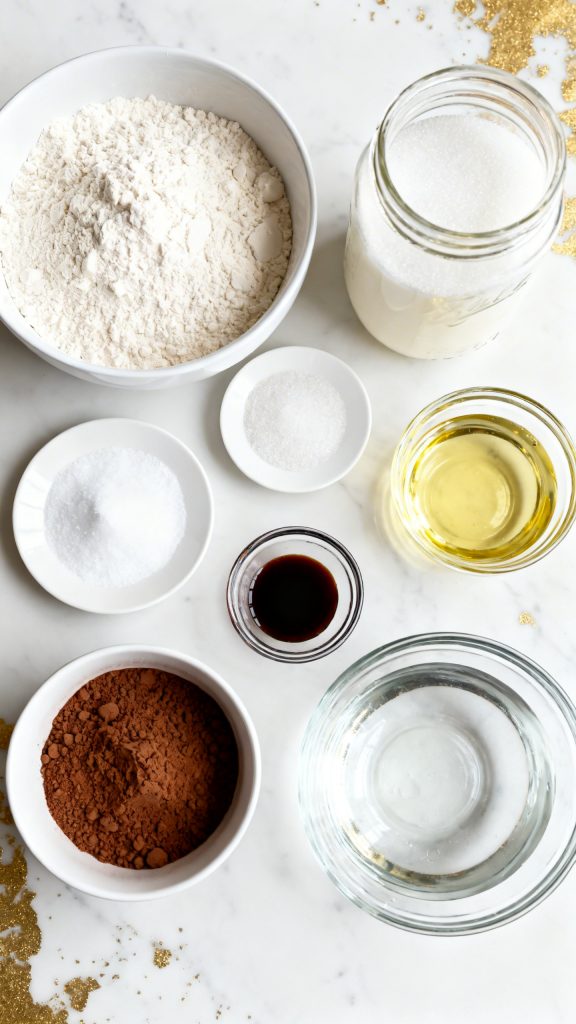
What You’ll Need
- 2 cups all-purpose flour
- 1 cup granulated sugar
- 1 tsp baking soda
- ½ tsp salt
- 1 ½ cups unsweetened almond milk
- ½ cup vegetable oil
- 2 tsp vanilla extract
- 1 tbsp apple cider vinegar
- 3 tbsp cocoa powder
- 3 tbsp hot water
Tools Required
- 9-inch loaf pan or round cake pan
- Mixing bowls (2)
- Whisk
- Spatula
- Measuring cups and spoons
- Toothpick or knife
Pro Tips
- Don’t overmix the batter or the cake can get dense
- Use a toothpick gently for swirling—less is more
- Let the cake cool fully before slicing so it holds shape
- Use good cocoa powder for better flavor
Substitutions and Variations
- Swap almond milk for oat or soy milk
- Use melted coconut oil instead of vegetable oil
- Add a pinch of espresso powder to the chocolate mix for deeper flavor
- Make it gluten-free with a 1:1 flour blend
Make Ahead Tips
You can bake this cake a day ahead. Just wrap it tightly once cool and keep it at room temp.
Instructions
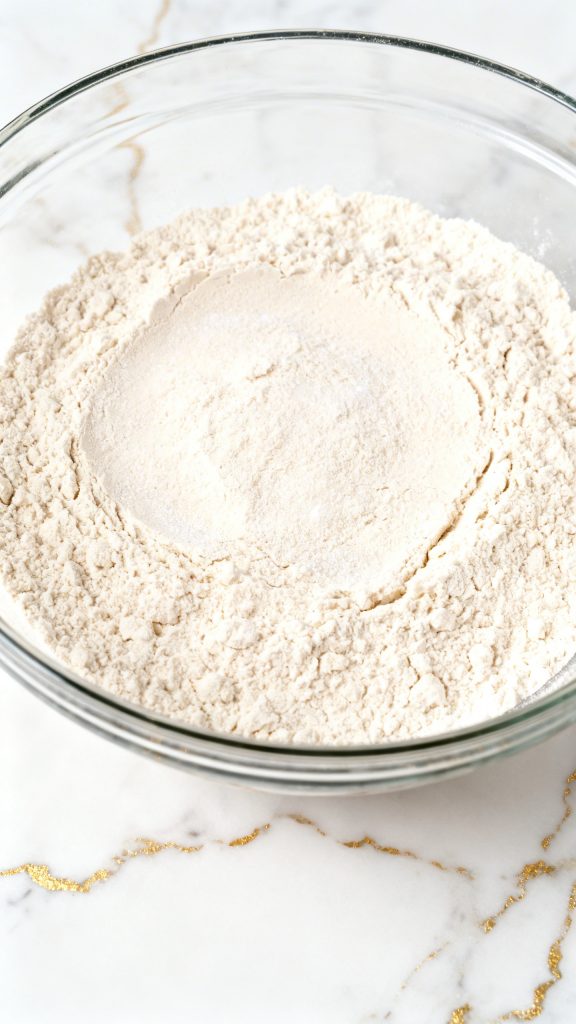
Step 1: Mix Dry Ingredients
In a bowl, whisk together 2 cups all-purpose flour, 1 cup granulated sugar, 1 tsp baking soda, and ½ tsp salt until evenly combined.
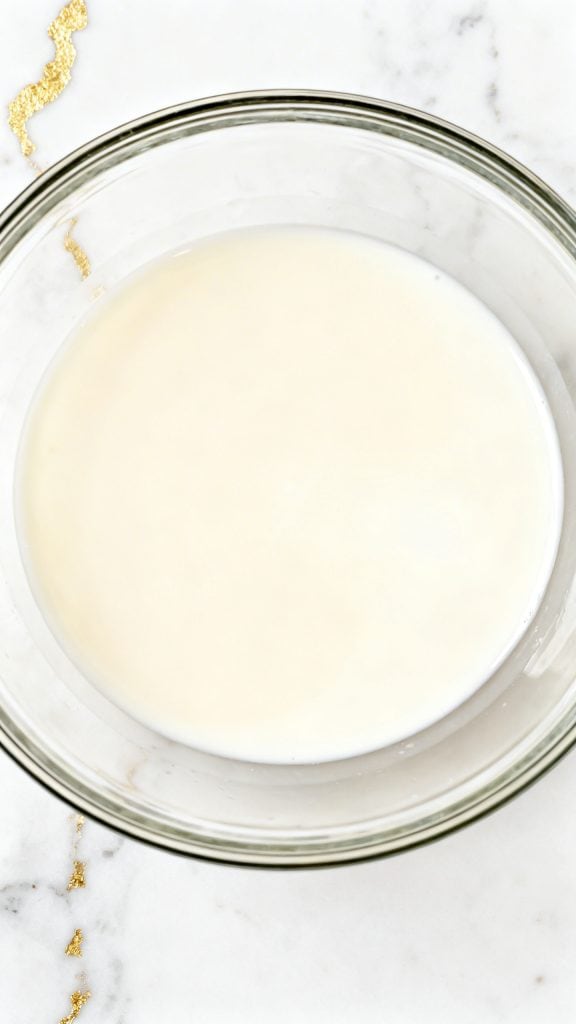
Step 2: Mix Wet Ingredients
In another bowl, combine 1 ½ cups almond milk, ½ cup vegetable oil, 2 tsp vanilla extract, and 1 tbsp apple cider vinegar. Stir well.
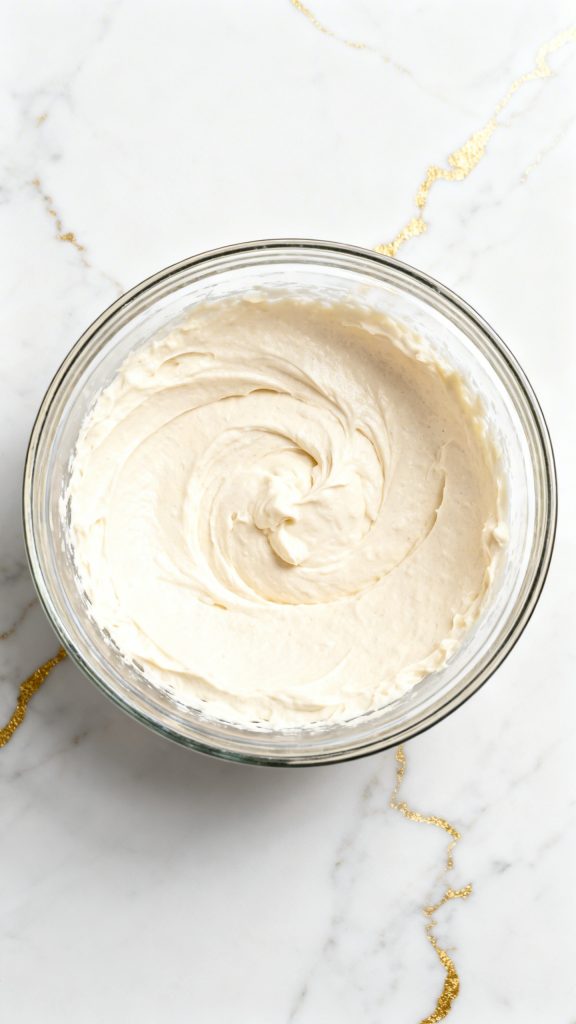
Step 3: Combine Wet and Dry
Pour the wet mixture into the dry ingredients and mix until just combined into a smooth batter.
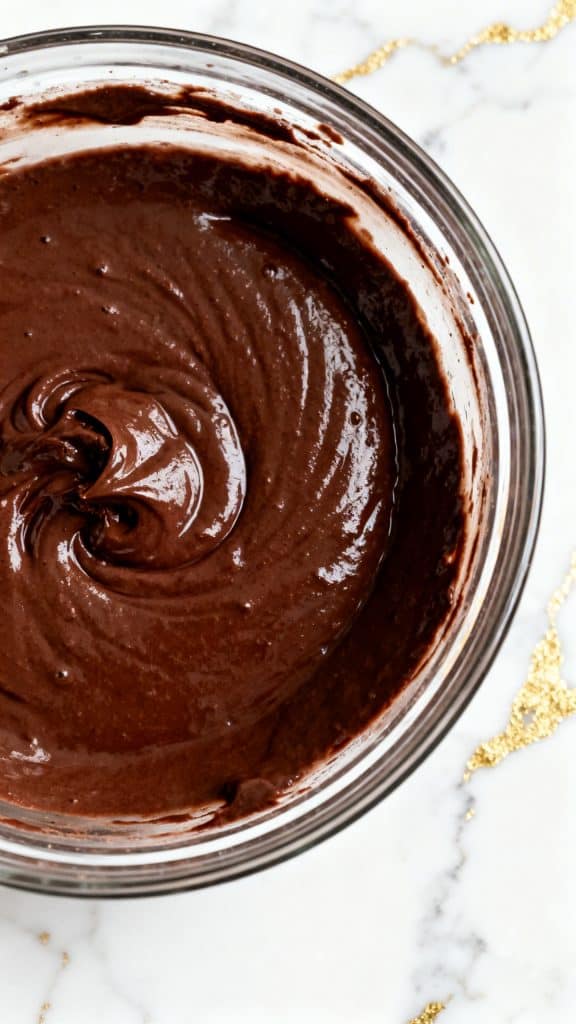
Step 4: Make Chocolate Batter
In a small bowl, mix 3 tbsp cocoa powder with 3 tbsp hot water until smooth. Take 1 cup of the batter and mix it with the cocoa mixture.
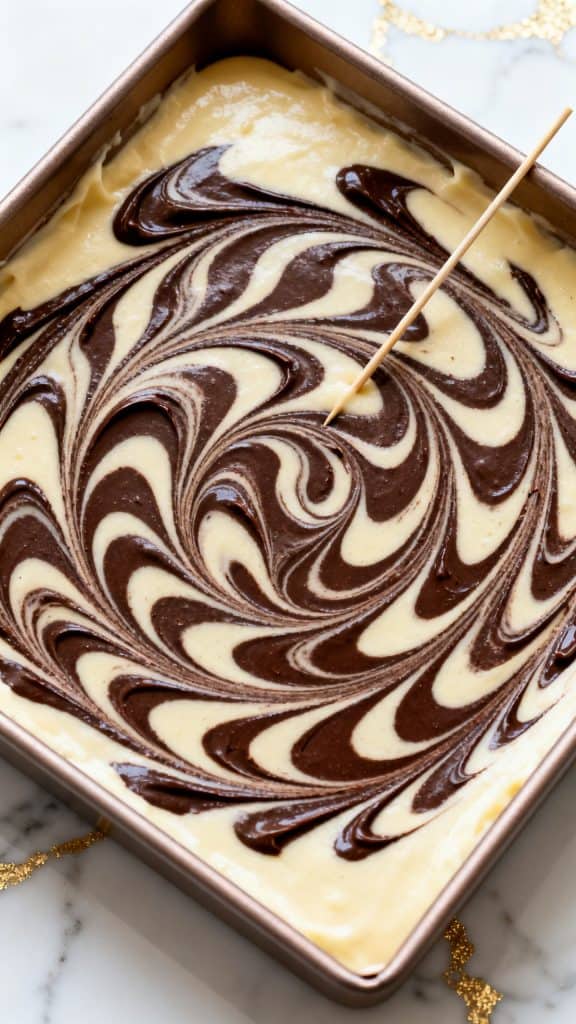
Step 5: Layer and Swirl
Pour vanilla batter into the pan, then spoon chocolate batter on top. Use a toothpick to swirl gently.
Step 6: Bake
Bake at 350°F (175°C) for 40–45 minutes until a toothpick comes out clean.
Servings and Time
- Servings: 8 slices
- Prep time: 15 minutes
- Cook time: 40–45 minutes
Macros Information (per slice approx.)
- Calories: 260
- Carbs: 38g
- Fat: 10g
- Protein: 3g
Why This Recipe Works (Quick Science)
The vinegar reacts with baking soda to help the cake rise without eggs. Oil keeps it moist, and dividing the batter lets you create that classic marble look without changing texture.
Common Mistakes
- Overmixing the batter makes it dense
- Using too much cocoa mixture can dry out the chocolate part
- Over-swirling blends the colors instead of keeping contrast
- Not checking doneness can lead to a gummy center
What to Serve With
- Fresh berries
- A dusting of powdered sugar
- Vegan whipped cream
- Hot coffee or tea
Leftovers and Storage
Store covered at room temperature for up to 2 days or in the fridge for up to 5 days. You can also freeze slices for up to 2 months.
FAQ
Can I make this gluten-free?
Yes, use a 1:1 gluten-free flour blend.
Can I use a different plant milk?
Yes, oat or soy milk works great.
Why is my cake dense?
Most likely overmixed or too much cocoa mixture.
Can I make cupcakes?
Yes, bake for about 18–22 minutes.
Final Thoughts
This vegan marble cake is one of those recipes that feels special without being complicated. It’s simple, reliable, and always looks beautiful when sliced. Give it a try, and when you do, come back and share how your swirl turned out or ask anything you’re unsure about.