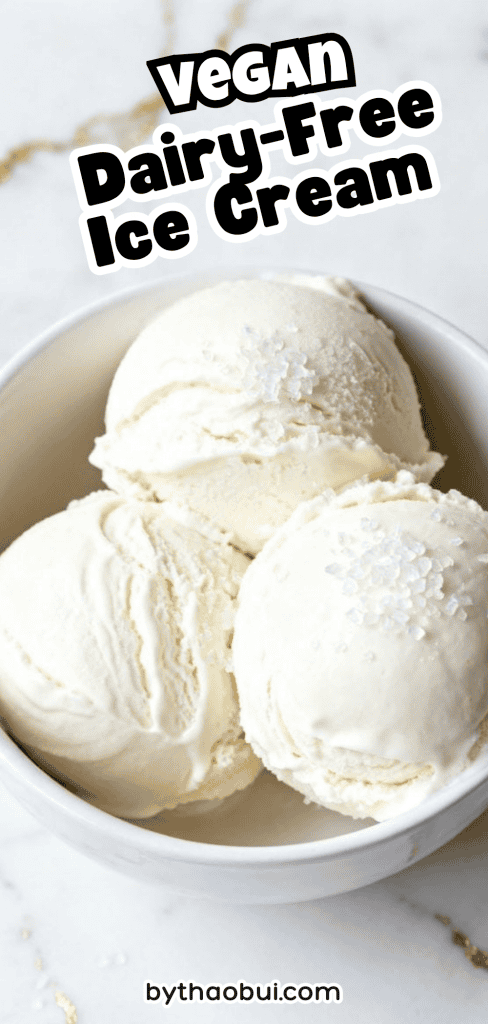
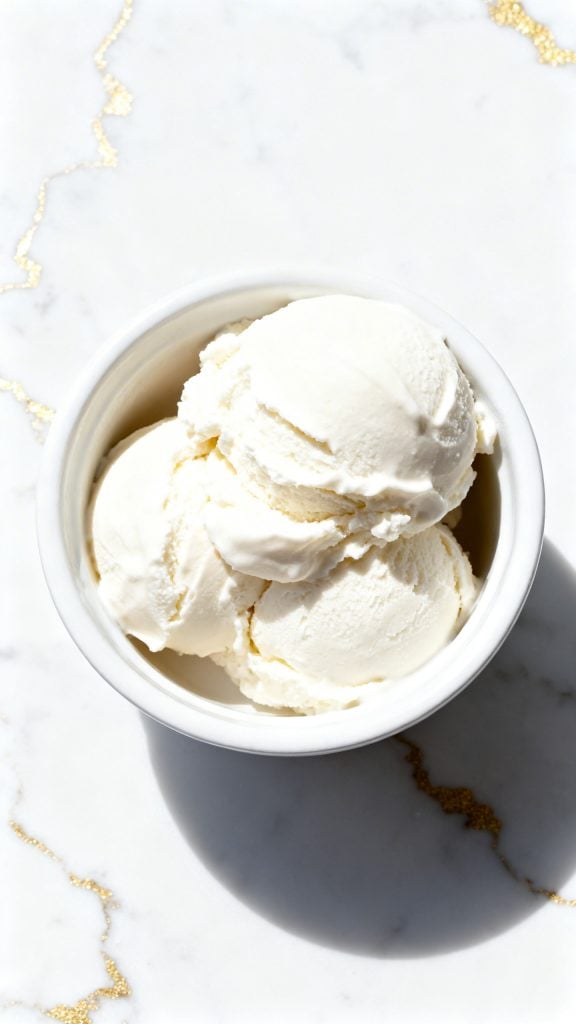
Vegan Dairy-Free Ice Cream
This vegan dairy-free ice cream is creamy, scoopable, and really easy to make at home.
It has a smooth vanilla flavor and a rich texture without any dairy at all.
I love this recipe because it feels special, but the ingredient list is simple and the steps are easy to follow.
Servings: 6
Total Time: 15 minutes prep + 4 to 6 hours freeze
Why I Love This Recipe
The first time I made dairy-free ice cream at home, I expected it to turn icy or hard as a rock. Instead, this one came out smooth, rich, and honestly better than I hoped. It felt like the kind of recipe I’d come back to again and again because it gives that classic ice cream feel without needing eggs or dairy. It is one of those simple wins that makes homemade dessert feel easy instead of fussy.
Here’s why I keep making it:
- It uses easy-to-find ingredients.
- It tastes rich and creamy without heavy cream.
- The vanilla flavor goes with almost anything.
- You can dress it up with fruit, cookies, chocolate, or nuts.
- It feels homemade in the best way, but it is still very simple.
Why This Recipe Works (Quick Science)
Full-fat coconut milk gives this ice cream its rich texture because it has enough fat to mimic the creamy feel of dairy. The sugar helps lower the freezing point, which keeps the ice cream from turning rock solid. Cornstarch thickens the base a little, so it holds onto water better and freezes smoother. Vanilla adds flavor, and a small pinch of salt helps everything taste fuller and less flat.
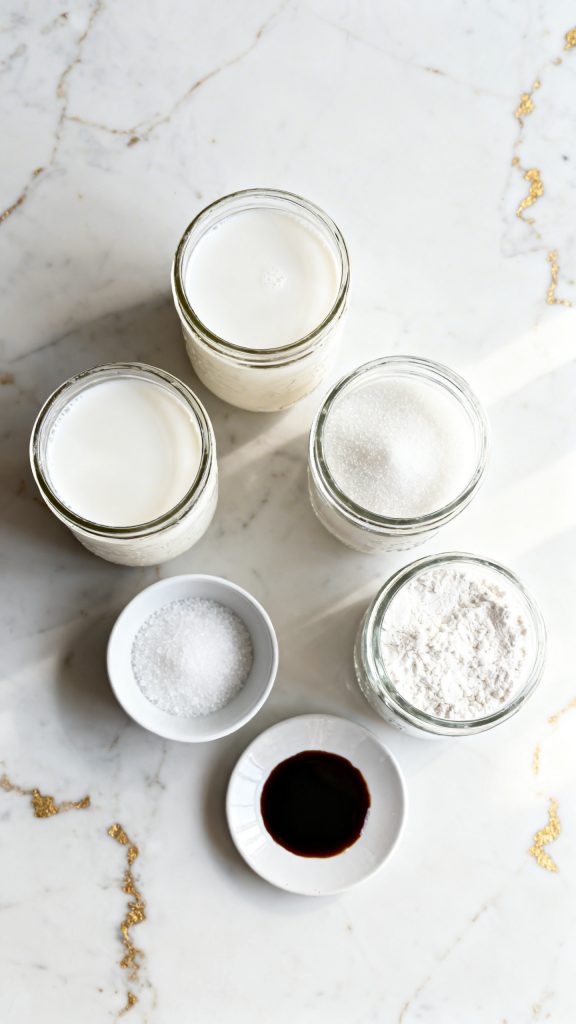
What You’ll Need
- 2 cans full-fat coconut milk, 13.5 ounces each
- 3/4 cup granulated sugar
- 2 tablespoons cornstarch
- 1/4 teaspoon fine sea salt
- 2 teaspoons vanilla extract
Tools You’ll Need
- Medium mixing bowl
- Whisk
- Medium saucepan
- Rubber spatula
- Fine-mesh strainer
- Loaf pan or freezer-safe container
- Plastic wrap or tight-fitting lid
- Ice cream scoop
Pro Tips
- Chill the mixture before freezing if you want an even creamier texture. Cold base freezes better than warm base.
- Stir the ice cream once or twice during the first 2 hours of freezing if you want to break up ice crystals.
- Let it sit at room temperature for 10 to 15 minutes before scooping. Dairy-free ice cream is usually firmer straight from the freezer.
- Use full-fat coconut milk, not light coconut milk. That extra fat really matters here.
- Add mix-ins only after the base is cool so they do not sink or melt.
Substitutions and Variations
- Use maple syrup instead of granulated sugar for a deeper flavor, though the texture may be a little softer.
- Swap vanilla extract for almond extract for a different flavor. Use less, about 1/2 teaspoon, because it is strong.
- Stir in 1/3 cup mini dairy-free chocolate chips after cooling for a vanilla chip version.
- Add 2 tablespoons cocoa powder with the sugar and cornstarch for a chocolate base.
- Fold in crushed sandwich cookies, toasted coconut, or chopped strawberries once the base is chilled.
Make-Ahead Tips
You can make the ice cream base 1 day ahead and keep it covered in the fridge before freezing. This is actually helpful because a fully chilled base usually freezes with a smoother texture.
Vegan Dairy-Free Ice Cream Recipe
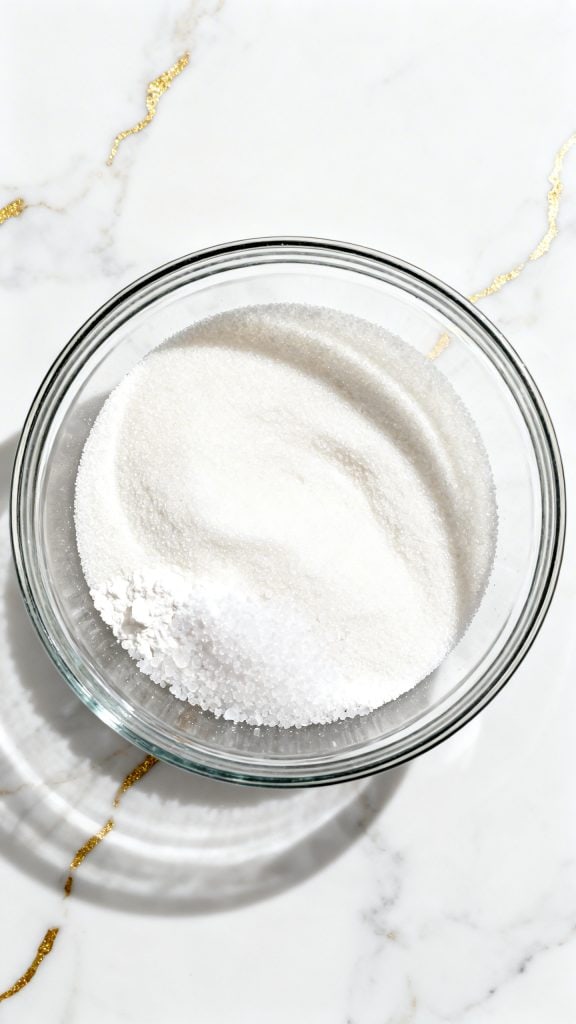
Step 1: Mix the dry ingredients
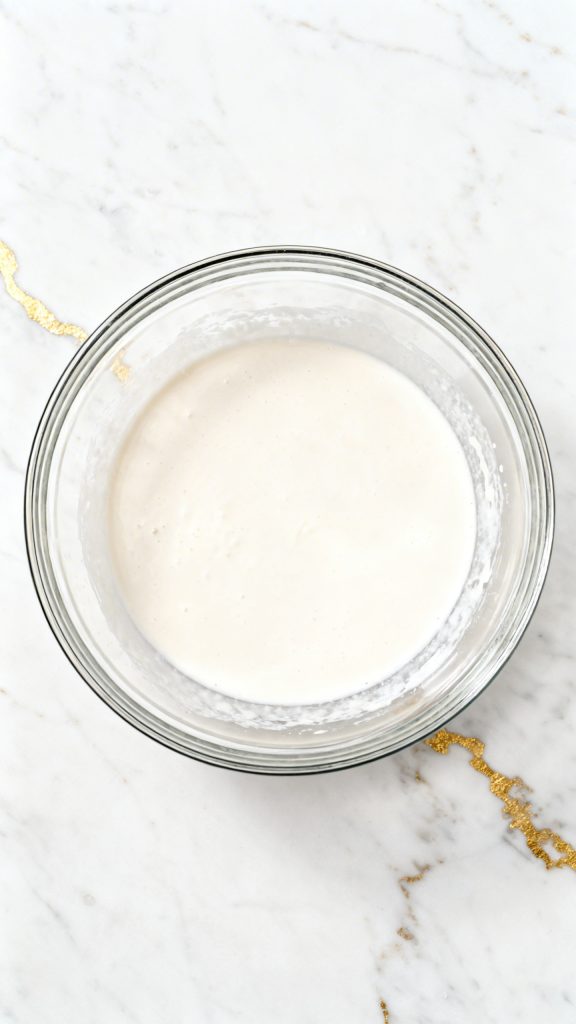
In a medium mixing bowl, whisk together 3/4 cup granulated sugar, 2 tablespoons cornstarch, and 1/4 teaspoon fine sea salt until there are no lumps. This helps the cornstarch blend in evenly later, so your ice cream base stays smooth instead of clumpy.
Step 2: Add a little coconut milk to make a slurry
Pour about 1/2 cup of the full-fat coconut milk from the 2 cans total into the bowl with the dry ingredients. Whisk until it turns into a smooth, pale slurry with no dry pockets left. This step matters because cornstarch mixes better when you start with a small amount of liquid.
Step 3: Heat the coconut milk
Pour the remaining full-fat coconut milk from both cans into a medium saucepan. Set the pan over medium heat and warm it until it is hot but not boiling. You want it steaming lightly around the edges. Stir now and then so the coconut milk heats evenly.
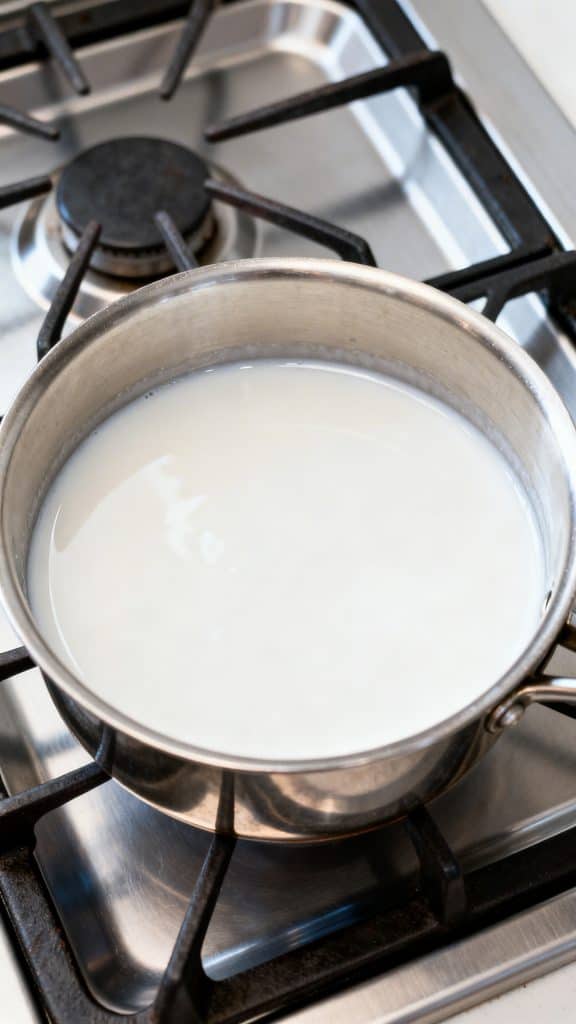
Step 4: Thicken the base
Whisk the coconut milk slurry again, then slowly pour it into the hot coconut milk in the saucepan. Cook for 3 to 5 minutes over medium heat, whisking often, until the mixture thickens enough to coat the back of a spoon. Remove the pan from the heat, then stir in 2 teaspoons vanilla extract. The base should look silky and a little thicker than regular milk.

Step 5: Strain and cool
Pour the warm ice cream base through a fine-mesh strainer into a clean bowl or directly into your freezer-safe container. This catches any tiny lumps and gives you a smoother final texture. Let it cool for about 20 to 30 minutes, then cover and chill in the fridge for at least 2 hours, or until cold.
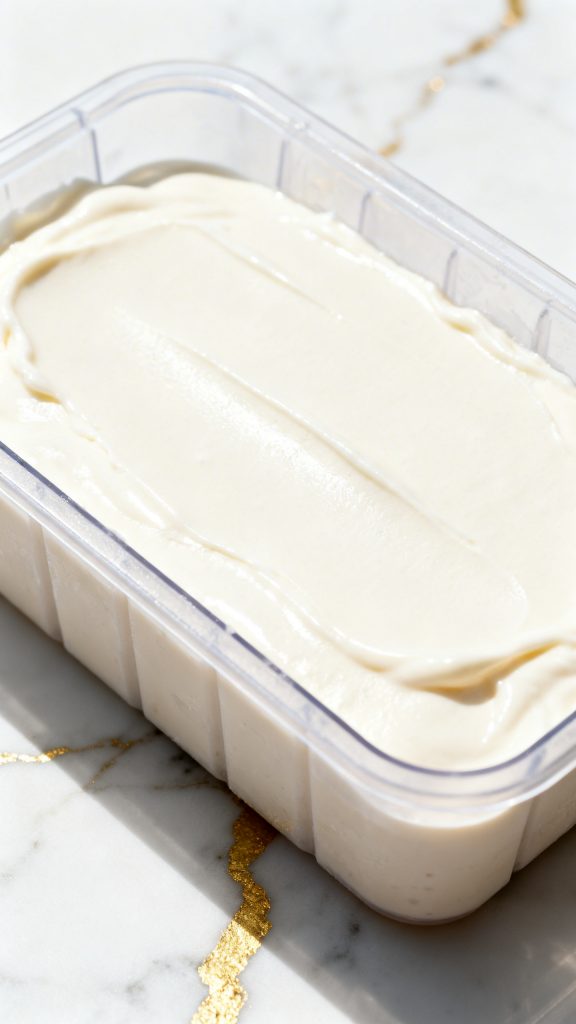
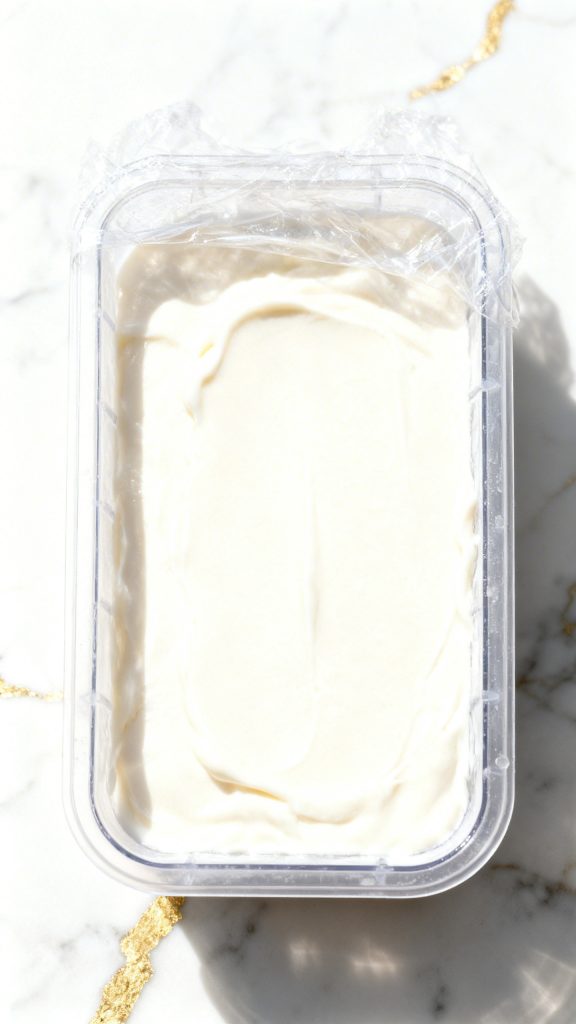
Step 6: Freeze the ice cream
Pour the chilled base into a loaf pan or freezer-safe container if it is not already there. Cover tightly with plastic wrap or a lid. Freeze for 4 to 6 hours, stirring once every hour for the first 2 hours if you want a softer, creamier texture. When it is frozen but scoopable, it is ready.
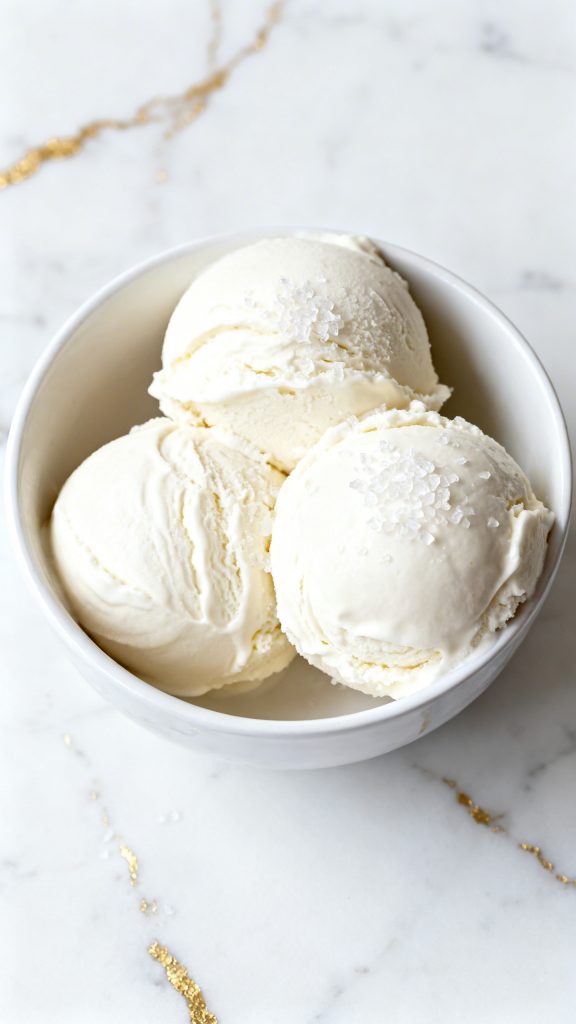
Step 7: Scoop and serve
Let the frozen ice cream sit at room temperature for 10 to 15 minutes so it softens slightly. Scoop into bowls and serve right away. The texture should be creamy and rich, with a clean vanilla flavor.
Macros Information
These are estimated for 1 serving, based on 6 servings total:
- Calories: about 240
- Fat: about 18g
- Carbohydrates: about 19g
- Sugar: about 15g
- Fiber: about 1g
- Protein: about 2g
Common Mistakes
- Using light coconut milk. This makes the ice cream less creamy and more icy.
- Boiling the base too hard. Gentle heat works better and helps avoid a grainy texture.
- Skipping the chill time. A warm base freezes poorly.
- Not whisking the cornstarch well. Any lumps you leave now may stay in the finished ice cream.
- Scooping straight from the freezer. Let it soften first for the best texture.
What to Serve With
This ice cream is great with:
- Fresh berries
- Warm brownies
- Dairy-free chocolate sauce
- Crushed cookies
- Toasted coconut
- Sliced bananas
- Apple crisp or berry crumble
Leftovers and Storage
Store the ice cream tightly covered in the freezer for up to 2 weeks. Press plastic wrap directly against the surface before covering to help prevent ice crystals. For the best texture, let it sit out for 10 to 15 minutes before scooping after it has been fully frozen.
FAQ
Can I make this without cornstarch?
You can, but the texture will usually be icier. Cornstarch helps thicken the base and keeps it creamier.
Does it taste like coconut?
A little, yes. The vanilla softens it a lot, but you may still notice a mild coconut flavor.
Can I use an ice cream maker?
Yes. Chill the base fully first, then churn it according to your machine’s directions. That usually gives the smoothest result.
Can I add mix-ins?
Yes. Stir in things like mini dairy-free chocolate chips, crushed cookies, or chopped fruit after the base is chilled and before the final freeze.
Why is my ice cream too hard?
That is normal for many dairy-free ice creams. Let it rest at room temperature for 10 to 15 minutes before scooping.
Final Thoughts
This is the kind of recipe that proves dairy-free dessert can still feel rich, creamy, and really satisfying. It is simple, flexible, and easy to make your own. Try it once, then play around with flavors and mix-ins. When you make it, come back and share how it turned out and any questions you have.