
Vegan Dairy-Free Chickpea Ice Cream
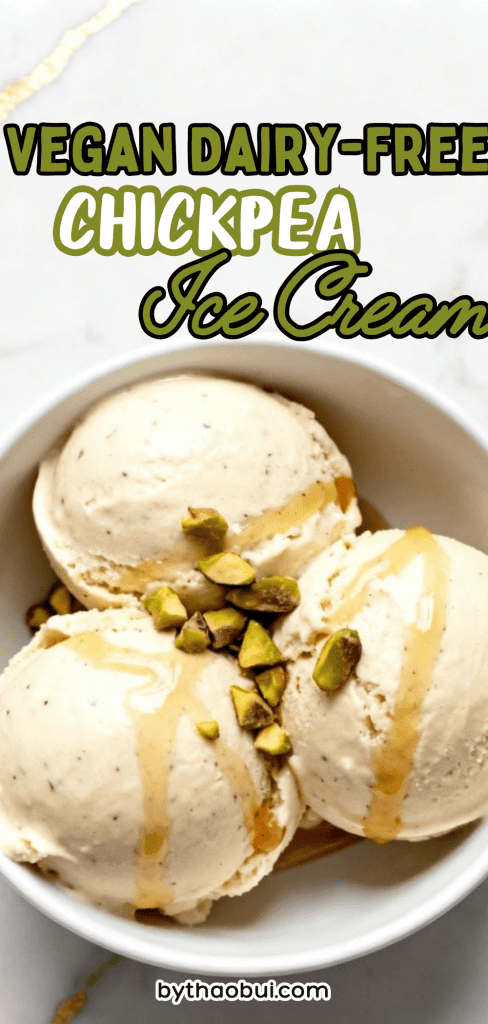
This vegan dairy-free chickpea ice cream is smooth, creamy, and way more delicious than it sounds.
The chickpeas make it extra creamy without giving it a strong bean taste, and the coconut milk brings that rich ice-cream texture.
It is easy to make, uses simple ingredients, and feels like a fun homemade treat you can be proud of.
Servings: 6
Prep Time: 15 minutes
Freeze Time: 4 to 6 hours
Cook Time: 0 minutes
Total Time: 4 hours 15 minutes to 6 hours 15 minutes
Why I Love This Recipe
The first time I made chickpea ice cream, I honestly was not sure what to expect. I wanted something dairy-free that still felt rich and scoopable, not icy or thin. I had a can of chickpeas in the pantry, a couple cans of coconut milk, and just enough curiosity to give it a try. I blended everything up, froze it, and hoped for the best. What came out surprised me in the best way. It was creamy, mellow, lightly sweet, and had that homemade comfort that makes you go back for one more scoop.
Now I love making this when I want a dessert that feels simple but a little different. It is one of those recipes that turns basic pantry ingredients into something that feels special.
- It has a creamy texture without dairy.
- The chickpeas help make it thick and smooth.
- The flavor is soft and sweet, so it works with lots of mix-ins.
- It is made with easy ingredients you may already have.
- It feels homemade and a little unexpected in the best way.
What You’ll Need
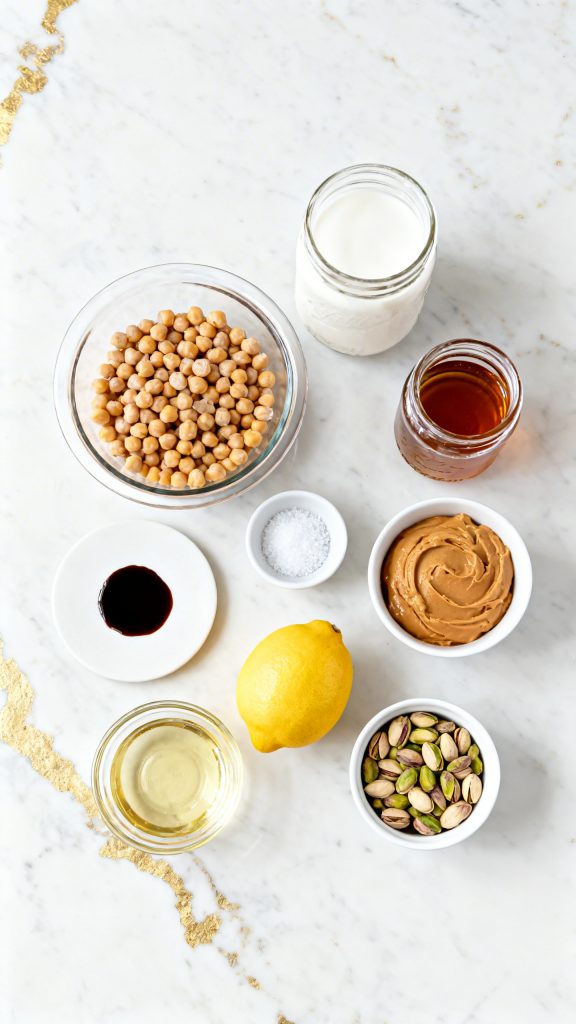
- 1 can (15 ounces) chickpeas, drained, rinsed, and patted dry very well
- 2 cans (13.5 ounces each) full-fat coconut milk, well shaken
- 1/2 cup pure maple syrup
- 1/4 cup creamy almond butter
- 2 teaspoons vanilla extract
- 1/4 teaspoon fine sea salt
- 2 tablespoons refined coconut oil, melted
- 1 tablespoon lemon juice
- 2 tablespoons toasted chopped pistachios, for topping, optional
Why This Recipe Works (Quick Science)
This recipe works because fat, fiber, and sugar all help fight iciness. The full-fat coconut milk brings a lot of fat, which makes the ice cream feel rich and smooth. The chickpeas add body because they have starch and fiber, and that helps the mixture stay creamy instead of freezing into a hard ice block. Maple syrup lowers the freezing point a little, which helps keep the texture softer. Almond butter adds extra fat and helps everything blend together. The melted coconut oil also helps the final texture feel fuller and creamier once frozen.
Pro Tips
- Dry the chickpeas really well after rinsing. Extra water can make the ice cream icy.
- Blend the base longer than you think you need to. A very smooth base gives you the best texture.
- Chill the blended mixture for 30 minutes before freezing if you have time. It helps the flavors come together.
- Let the ice cream sit at room temperature for 10 to 15 minutes before scooping. That makes it much easier to serve.
- Freeze it in a shallow container. It firms up faster and scoops better.
Tools You’ll Need
- Blender
- Can opener
- Measuring cups
- Measuring spoons
- Silicone spatula
- Loaf pan or shallow freezer-safe container
- Parchment paper, optional
- Ice cream scoop
Substitutions and Variations
- Swap almond butter with cashew butter for an even more neutral flavor.
- Use agave instead of maple syrup.
- Add 2 tablespoons cocoa powder for a chocolate version.
- Blend in 1/2 teaspoon cinnamon for a warm spice twist.
- Stir in mini dairy-free chocolate chips after blending and before freezing.
- Top with toasted coconut flakes, chopped almonds, or fresh berries.
Make-Ahead Tips
You can make the ice cream base 1 day ahead and keep it covered in the fridge before freezing. This is helpful if you want to break the recipe into two easy parts. You can also scoop the finished ice cream into individual portions and freeze them, so serving is easier later.
Macros Information
These are estimated for 1 of 6 servings, without optional pistachio topping.
- Calories: about 255
- Protein: about 5 grams
- Carbs: about 20 grams
- Fat: about 19 grams
- Fiber: about 4 grams
- Sugar: about 11 grams
Recipe and Instructions
Step 1: Prep the chickpeas
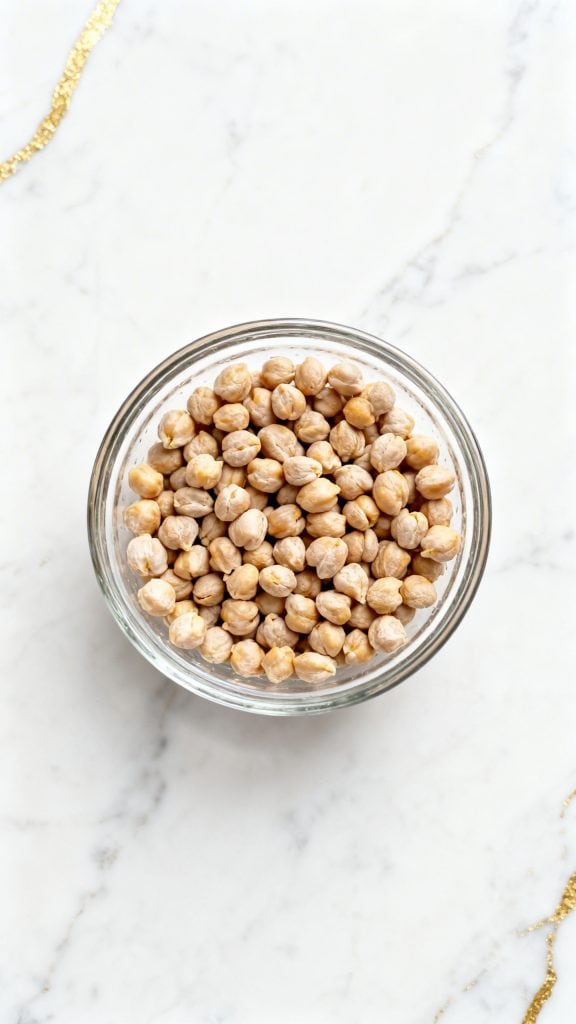
Drain 1 can (15 ounces) chickpeas, rinse them well, and pat them very dry with a clean towel or paper towels. This step matters because extra water can make the ice cream icy. Once they are dry, set them aside.
Step 2: Blend the ice cream base
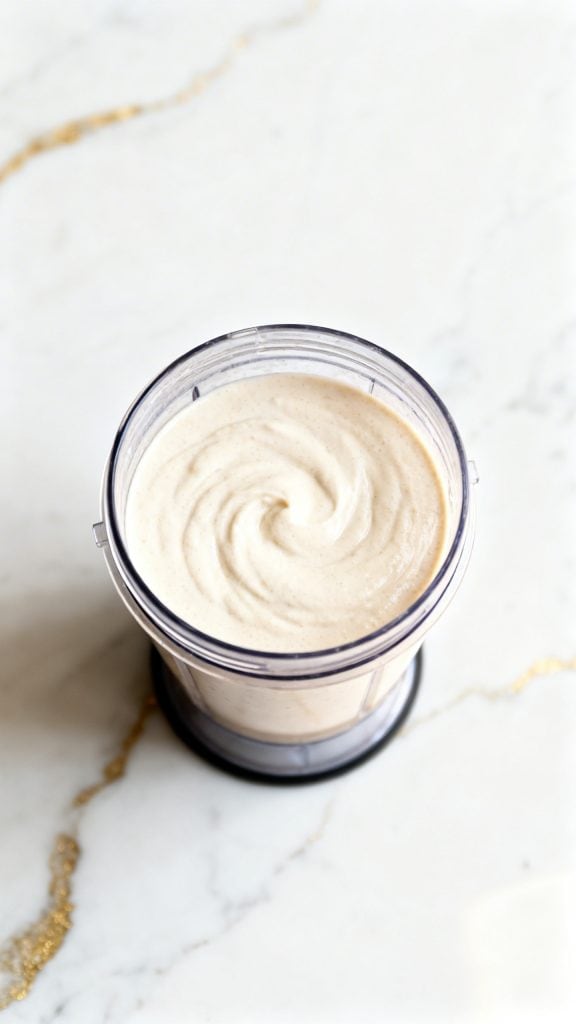
Add the dried chickpeas, 2 cans (13.5 ounces each) full-fat coconut milk, 1/2 cup pure maple syrup, 1/4 cup creamy almond butter, 2 teaspoons vanilla extract, 1/4 teaspoon fine sea salt, 2 tablespoons melted refined coconut oil, and 1 tablespoon lemon juice to a blender. Blend for 1 to 2 full minutes, stopping to scrape down the sides as needed, until the mixture looks completely smooth and creamy. You should not see bits of chickpea left in the mixture.
Step 3: Pour and freeze
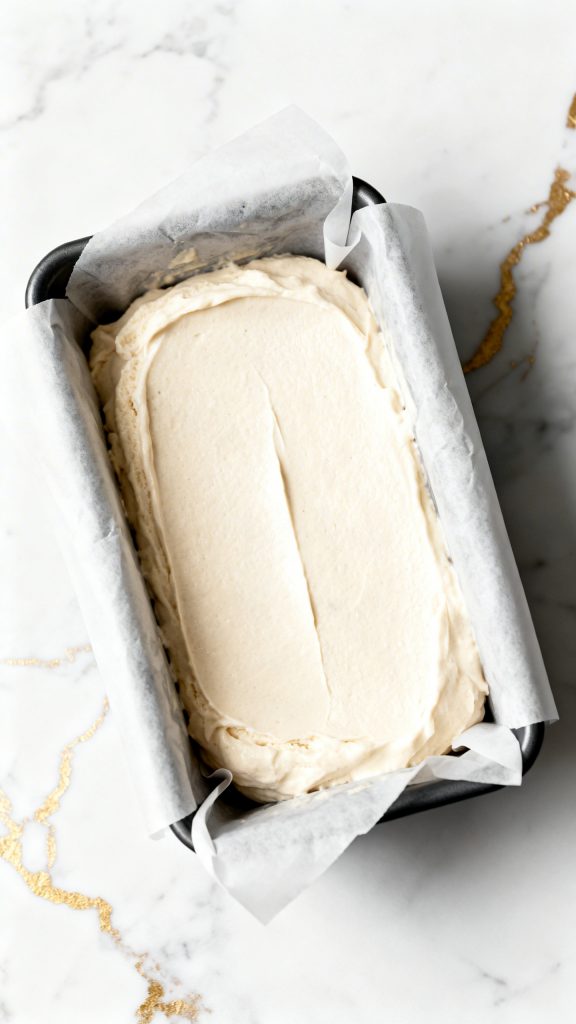
Pour the smooth ice cream base into a parchment-lined loaf pan or shallow freezer-safe container. Spread it evenly with a silicone spatula. Cover tightly and freeze for 4 to 6 hours, or until firm. For the smoothest texture, stir the mixture once after 1 1/2 to 2 hours if you remember. That quick stir helps break up ice crystals.
Step 4: Soften and scoop
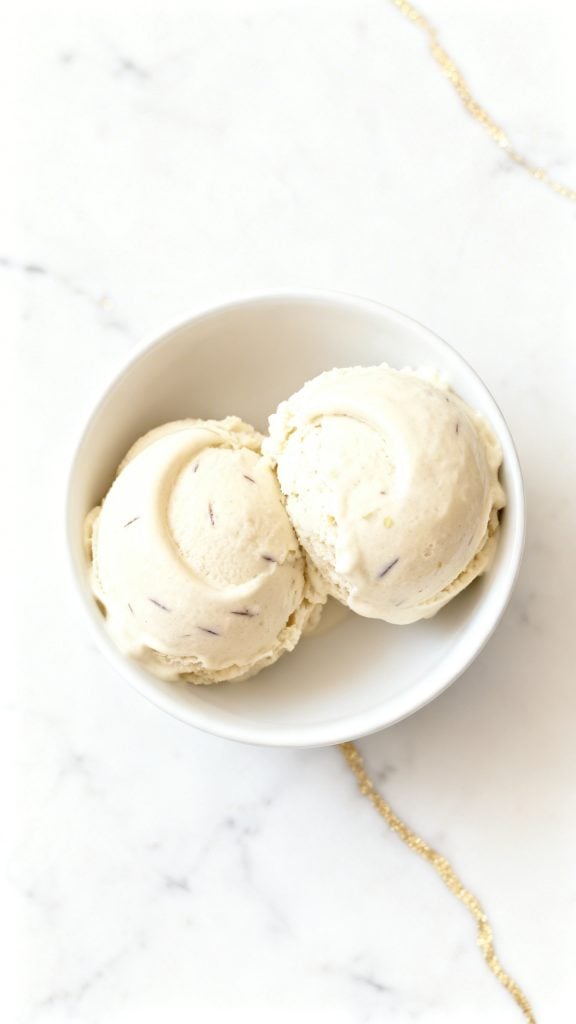
Take the frozen ice cream out of the freezer and let it sit at room temperature for 10 to 15 minutes. Scoop it into bowls once it softens slightly. This helps you get smooth, rounded scoops instead of hard chunks.
Step 5: Finish and serve
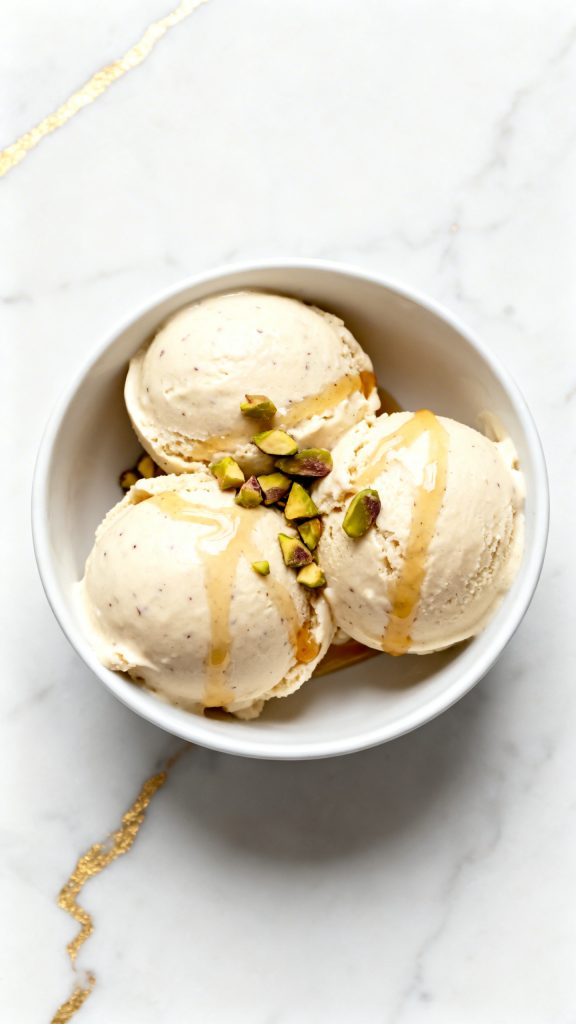
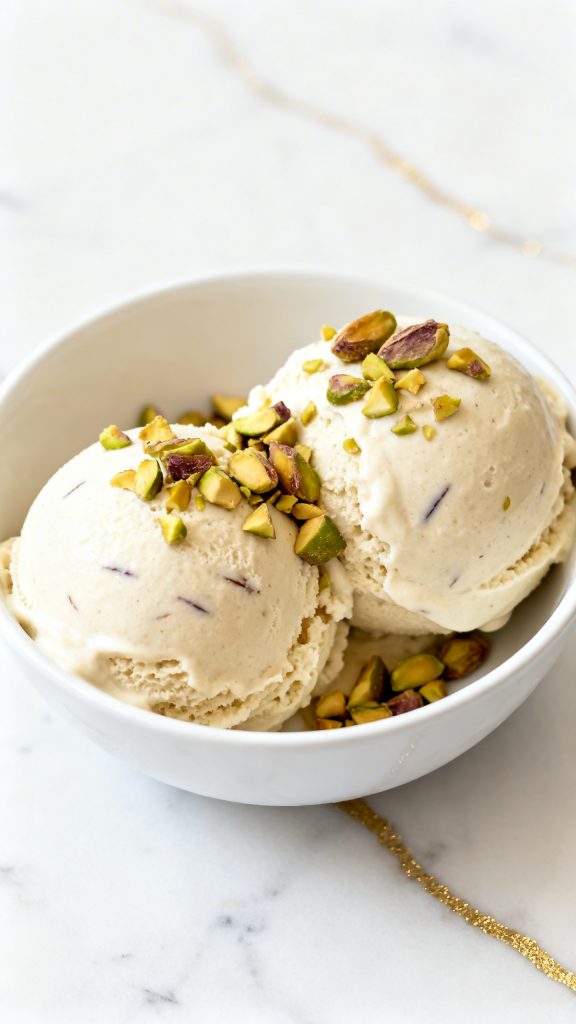
Scoop the ice cream into 6 small bowls or serve 2 to 3 scoops in a round serving bowl. Top with 2 tablespoons toasted chopped pistachios if using. Serve right away.
Common Mistakes
One common mistake is not drying the chickpeas enough. Wet chickpeas can water down the base and make it freeze harder. Another mistake is not blending the mixture long enough. If the base is not fully smooth, the texture will feel grainy. Using light coconut milk instead of full-fat coconut milk is another big one because the ice cream will not turn out as rich or creamy. Freezing it in a deep container can also make scooping harder, so a shallow pan works better. And finally, trying to scoop it right out of the freezer can make it seem too hard, even when the texture is actually fine after a short rest on the counter.
What to Serve With
This ice cream is great on its own, but it is also really good with fresh strawberries, raspberries, or sliced bananas. A few crushed cookies on top add crunch. You can drizzle on a little extra maple syrup or dairy-free chocolate sauce for a more dessert-like finish. It is also great next to a warm brownie or a slice of simple cake.
Leftovers and Storage
Store the ice cream in a tightly covered freezer-safe container for up to 2 weeks. Press a piece of parchment or wax paper right on the surface before covering to help prevent ice crystals. Let it sit out for 10 to 15 minutes before scooping. For the best texture, eat it within the first week.
FAQ
Does this taste like chickpeas?
Not strongly. The chickpeas mostly add creaminess and body. The coconut milk, maple syrup, almond butter, and vanilla do most of the flavor work.
Can I make this without coconut milk?
You can try another rich dairy-free base, but full-fat coconut milk gives the best creamy texture here. Other milks may freeze icier.
Do I need an ice cream maker?
No. This is a no-churn style recipe, so a blender and freezer are enough.
Can I use a food processor instead of a blender?
Yes, but blend it as smoothly as possible. A high-speed blender usually gives the creamiest texture.
Can I make it sweeter?
Yes. Add 1 to 2 more tablespoons of maple syrup if you like a sweeter dessert.
Final Thoughts
This vegan dairy-free chickpea ice cream is one of those recipes that proves simple ingredients can do a lot. It is creamy, cozy, easy to make, and a fun twist on homemade ice cream. Give it a try, make it your own with toppings or mix-ins, and come back and share how it turned out for you. I would love to hear your questions and what version you made.
