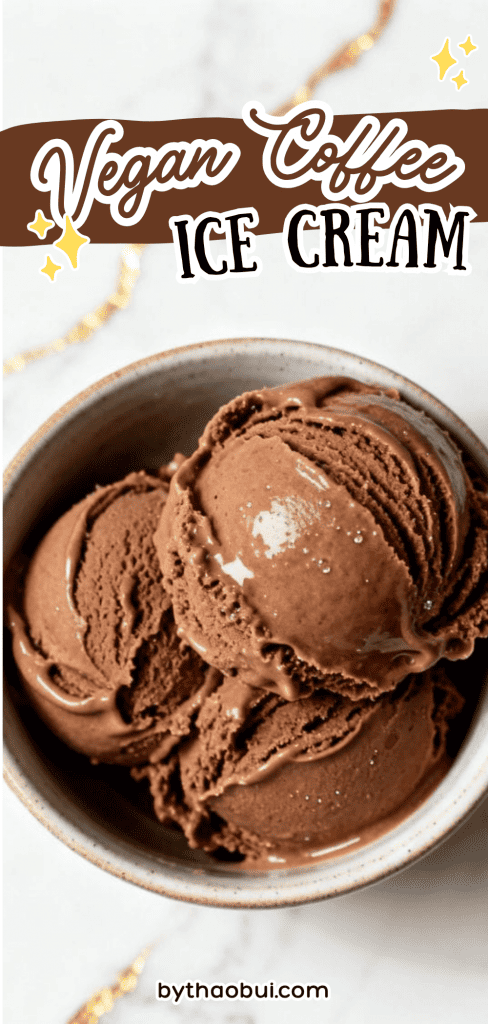
Vegan Coffee Ice Cream
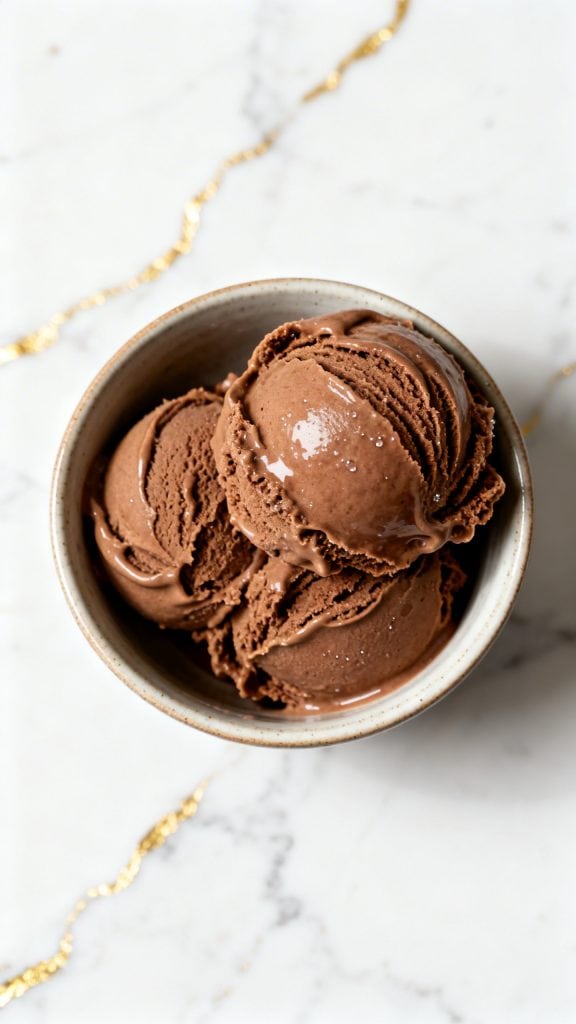
This one is smooth, creamy, and packed with real coffee flavor.
No eggs, no dairy, no fuss.
I’ve made this on slow weekends and hot afternoons, and it always hits the spot.
If you like your coffee bold and your desserts simple, you’re going to love this.
Why I Love This Recipe
I started making this when I wanted a dairy-free dessert that didn’t taste “alternative.” The first batch surprised me. It was just as creamy as regular ice cream, but lighter and cleaner.
- It tastes like a frozen latte
- No complicated steps
- Easy to make ahead
- Uses simple pantry ingredients
- Great for warm days or after dinner
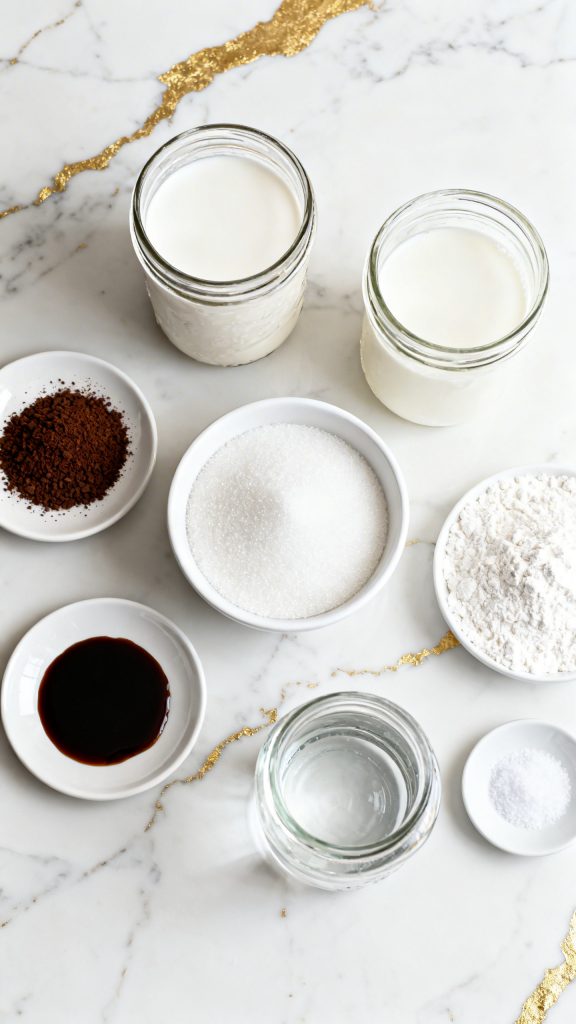
What You’ll Need
- 1 ½ cups full-fat coconut milk (well shaken)
- 1 cup unsweetened almond milk
- ¾ cup granulated sugar
- 2 tablespoons instant coffee granules
- 1 tablespoon vanilla extract
- 1 tablespoon cornstarch
- 2 tablespoons water (for cornstarch slurry)
- Pinch of salt
Tools You’ll Need
- Medium saucepan
- Whisk
- Mixing bowl
- Measuring cups and spoons
- Ice cream maker (or freezer-safe container if no machine)
- Spatula
Pro Tips
- Shake your coconut milk really well before measuring so it’s smooth
- Dissolve coffee fully so there are no gritty bits
- Chill the base before churning for better texture
- Don’t skip the cornstarch—it helps make it creamy without dairy
- Taste before freezing and adjust sweetness if needed
Substitutions and Variations
- Use oat milk instead of almond milk for a slightly creamier texture
- Swap sugar with maple syrup (use ½ cup and reduce almond milk slightly)
- Add chocolate chips for a mocha twist
- Use decaf coffee if you want it caffeine-free
Make Ahead Tips
You can make the base up to 2 days ahead. Keep it covered in the fridge. Churn when ready.
Servings and Time
Makes about 4 servings
Prep time: 10 minutes
Cook time: 10 minutes
Chill + churn time: 3–4 hours total
Instructions
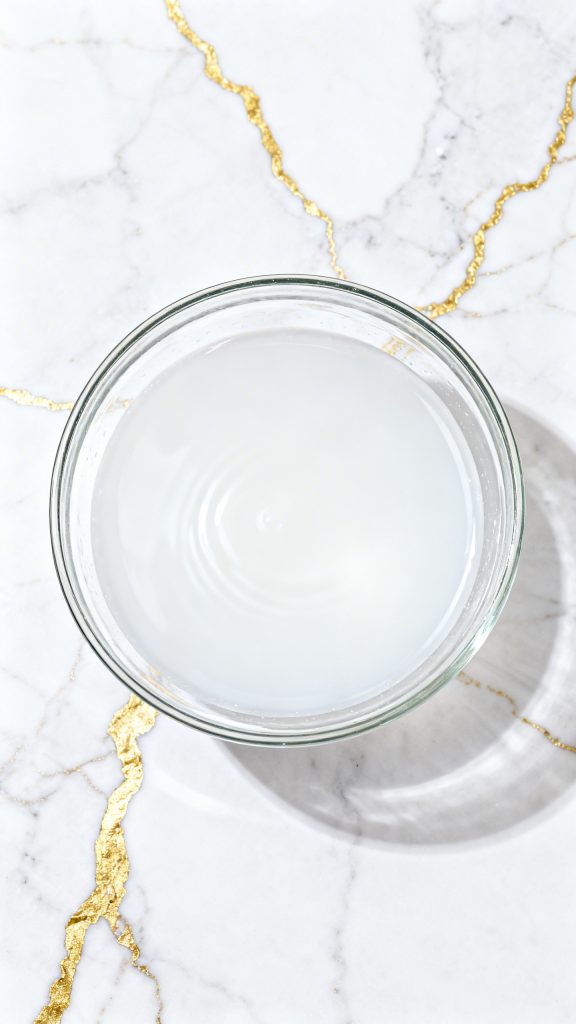
Step 1: Mix the Base
In a saucepan, add 1 ½ cups coconut milk, 1 cup almond milk, ¾ cup sugar, 2 tablespoons instant coffee, and a pinch of salt. Whisk well.
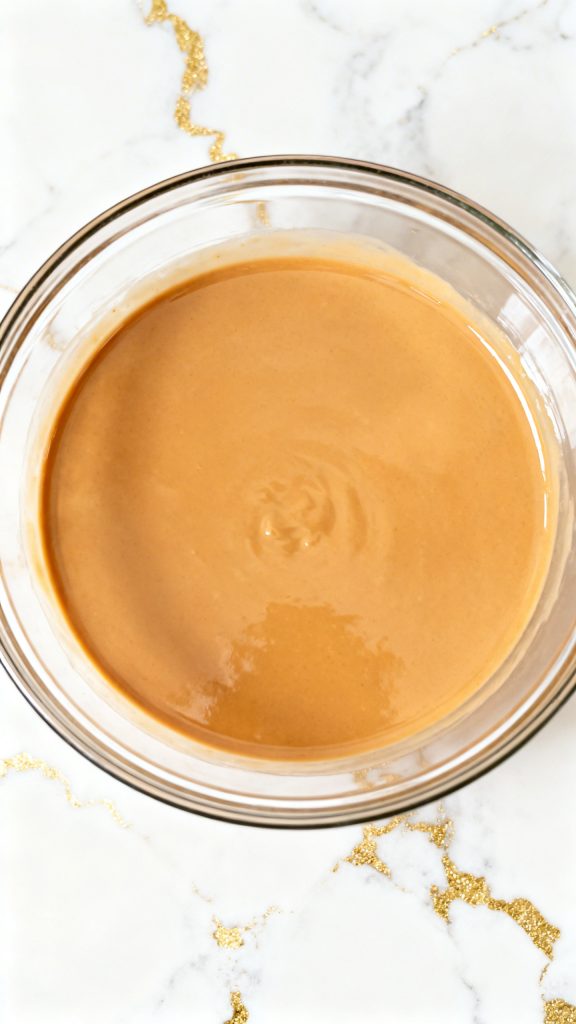
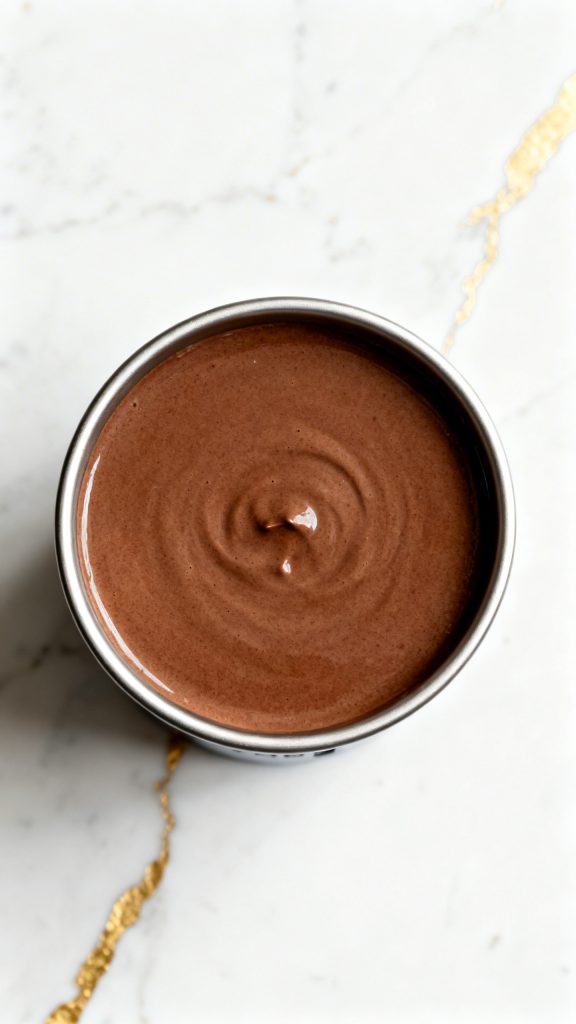
Step 2: Heat the Mixture
Place the saucepan on medium heat. Stir gently until sugar and coffee fully dissolve, about 5 minutes.

Step 3: Make the Slurry
In a small bowl, mix 1 tablespoon cornstarch with 2 tablespoons water until smooth.
Step 4: Thicken the Base
Pour the slurry into the warm mixture. Stir constantly for 2–3 minutes until slightly thickened.

Step 5: Add Vanilla and Cool
Remove from heat. Stir in 1 tablespoon vanilla extract. Let the mixture cool, then chill in the fridge for at least 2 hours.

Step 6: Churn or Freeze
Pour the chilled mixture into an ice cream maker and churn according to instructions, or freeze in a container and stir every 30 minutes until creamy.
Why This Recipe Works (Quick Science)
Coconut milk adds fat, which makes the ice cream creamy. Cornstarch helps trap water so ice crystals stay small. That’s what gives you a smooth texture instead of icy chunks.
Macros Information (Per Serving Approx.)
- Calories: 220
- Fat: 12g
- Carbs: 28g
- Sugar: 20g
- Protein: 1g
Common Mistakes
- Not dissolving the coffee fully → leads to gritty texture
- Skipping chilling → results in icy ice cream
- Overheating → can separate the coconut milk
- Not stirring during freezing (if no machine) → creates large ice crystals
What to Serve With
- Crushed cookies
- Dark chocolate drizzle
- Toasted coconut flakes
- Fresh berries
- A shot of espresso poured over (affogato-style)
Leftovers and Storage
Store in an airtight container in the freezer for up to 2 weeks. Let it sit out for 5–10 minutes before scooping for best texture.
FAQ
Can I make this without an ice cream maker?
Yes. Freeze and stir every 30 minutes until creamy.
Does it taste like coconut?
Very lightly, but the coffee flavor is stronger.
Can I use brewed coffee instead?
Yes, but reduce almond milk slightly so it’s not too watery.
How strong is the coffee flavor?
Medium-strong. You can add more instant coffee if you like it bold.
Final Thoughts
This is one of those recipes that feels fancy but is actually super simple. Once you try it, you’ll want to keep a batch in your freezer all the time. Give it a go, and when you do, come back and share how it turned out or what twist you added.