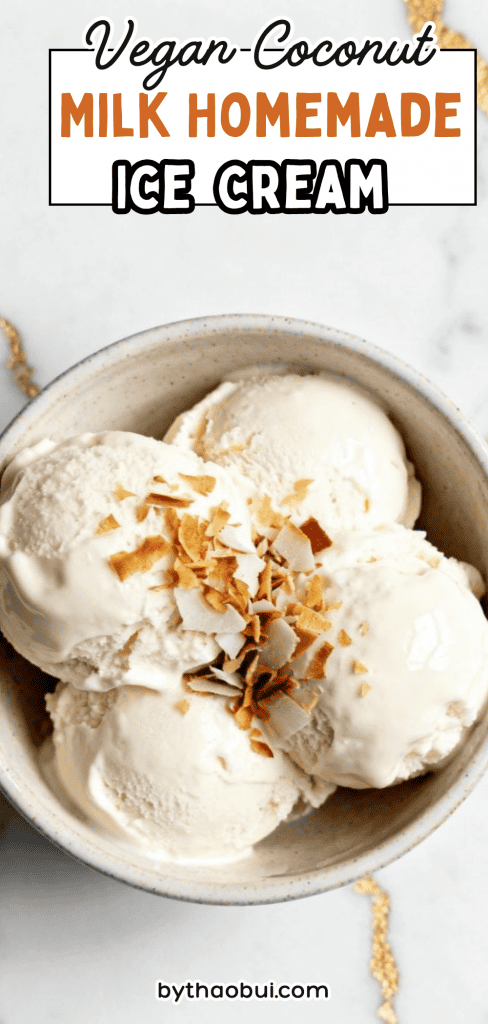
Vegan Coconut Milk Homemade Ice Cream
This is one of those recipes that feels fancy but is actually super simple.
It’s creamy, naturally sweet, and doesn’t need an ice cream machine if you don’t have one.
I’ve made this on warm afternoons when I wanted something cold and comforting, and it never disappoints.
Why I Love This Recipe
The first time I made this, I was trying to recreate that rich, scoopable ice cream without dairy. I didn’t expect it to turn out this creamy. But coconut milk works magic.
- It’s incredibly smooth without needing eggs or cream
- The flavor is light but still rich
- You can customize it easily with mix-ins
- No complicated steps
- It feels like a treat but uses simple ingredients
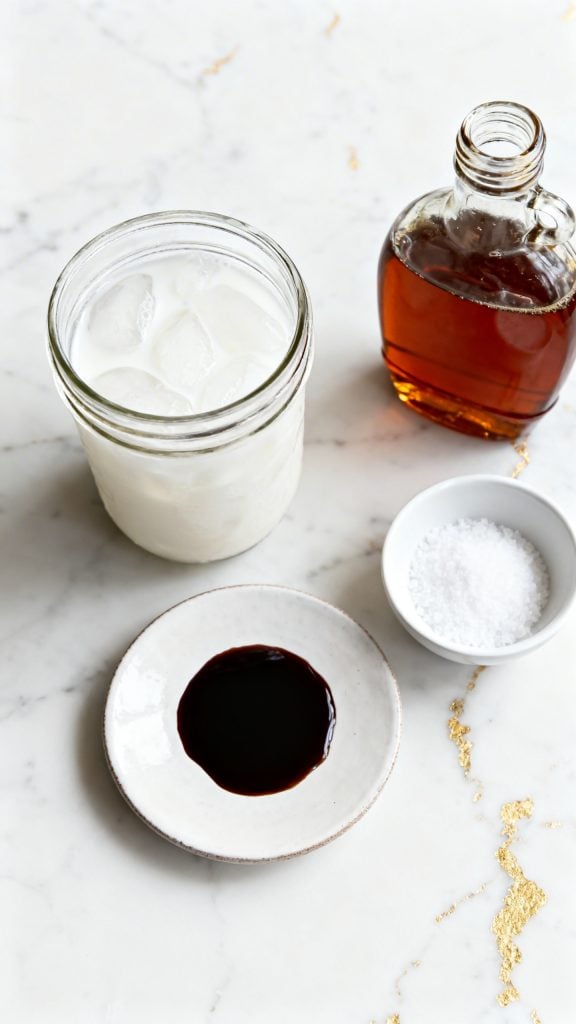
What You’ll Need
- 2 cans (13.5 oz each) full-fat coconut milk (chilled overnight)
- 1/2 cup maple syrup
- 2 teaspoons vanilla extract
- 1/4 teaspoon salt
Tools Required
- Mixing bowl
- Hand mixer or whisk
- Rubber spatula
- Freezer-safe container
- Measuring cups and spoons
Servings and Time
Serves: 4
Prep time: 10 minutes
Freeze time: 4–6 hours
Instructions
Step 1: Scoop Out Coconut Cream
Open 2 chilled cans of coconut milk and scoop out the thick solid cream into a mixing bowl, leaving the liquid behind.

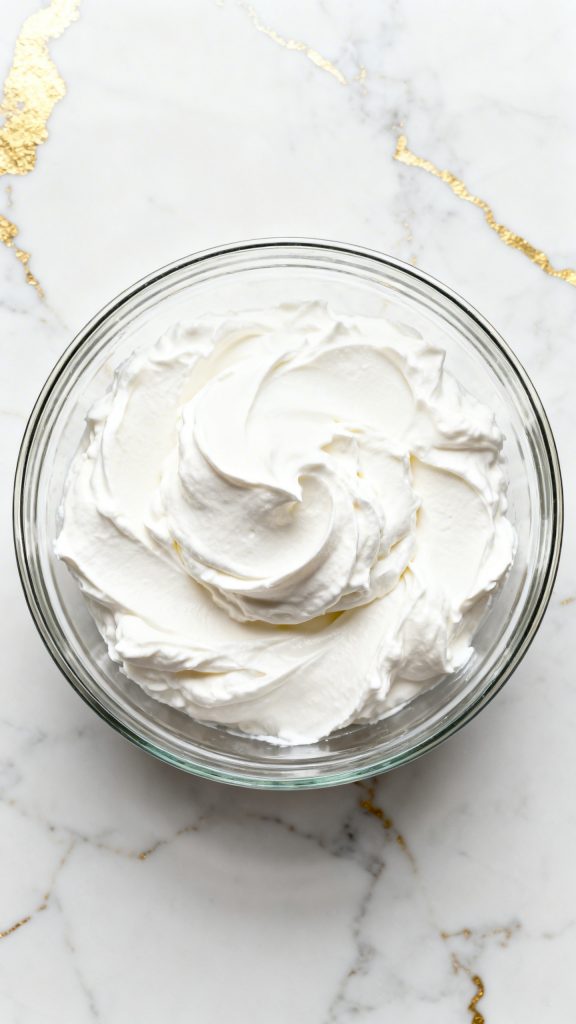
Step 2: Whip the Coconut Cream
Using a hand mixer, whip the coconut cream for 2–3 minutes until smooth and fluffy.
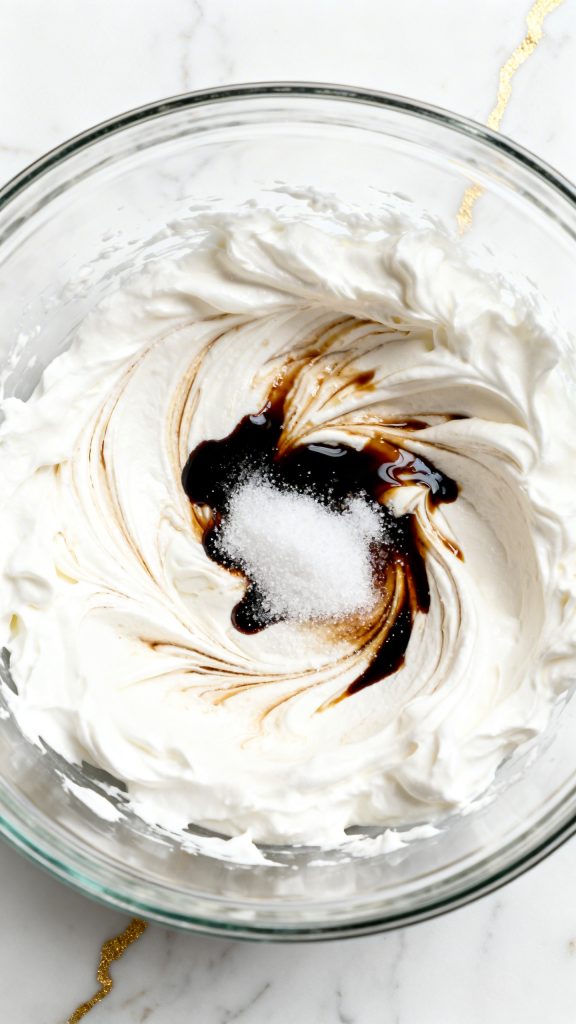
Step 3: Add Sweetener and Flavor
Add 1/2 cup maple syrup, 2 teaspoons vanilla extract, and 1/4 teaspoon salt to the whipped coconut cream. Mix until fully combined.
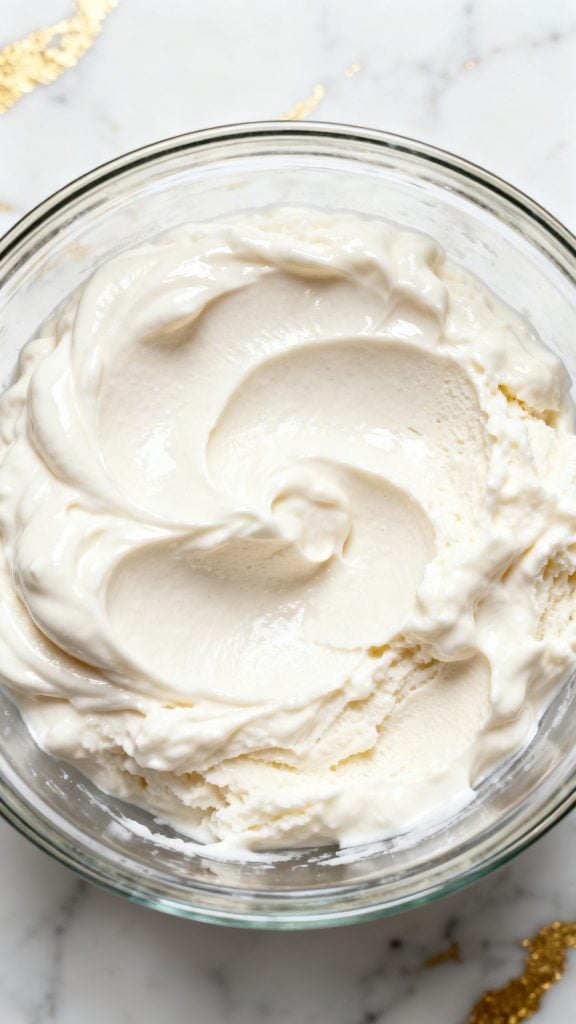
Step 4: Mix Until Smooth
Continue mixing until the mixture is creamy, smooth, and slightly thick.
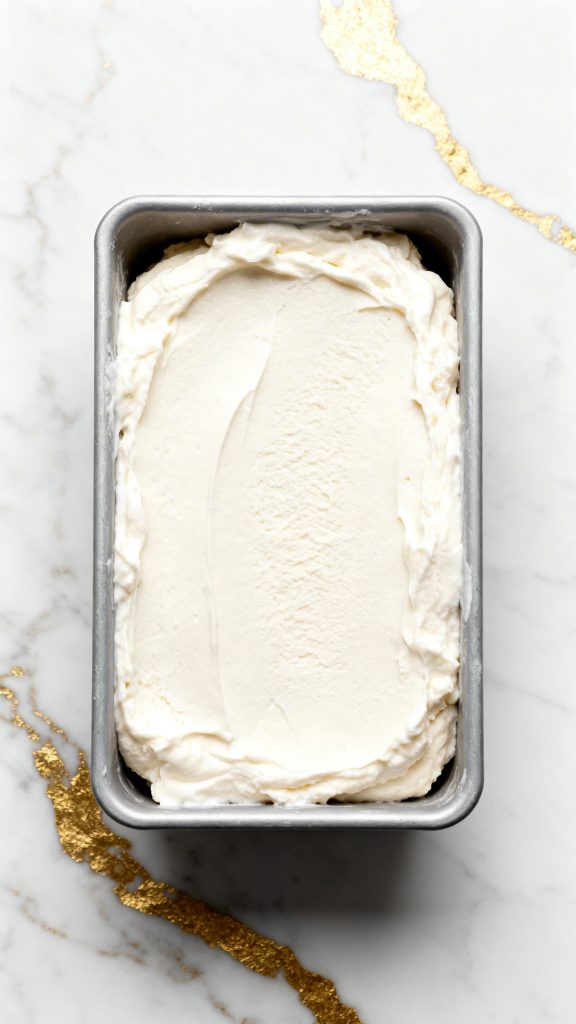
Step 5: Freeze
Transfer the mixture into a freezer-safe container and spread evenly. Freeze for 4–6 hours until firm.
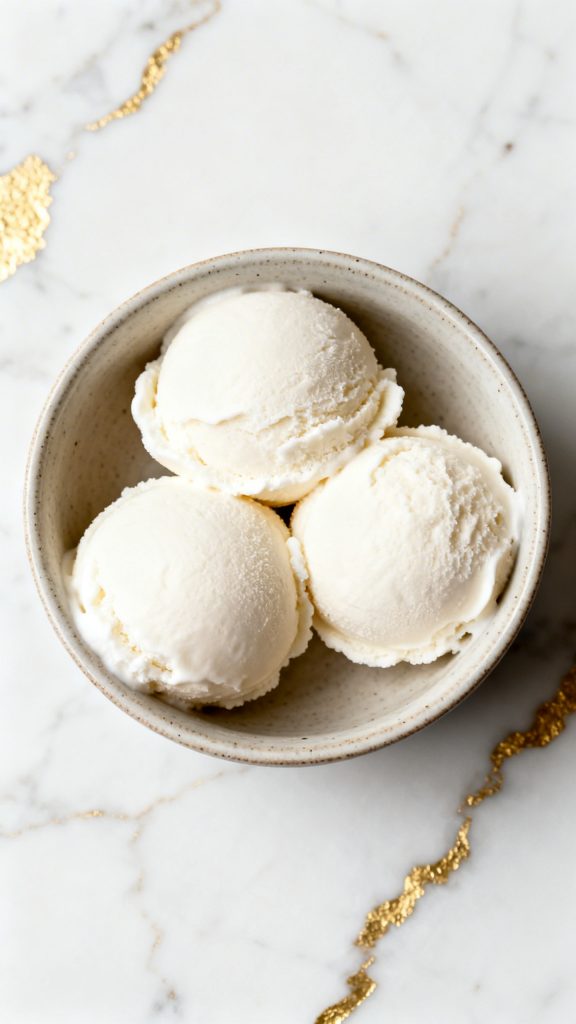
Step 6: Scoop and Serve
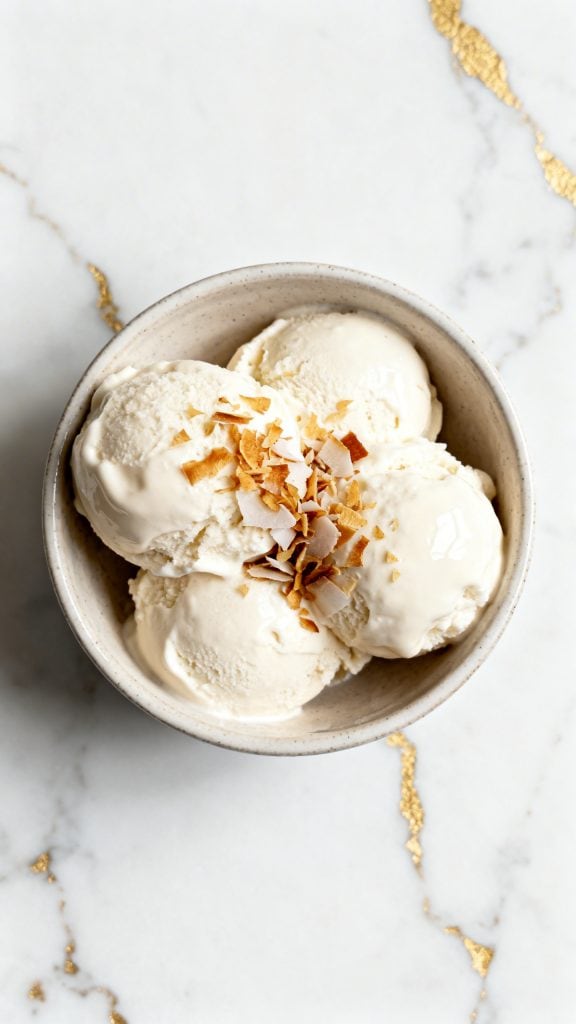
Let the ice cream sit at room temperature for 5 minutes, then scoop into a round bowl and serve.
Pro Tips
- Chill the coconut milk overnight—this is key for getting that thick cream
- Don’t skip the salt—it balances the sweetness
- If it freezes too hard, let it sit a few minutes before scooping
- Blend in add-ins (like chocolate chips) right before freezing
Substitutions and Variations
- Use agave instead of maple syrup
- Add cocoa powder for chocolate flavor
- Mix in crushed berries or mango
- Add peanut butter for a richer taste
Make Ahead Tips
You can make this up to a week ahead. Just store it tightly covered to avoid ice crystals.
Why This Recipe Works (Quick Science)
Coconut milk is high in fat, which is what makes ice cream creamy. When whipped, it traps air, giving a lighter texture. The sugar (maple syrup) lowers the freezing point, so it doesn’t turn into a solid block of ice.
Common Mistakes
- Using light coconut milk (it won’t get creamy)
- Not chilling the cans (you won’t get thick cream)
- Over-freezing without letting it soften before scooping
- Skipping mixing thoroughly, which leads to icy texture
What to Serve With
- Fresh berries
- Toasted coconut flakes
- Warm brownies
- Granola for crunch
Macros Information (Per Serving)
- Calories: ~260
- Fat: 22g
- Carbs: 16g
- Sugar: 13g
- Protein: 2g
Leftovers and Storage
Store in an airtight container in the freezer for up to 1 week. Let it sit out for a few minutes before scooping again for best texture.
FAQ
Can I use an ice cream machine?
Yes! It will make the texture even smoother.
Why is my ice cream too hard?
It likely froze too long or needs more sweetener.
Can I reduce the sweetness?
You can, but it may freeze harder.
Can I use canned coconut cream instead?
Yes, and it may even be richer.
Final Thoughts
This is one of those recipes you’ll come back to again and again. It’s simple, flexible, and always satisfying. Try it once, then make it your own with different flavors. When you do, come back and share how it turned out—I’d love to hear what you added!