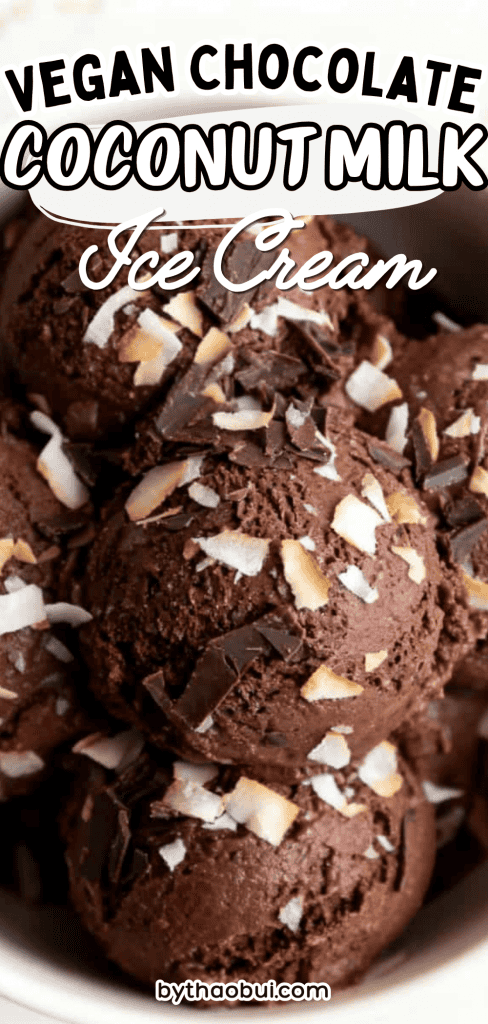
Vegan Chocolate Coconut Milk Ice Cream
This vegan chocolate coconut milk ice cream is rich, creamy, and deeply chocolatey, but it only uses a few simple ingredients.
It tastes like a real treat, and the coconut milk gives it a smooth texture without any dairy.
Recipe
Servings: 6
Prep Time: 10 minutes
Chill Time: 2 hours
Freeze Time: 3 to 4 hours
Total Time: About 5 hours 10 minutes
What You’ll Need
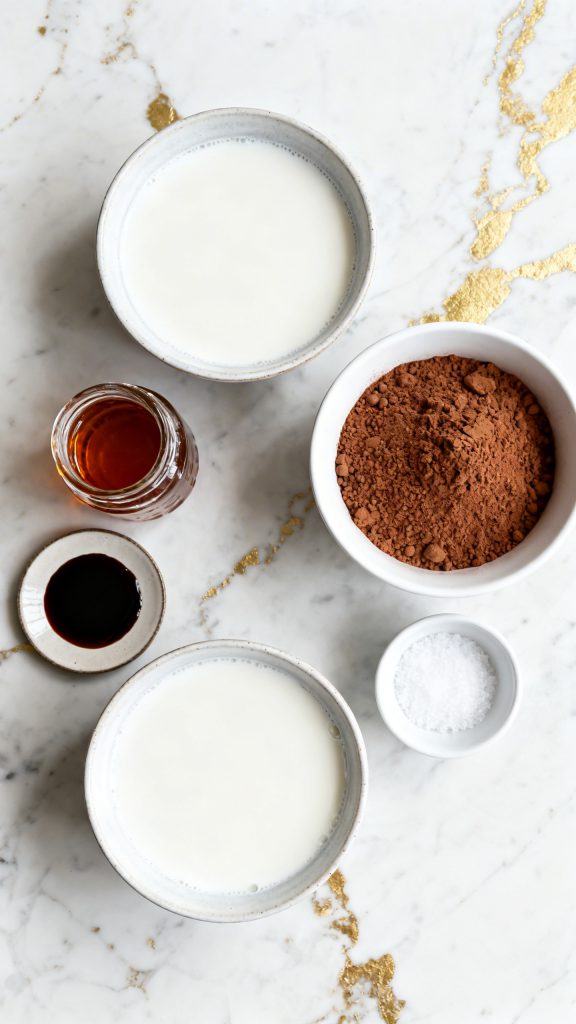
- 2 cans full-fat coconut milk, 13.5 ounces each
- 1/2 cup unsweetened cocoa powder
- 3/4 cup maple syrup
- 2 teaspoons vanilla extract
- 1/4 teaspoon salt
Tools
- Medium mixing bowl
- Whisk
- Measuring cups and spoons
- Ice cream maker
- Rubber spatula
- Freezer-safe container with lid
- Ice cream scoop
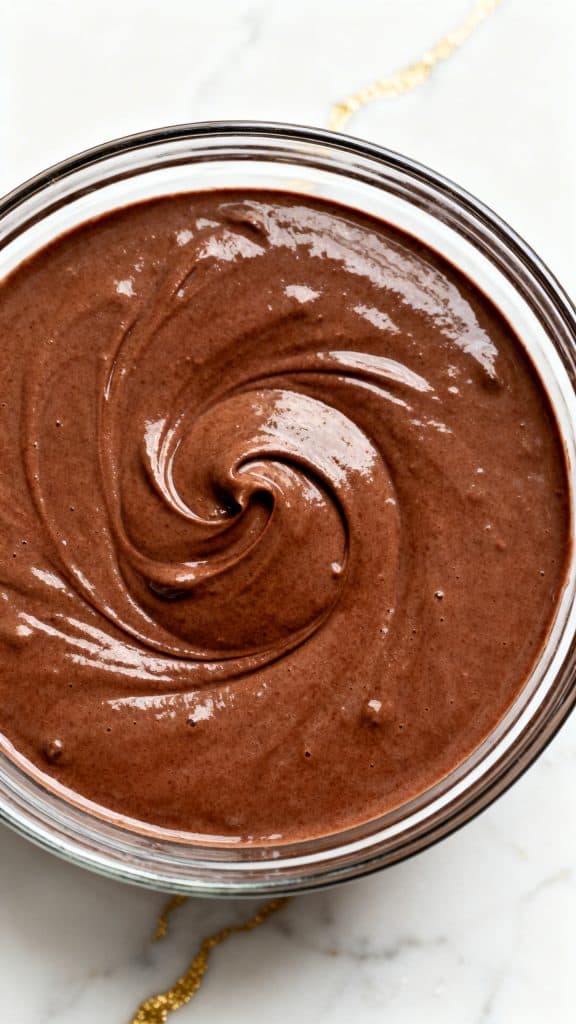
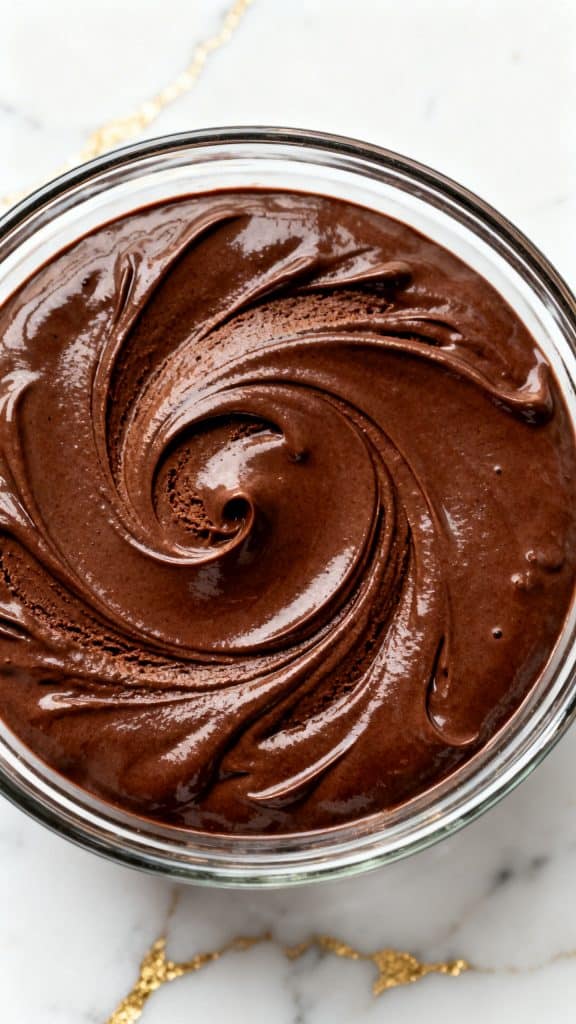
Step 1: Whisk the ice cream base
Pour 2 cans full-fat coconut milk into a medium mixing bowl. Add 1/2 cup unsweetened cocoa powder, 3/4 cup maple syrup, 2 teaspoons vanilla extract, and 1/4 teaspoon salt. Whisk until the cocoa powder is fully mixed in and the base looks smooth, dark, and glossy. This should take about 1 to 2 minutes. Make sure there are no dry cocoa pockets left around the edges of the bowl.
Step 2: Chill the base
Cover the bowl and place it in the fridge for at least 2 hours. This step matters. A cold base churns better and freezes into a creamier ice cream. When chilled, the mixture should still be pourable, but nice and cold.
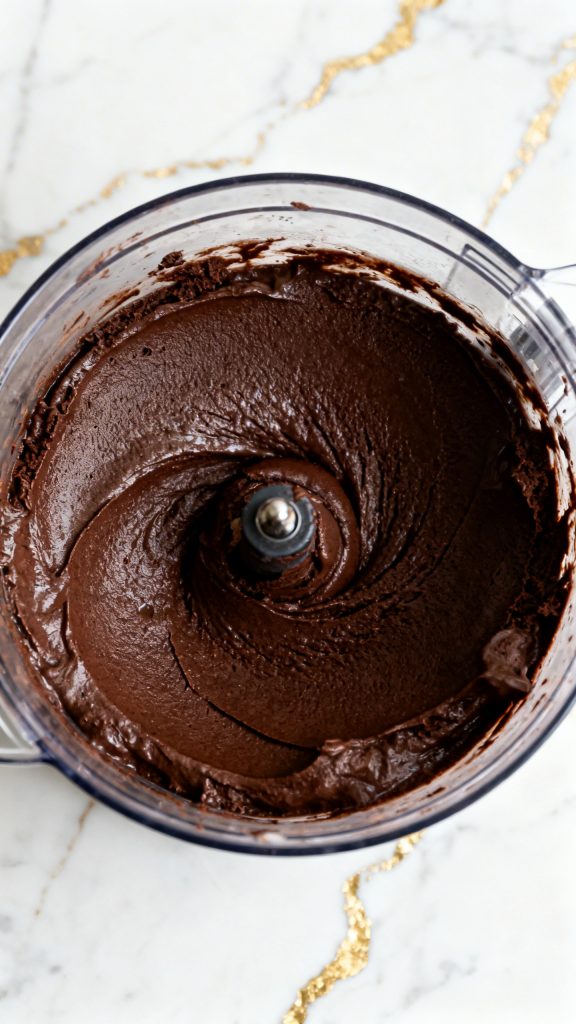
Step 3: Churn the ice cream
Pour the cold chocolate base into your ice cream maker. Churn according to your machine’s directions, usually about 20 to 25 minutes, until it thickens to a soft-serve texture. It should look creamy and slightly fluffy when it is done.
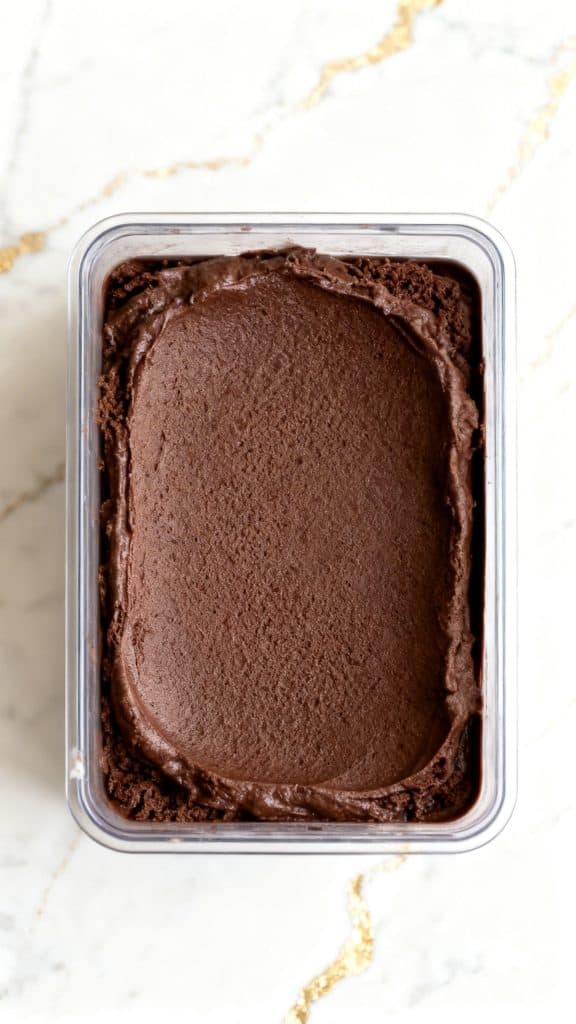
Step 4: Freeze until scoopable
Use a rubber spatula to transfer the churned ice cream into a freezer-safe container. Smooth the top, cover, and freeze for 3 to 4 hours until firm enough to scoop. If you want a softer texture, check it around the 3-hour mark.
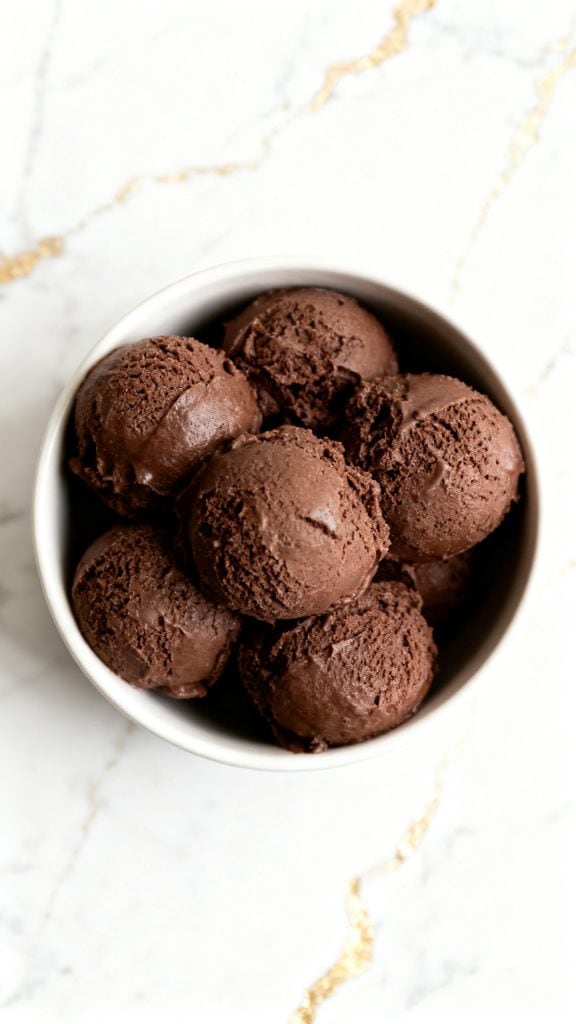
Step 5: Scoop and serve
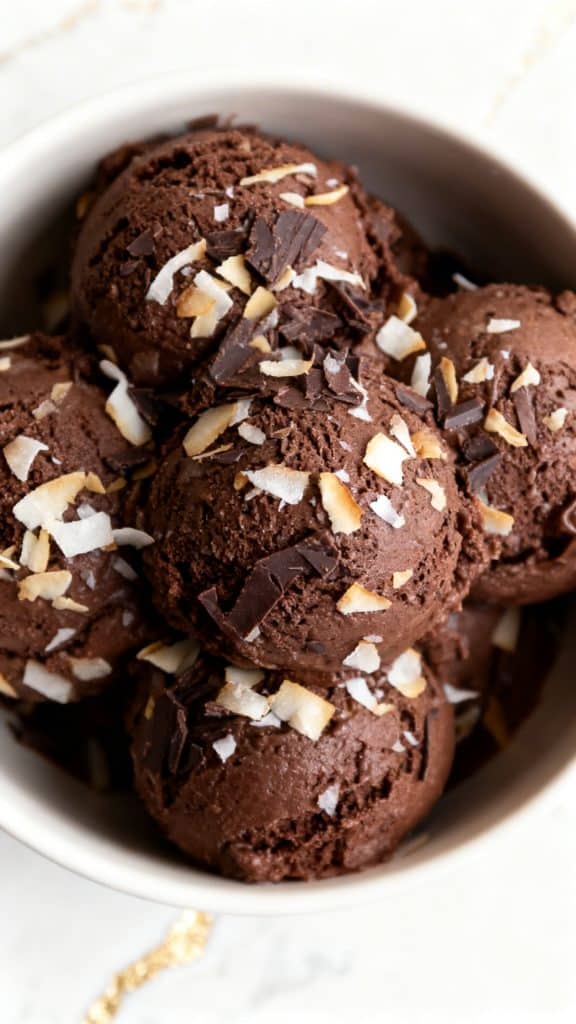
Let the frozen ice cream sit at room temperature for 5 to 10 minutes before scooping. Scoop into bowls and serve right away. The texture will be rich, smooth, and fudgy.
Why I Love This Recipe
I love this recipe because it feels fancy, but it is actually very easy to make. The first time I made it, I wanted a dairy-free dessert that still felt rich and satisfying. A lot of homemade vegan ice creams can turn icy or flat, but this one came out smooth, dark, and chocolatey. After one bite, I knew it was a keeper.
What makes it special for me is how dependable it is. You do not need a long list of ingredients. You do not need to cook anything on the stove. You just mix, chill, churn, and freeze. It is the kind of recipe that makes homemade dessert feel simple instead of stressful.
- It has a deep chocolate flavor without being too heavy
- The coconut milk makes it creamy with very little effort
- It uses pantry ingredients that are easy to find
- It feels like a treat, but the steps are simple and clear
- It is great to make ahead for dessert anytime
Why This Recipe Works (Quick Science)
Full-fat coconut milk has enough fat to help the ice cream stay creamy. Fat is important because it helps stop the mixture from freezing into a hard ice block.
Maple syrup does more than sweeten the ice cream. Sugar also lowers the freezing point, which helps the texture stay softer and easier to scoop.
Cocoa powder brings strong chocolate flavor, but it can clump if it is not mixed well. That is why whisking until totally smooth makes such a big difference.
Chilling the base before churning also helps. A colder mixture freezes faster in the machine, and faster freezing means smaller ice crystals. Smaller ice crystals give you smoother ice cream.
Pro Tips
- Use full-fat coconut milk, not light coconut milk, or the texture will be thinner and icier.
- Shake the cans before opening them if the coconut milk has separated.
- Chill the base fully before churning. Warm base equals less creamy ice cream.
- Freeze the storage container ahead of time if you want the ice cream to firm up faster.
- Let the ice cream sit out a few minutes before scooping so it softens just enough.
Substitutions and Variations
- Swap the maple syrup for agave syrup in the same amount.
- Add 1/2 teaspoon espresso powder for a stronger chocolate flavor.
- Stir in mini dairy-free chocolate chips after churning.
- Add toasted coconut flakes on top before serving.
- Use vanilla bean paste instead of vanilla extract for a deeper flavor.
Make-Ahead Tips
You can mix the chocolate base up to 2 days ahead and keep it covered in the fridge until you are ready to churn.
You can also churn the ice cream a day before serving. Just let it soften a bit before scooping.
Macros Information
These numbers are an estimate for 1 of 6 servings.
- Calories: about 290
- Fat: about 22g
- Carbohydrates: about 24g
- Sugar: about 17g
- Fiber: about 3g
- Protein: about 3g
Common Mistakes
- Using light coconut milk. This is the fastest way to end up with icy ice cream.
- Not whisking enough. Dry cocoa lumps can hide in the mixture.
- Skipping the chill time. The base needs to be cold before churning.
- Over-churning. Stop when it looks like soft serve, or it can get grainy.
- Scooping straight from the freezer. Give it 5 to 10 minutes to soften first.
What to Serve With
This ice cream is great on its own, but it also goes well with a few simple extras.
- Fresh strawberries or raspberries
- Toasted coconut flakes
- Crushed chocolate cookies
- Warm brownies
- A drizzle of peanut butter or almond butter
Leftovers and Storage
Store the ice cream in a freezer-safe container with a tight lid for up to 2 weeks.
Press a piece of parchment paper or plastic wrap right against the top of the ice cream before closing the lid. That helps keep ice crystals away.
For the best texture, let it sit at room temperature for a few minutes before scooping.
FAQ
Do I need an ice cream maker?
An ice cream maker gives the best texture. Without one, you can freeze the mixture in a shallow container and stir every 30 minutes for about 2 to 3 hours, but it will be a little less creamy.
Does it taste strongly like coconut?
You may notice a light coconut flavor, but the chocolate is the main taste.
Can I use honey instead of maple syrup?
If you want to keep it vegan, skip honey. Agave syrup is a better swap.
Why is my ice cream too hard after freezing?
That is normal for homemade ice cream. Let it rest at room temperature for 5 to 10 minutes before scooping.
Can I add mix-ins?
Yes. Fold them in after churning, right before the final freeze.
Final Thoughts
This vegan chocolate coconut milk ice cream is one of those simple recipes that feels way more special than the work it takes. It is creamy, rich, and packed with chocolate flavor, and it is easy to make with basic ingredients. I could not physically test this in a kitchen, but I adjusted the recipe for texture, sweetness, and balance so it is set up to work well at home. I hope you make it and love every scoop.