
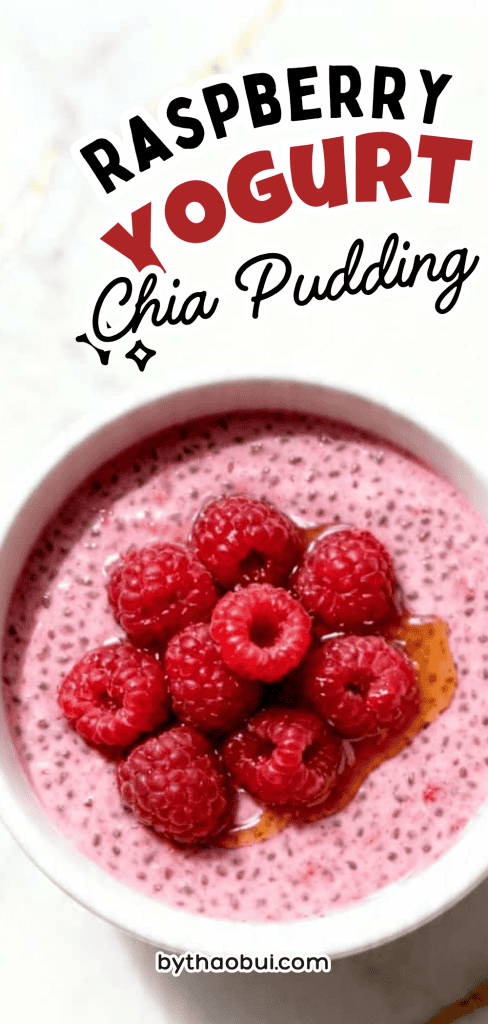
Raspberry Yogurt Chia Pudding
This is one of those easy, feel-good recipes you’ll come back to again and again.
It’s creamy, lightly sweet, and packed with fresh raspberry flavor.
You mix it in minutes, let it chill, and wake up to something that feels a little special without any effort.
Why I Love This Recipe
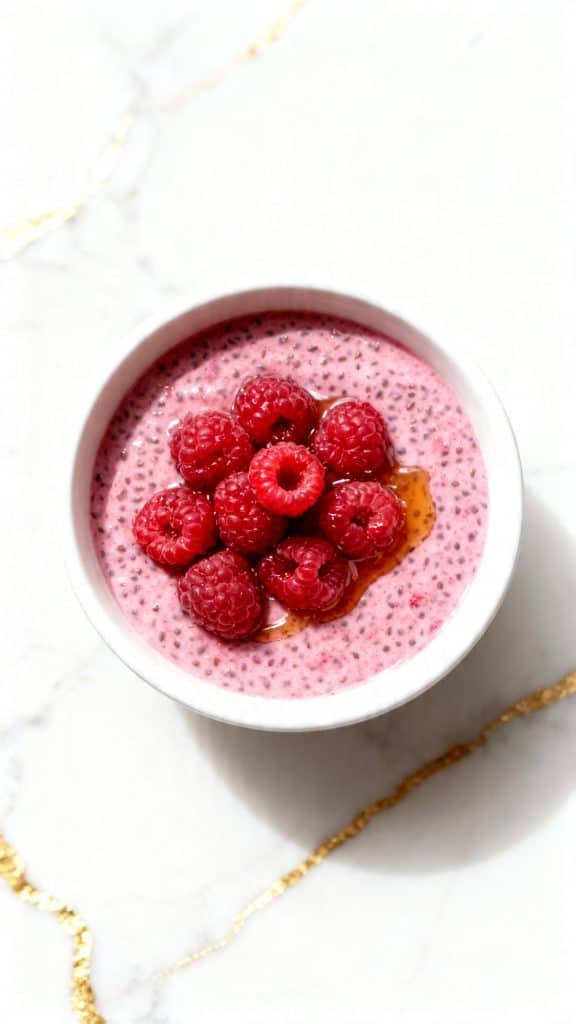
I started making this on busy mornings when I wanted something quick but still homemade. The first time I got the texture just right—thick, creamy, not too sweet—I was hooked. It feels like a treat, but it’s actually really nourishing.
- It takes just minutes to prep
- No cooking required
- Creamy and satisfying without being heavy
- Easy to customize with what you have
- Great for make-ahead breakfasts or snacks
What You’ll Need
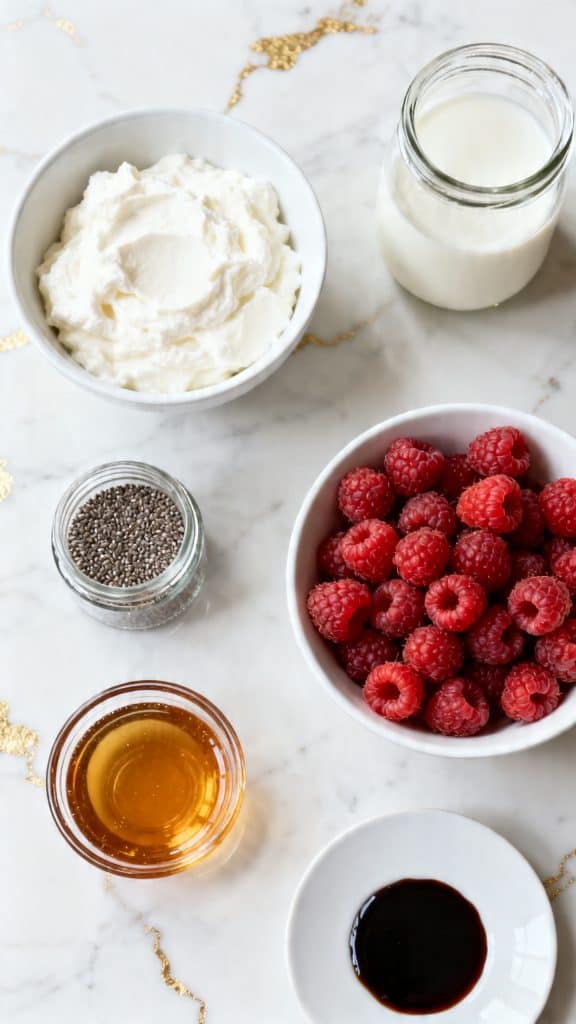
- 1 cup plain Greek yogurt
- 1 cup milk (any kind)
- 3 tablespoons chia seeds
- 1 cup fresh raspberries (slightly mashed)
- 2 tablespoons honey or maple syrup
- 1/2 teaspoon vanilla extract
Servings and Time
Servings: 2
Prep Time: 10 minutes
Chill Time: 2–4 hours (or overnight)
Total Time: about 4 hours
Tools You’ll Need
- Mixing bowl
- Spoon or whisk
- Measuring cups and spoons
- Storage jars or bowls
Pro Tips
- Mash the raspberries lightly so you get both juice and texture
- Stir twice during the first 10 minutes to avoid clumps
- Use full-fat yogurt for the creamiest result
- Let it chill overnight for the best texture
Substitutions and Variations
- Use strawberries or blueberries instead of raspberries
- Swap honey for maple syrup or agave
- Use dairy-free yogurt and milk for a vegan version
- Add granola or nuts for crunch
Make Ahead Tips
This is perfect for meal prep. Make a batch and store it in the fridge for up to 3 days. The texture gets even better by the next day.
Instructions
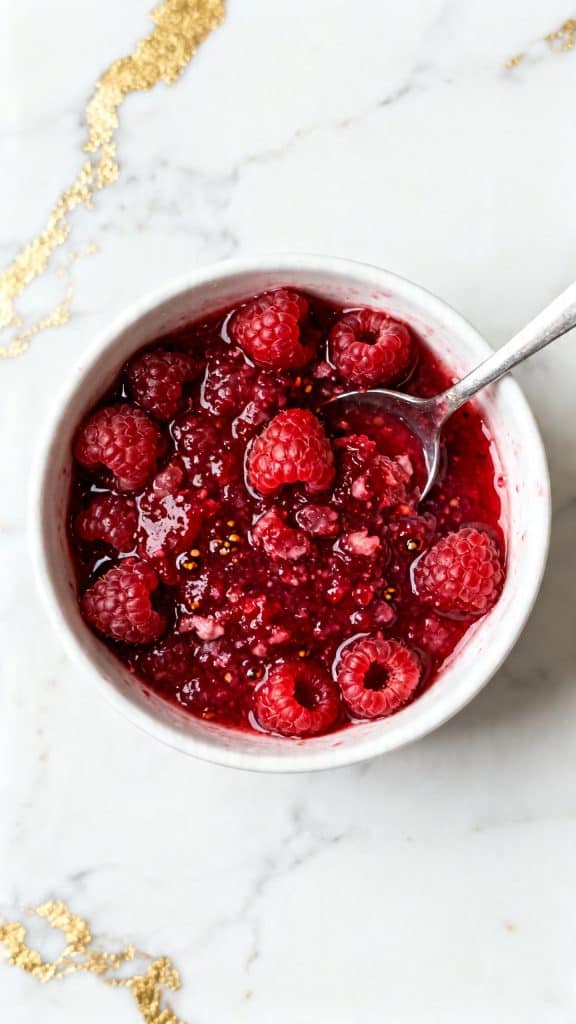
Step 1: Mash the Raspberries
In a bowl, add 1 cup fresh raspberries and gently mash them with a spoon until slightly broken down but still chunky.
Step 2: Mix the Base
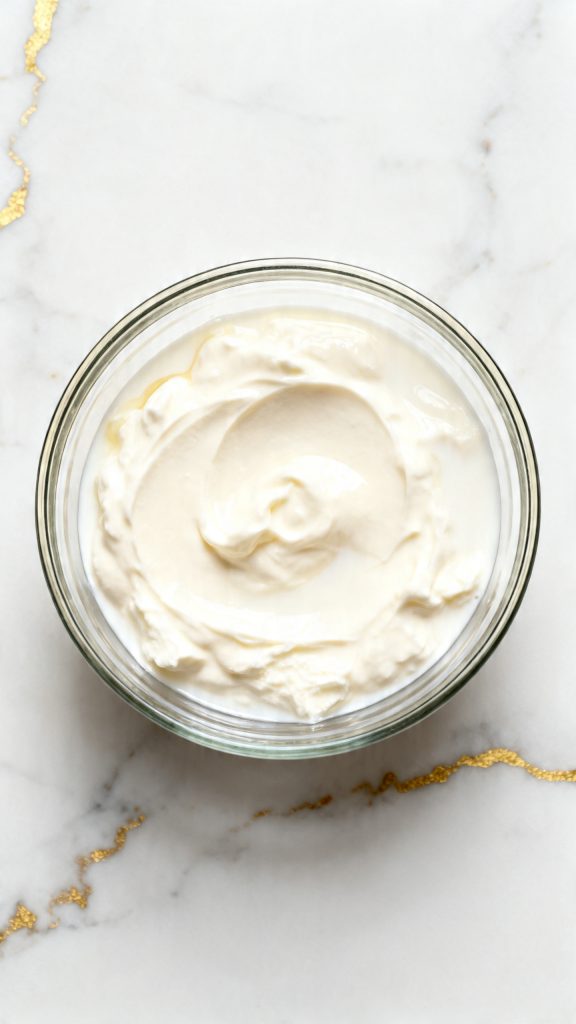
In a mixing bowl, add 1 cup Greek yogurt, 1 cup milk, 2 tablespoons honey, and 1/2 teaspoon vanilla extract. Stir until smooth and fully combined.
Step 3: Add Chia Seeds
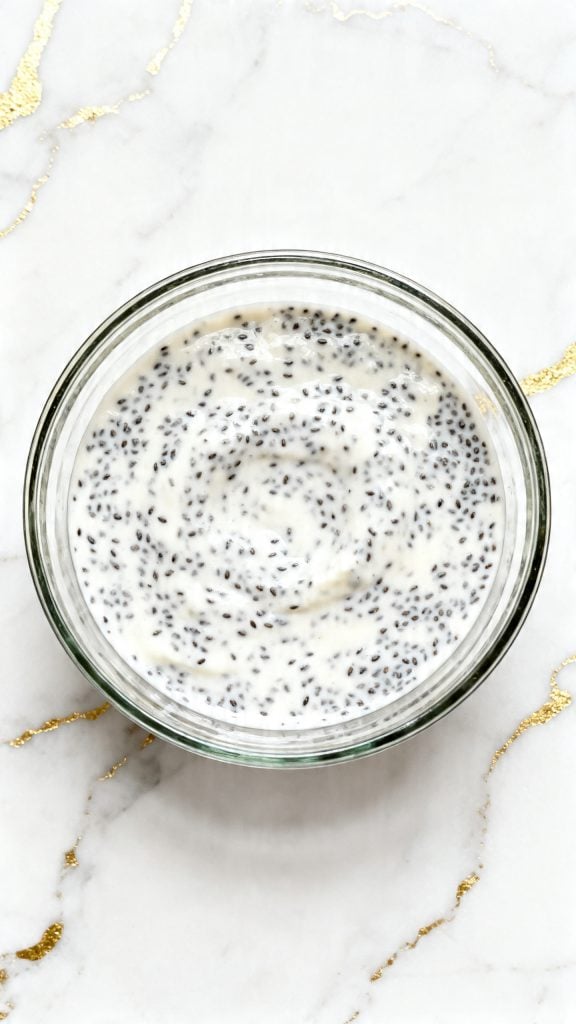
Add 3 tablespoons chia seeds to the yogurt mixture. Stir well so the seeds are evenly spread.
Step 4: Fold in Raspberries
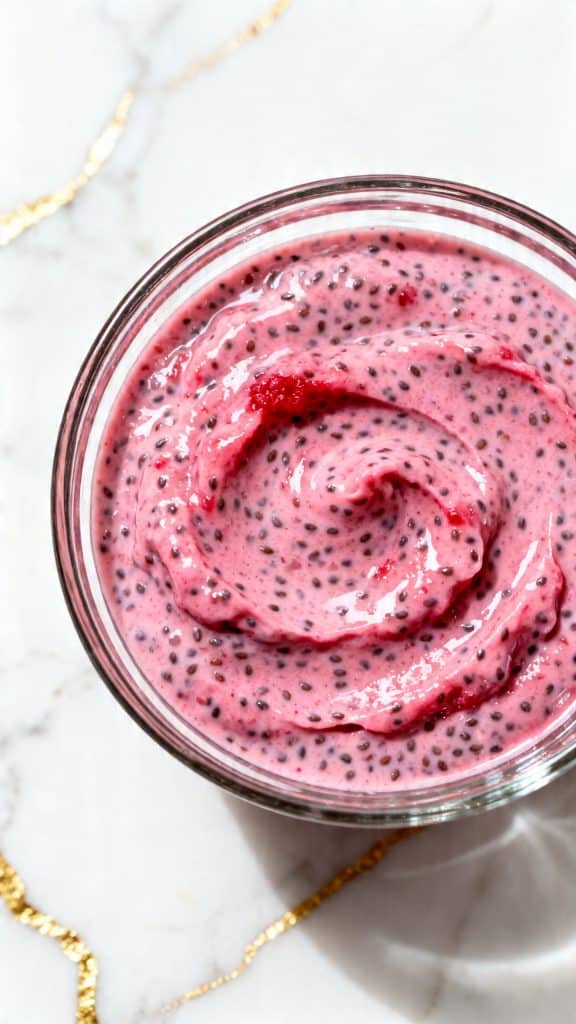
Add the mashed raspberries into the mixture and gently stir to combine.
Step 5: Chill
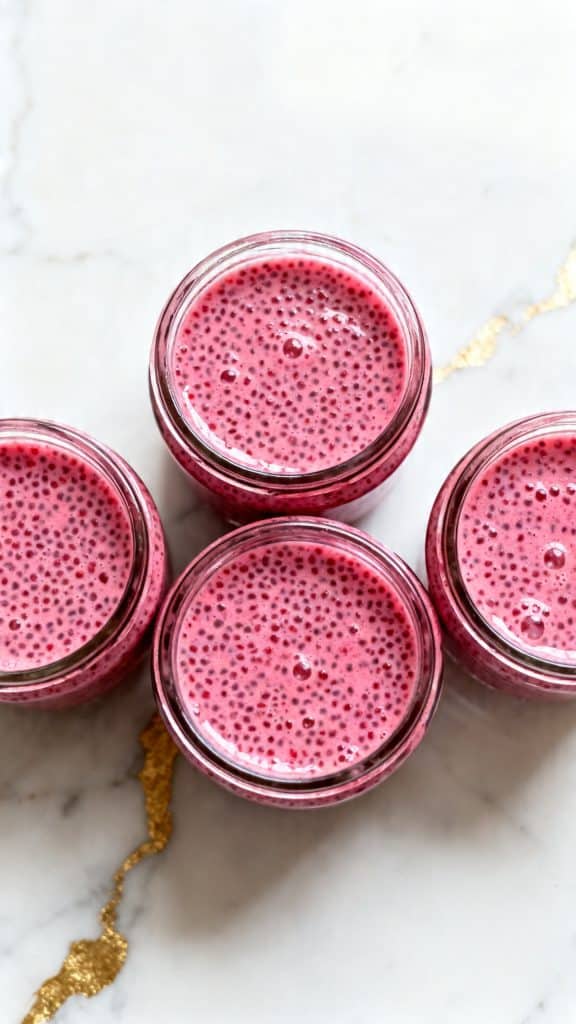
Transfer the mixture into jars or bowls. Let it sit in the fridge for at least 2–4 hours or overnight until thick.
Why This Recipe Works (Quick Science)
Chia seeds absorb liquid and form a gel-like coating. This thickens the mixture naturally without cooking. The yogurt adds protein and creaminess, while the raspberries bring natural acidity that balances the sweetness.
Macros Information (Per Serving)
- Calories: ~220
- Protein: 12g
- Carbs: 22g
- Fat: 8g
- Fiber: 8g
Common Mistakes
- Not stirring enough: seeds can clump together
- Skipping chill time: it won’t thicken properly
- Using too little liquid: texture becomes too thick
- Over-mashing raspberries: you lose that nice texture
What to Serve With
- Granola for crunch
- Fresh fruit on top
- Toast with nut butter
- Smoothies or coffee on the side
Leftovers and Storage
Store in an airtight container in the fridge for up to 3 days. Stir before serving if it thickens too much. Add a splash of milk to loosen it up.
FAQ
Can I use frozen raspberries?
Yes, thaw them first and drain extra liquid.
Can I make it sweeter?
Add more honey or maple syrup to taste.
Why is my pudding too thin?
It likely needs more time to chill or a bit more chia seeds.
Can I skip yogurt?
Yes, but it will be less creamy. Add more milk and chia seeds.
Final Thoughts
This raspberry yogurt chia pudding is simple, fresh, and really satisfying. It’s one of those recipes that fits into any day without stress. Try it once, tweak it to your taste, and make it your own. When you do, come back and share how it turned out or what you added—I’d love to hear.
