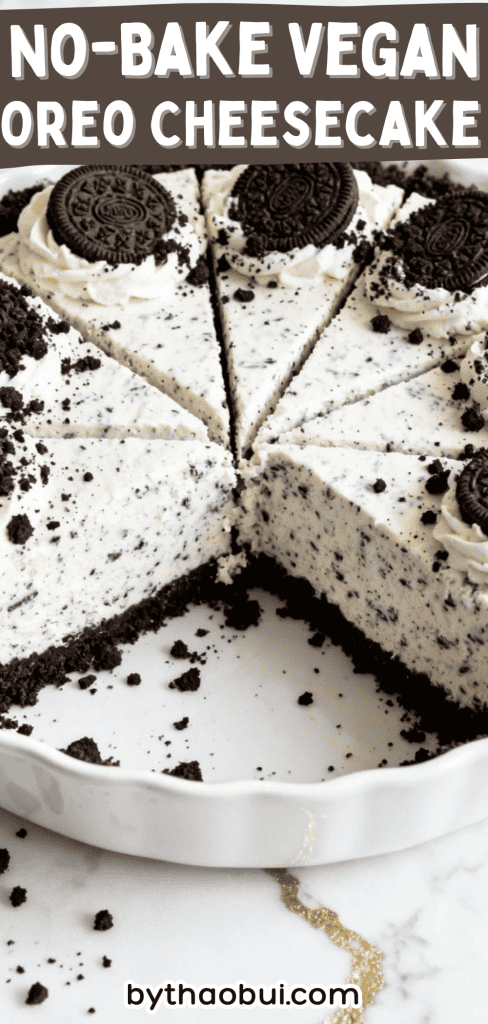
No-Bake Vegan Oreo Cheesecake
This No-Bake Oreo Cheesecake is creamy, dreamy, and ridiculously easy.
No oven.
No fancy tools.Just a handful of simple ingredients and a fridge to chill it all into perfection.
This is one of those desserts that disappears fast at any get-together.
Every bite is packed with crunchy Oreo cookie bits and smooth, rich cheesecake filling.
Why I Love This Recipe
I’ve been making this no-bake Oreo cheesecake for years. It’s my go-to when I need a crowd-pleaser but don’t feel like turning on the oven. It’s the dessert that made me fall in love with no-bake recipes. I first made it on a hot summer day when the AC was broken—and it came out so perfect that I kept making it even when the AC got fixed.
- It’s rich, but not too heavy
- You can make it in advance
- Everyone loves it
- No baking required!
- Looks super impressive with very little effort
Servings & Time
Servings: 10–12 slices
Chill Time: 6 hours (or overnight)
Active Time: 20 minutes
Total Time: About 6 hours 20 minutes
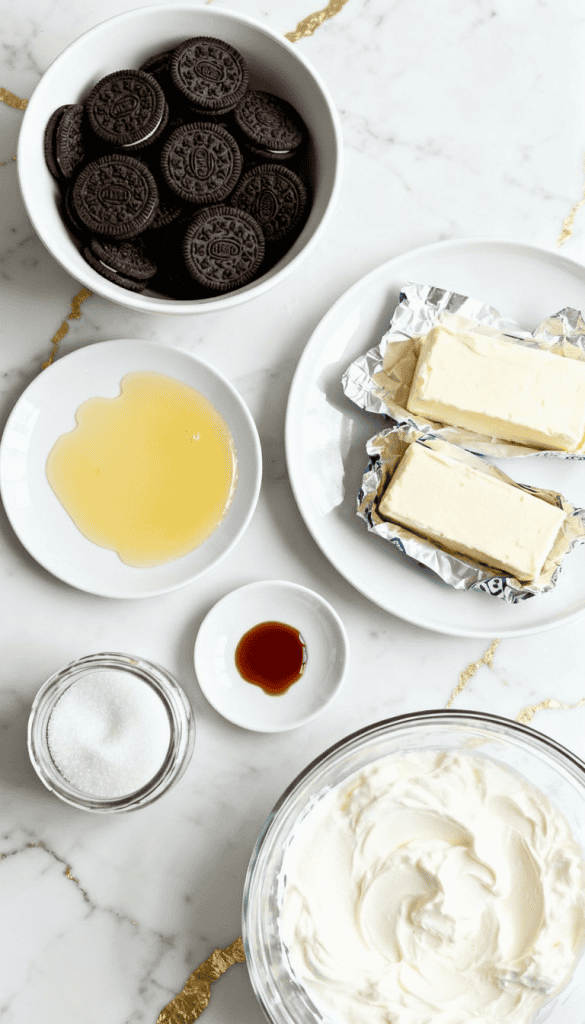
What You’ll Need
- 24 Oreo cookies (for crust), crushed
- 5 tablespoons unsalted butter, melted
- 16 ounces (2 blocks) cream cheese, softened
- 3/4 cup granulated sugar
- 1 teaspoon vanilla extract
- 1 and 1/4 cups heavy whipping cream, cold
- 12 Oreo cookies (for filling), crushed
- Extra Oreos and whipped cream for topping (optional)
Pro Tips
- Make sure your cream cheese is softened. Cold cream cheese makes the filling lumpy.
- Don’t over-whip the cream—it should be stiff peaks, not butter.
- Use a springform pan if you want clean, easy slices.
- Chill for at least 6 hours, but overnight is best for the perfect texture.
- Use crushed Oreos with filling still in—don’t scrape it off.
Tools Required
- 9-inch springform pan (or pie dish)
- Mixing bowls
- Hand mixer or stand mixer
- Rubber spatula
- Measuring cups and spoons
- Food processor or zip-top bag and rolling pin (to crush Oreos)
Substitutions and Variations
- Swap Oreos for any chocolate sandwich cookies
- Add a swirl of melted peanut butter or Nutella in the filling
- Use gluten-free cookies for a GF version
- Add mini chocolate chips or chopped nuts
Make Ahead Tips
You can make this cheesecake up to 2 days in advance. Just keep it covered in the fridge. Don’t add whipped cream topping until just before serving for best look.
Let’s Make It
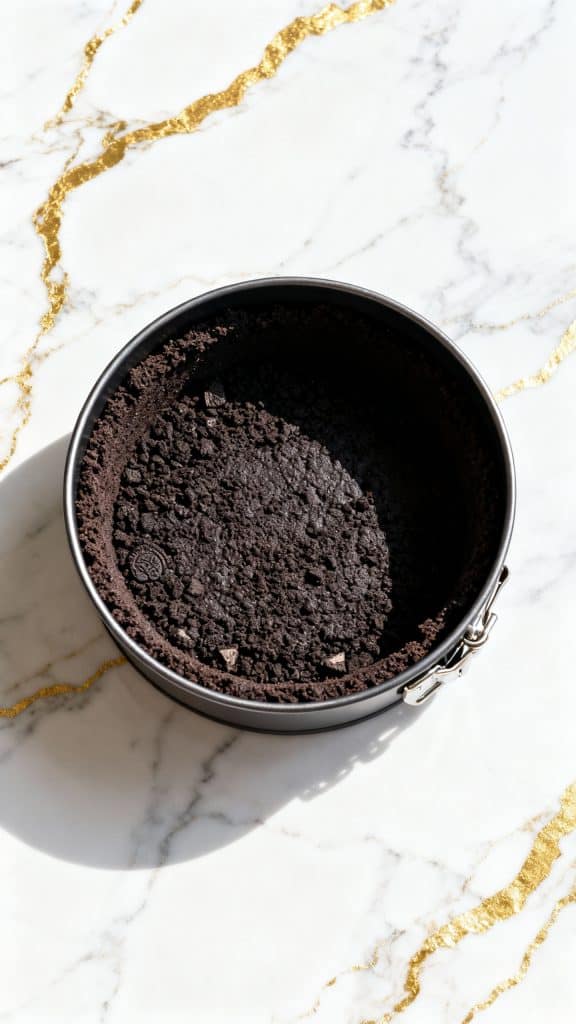
Step 1: Make the Oreo Crust
Ingredients:
- 24 Oreo cookies, crushed (filling included)
- 5 tablespoons unsalted butter, melted
Mix the crushed Oreos with melted butter in a bowl until it looks like wet sand. Press the mixture into the bottom of a 9-inch springform pan using a flat-bottomed glass. Chill in the fridge while you make the filling.
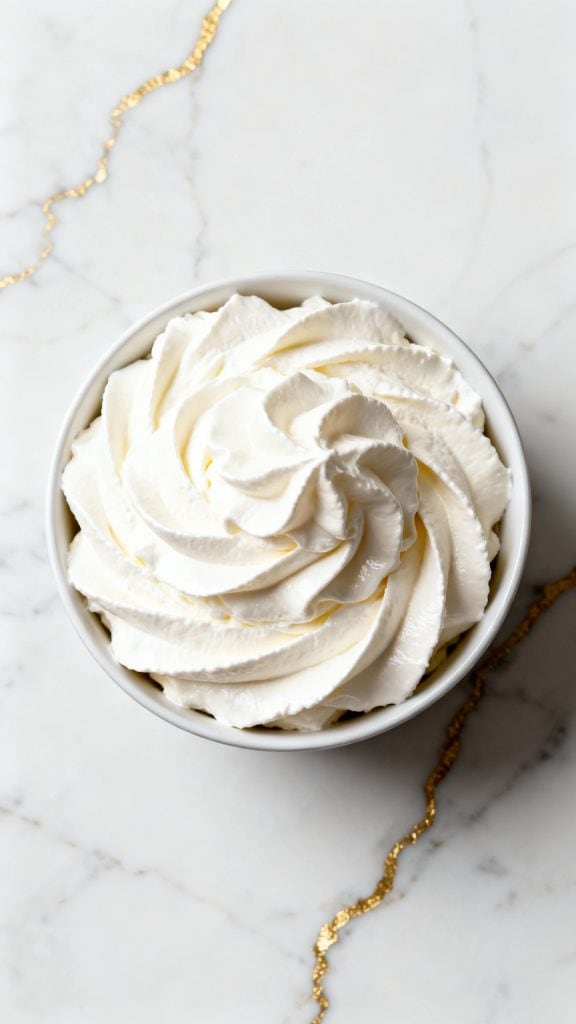
Step 2: Whip the Cream
Ingredients:
- 1 and 1/4 cups heavy whipping cream, cold
In a large cold bowl, whip the cream until stiff peaks form. Don’t overdo it or it’ll turn grainy.
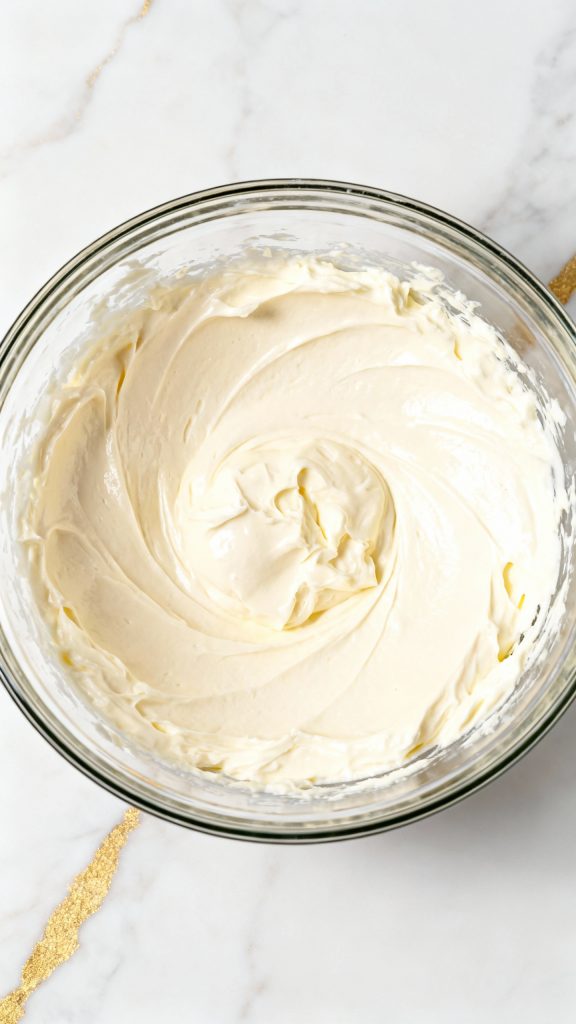
Step 3: Make the Cream Cheese Mixture
Ingredients:
- 16 ounces cream cheese, softened
- 3/4 cup granulated sugar
- 1 teaspoon vanilla extract
In another bowl, beat softened cream cheese, sugar, and vanilla until smooth and creamy, with no lumps.
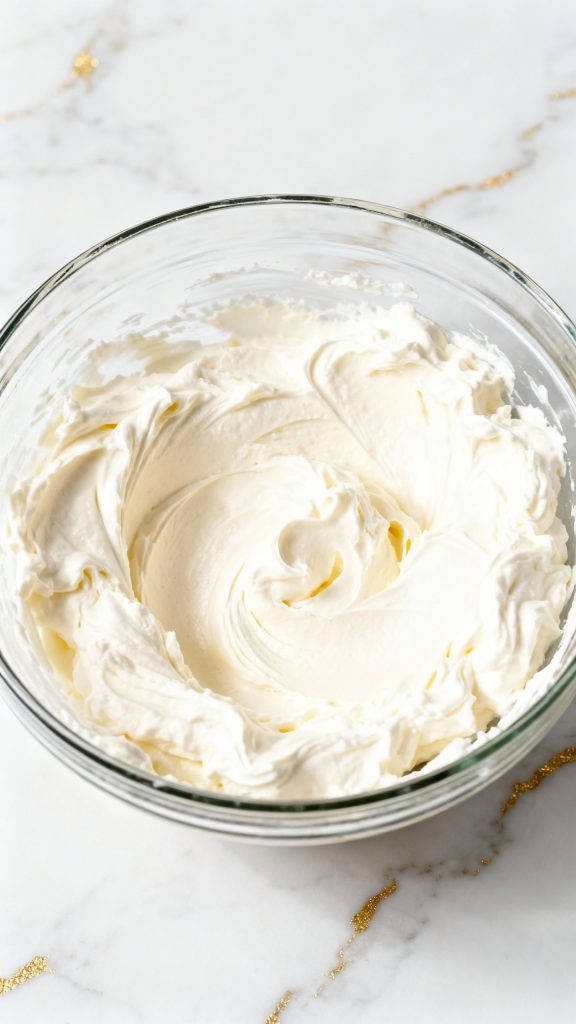
Step 4: Fold in Whipped Cream
Ingredients:
- Whipped cream from Step 2
- Cream cheese mixture from Step 3
Gently fold the whipped cream into the cream cheese mixture. Do it slowly so it stays fluffy.
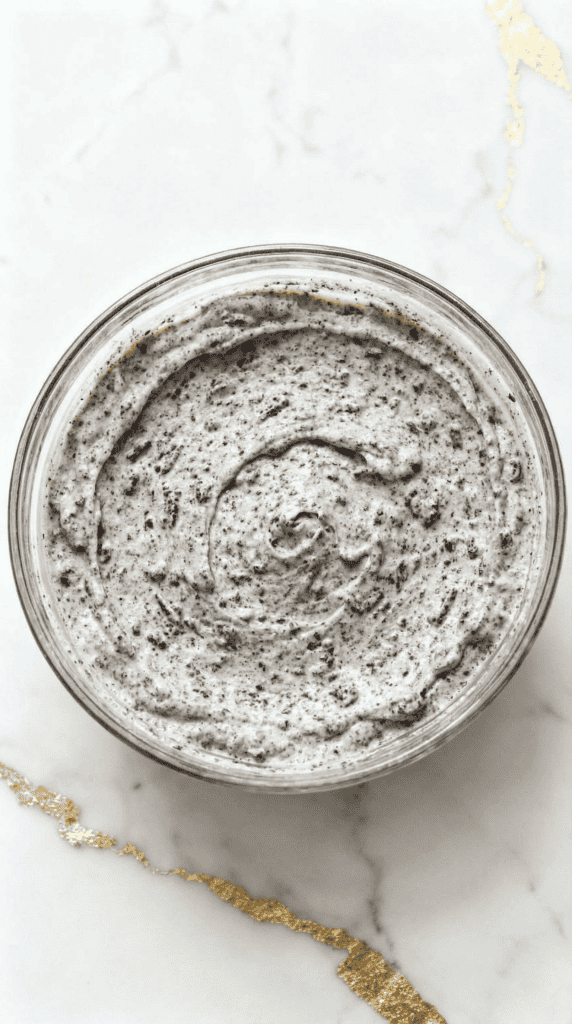
Step 5: Add Crushed Oreos
Ingredients:
- 12 Oreo cookies, crushed
Fold the crushed Oreos into the cheesecake filling. They should be mixed throughout, but don’t over-mix.
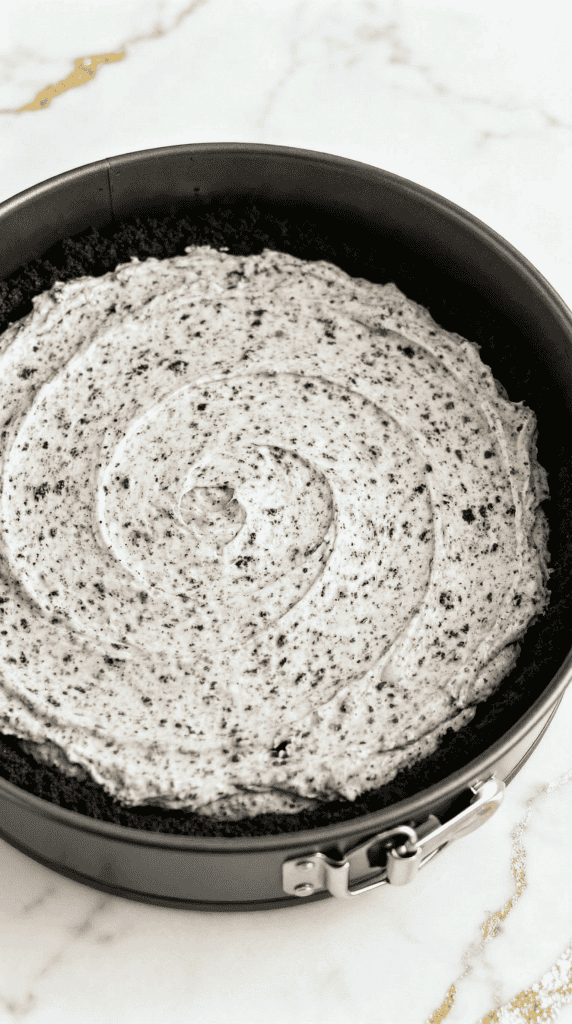
Step 6: Pour and Chill
Ingredients:
- Cheesecake filling from Step 5
- Prepared Oreo crust from Step 1
Spoon the cheesecake filling into the chilled Oreo crust. Smooth out the top with a spatula. Cover and chill in the fridge for at least 6 hours, or overnight.
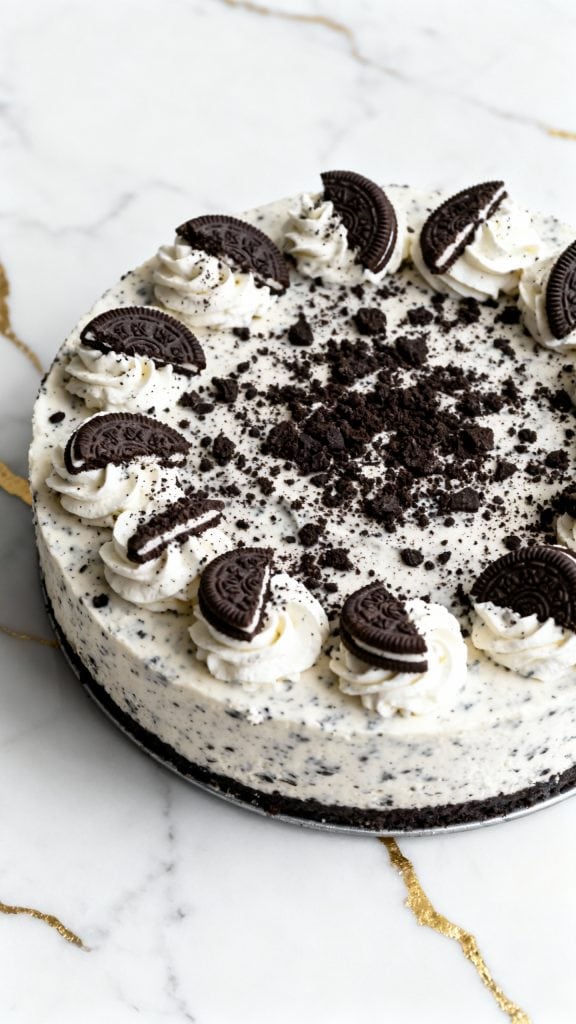
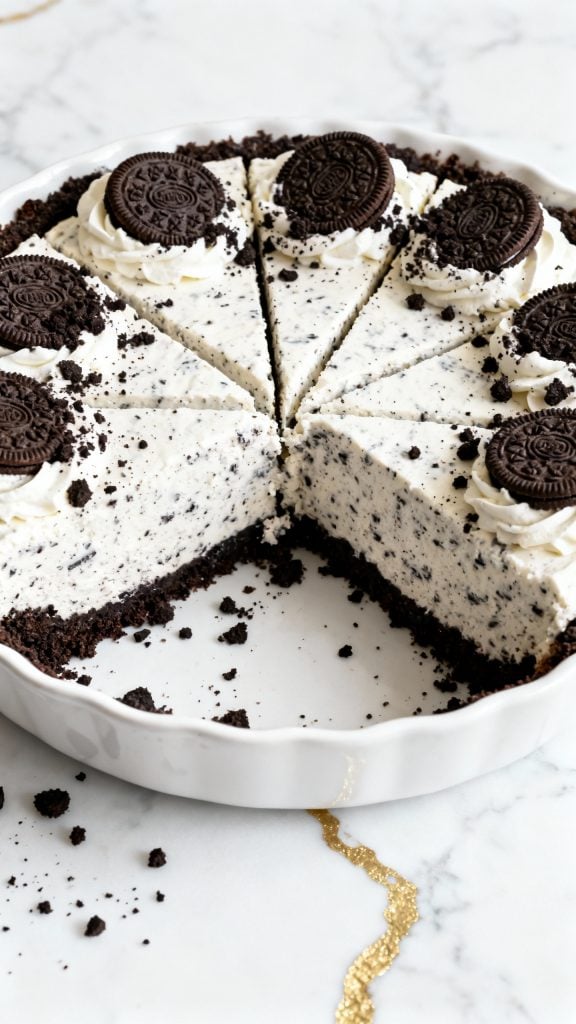
Step 7: Add Toppings (Optional)
Ingredients:
- Extra crushed Oreos
- Whipped cream
Just before serving, decorate the top with whipped cream swirls and extra Oreo crumbs.
Macros (per slice, based on 12 servings)
- Calories: 410
- Protein: 4g
- Carbs: 31g
- Fat: 30g
- Fiber: 1g
- Sugar: 22g
Why This Recipe Works (Quick Science)
Cream cheese sets firm when chilled, and whipped cream adds structure and airiness without needing gelatin or eggs. Oreos already have fat and sugar, which helps the crust hold together with just a bit of melted butter. The result is a firm, sliceable, creamy cheesecake—all without baking.
Common Mistakes
- Using cold cream cheese: It won’t blend smooth. Let it sit out until soft.
- Over-whipping the cream: Turns grainy and ruins texture.
- Not chilling long enough: It won’t set properly. Be patient!
- Pressing crust too loosely: It will crumble when sliced. Press firmly and evenly.
What to Serve With
- Cold glass of milk
- Fresh berries
- Iced coffee or a mocha
- Chocolate drizzle or caramel sauce
- A side of salty snacks like pretzels (the sweet/salty combo hits hard)
FAQ
Can I freeze it?
Yes! Freeze the cheesecake (without toppings) wrapped in plastic, then foil. Thaw in the fridge overnight before serving.
Can I use Cool Whip instead of whipped cream?
You can. Use the same amount, but it’ll be a bit sweeter and softer.
Can I make it in a pie dish?
Yep! Just make sure it’s deep enough. A 9-inch works best.
How long does it last in the fridge?
Up to 5 days, covered.
Leftovers & Storage
Store leftovers covered in the fridge for up to 5 days. If you added whipped cream, it may deflate a bit but it’ll still taste amazing. You can also freeze individual slices—wrap them well and thaw in the fridge overnight.
Final Thoughts
This No-Bake Oreo Cheesecake is one of those recipes you’ll want to keep in your back pocket. It’s easy, impressive, and perfect for any time of year. If you try it, I’d love to hear how it turned out for you. Leave a comment with your thoughts or questions—happy no-baking!