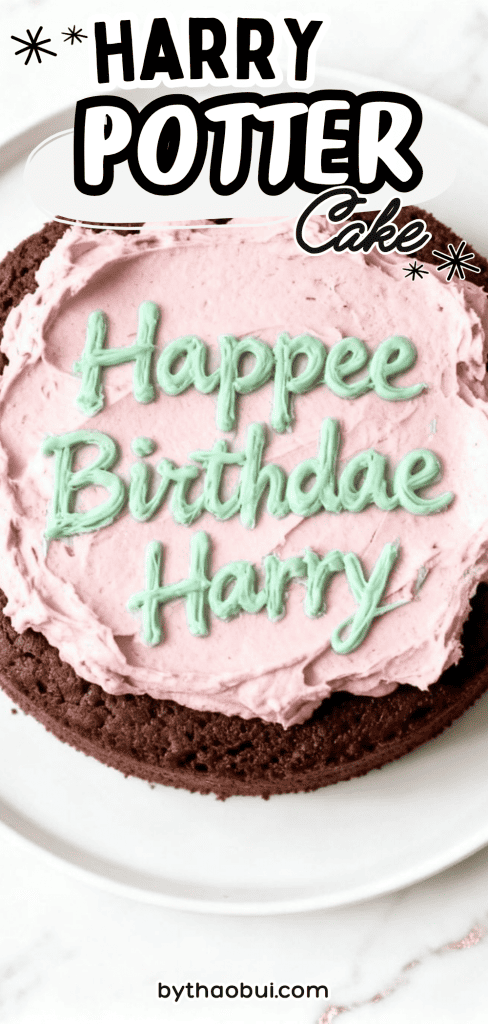
Harry Potter Cake
This Harry Potter Cake feels like a little bit of magic in your kitchen.
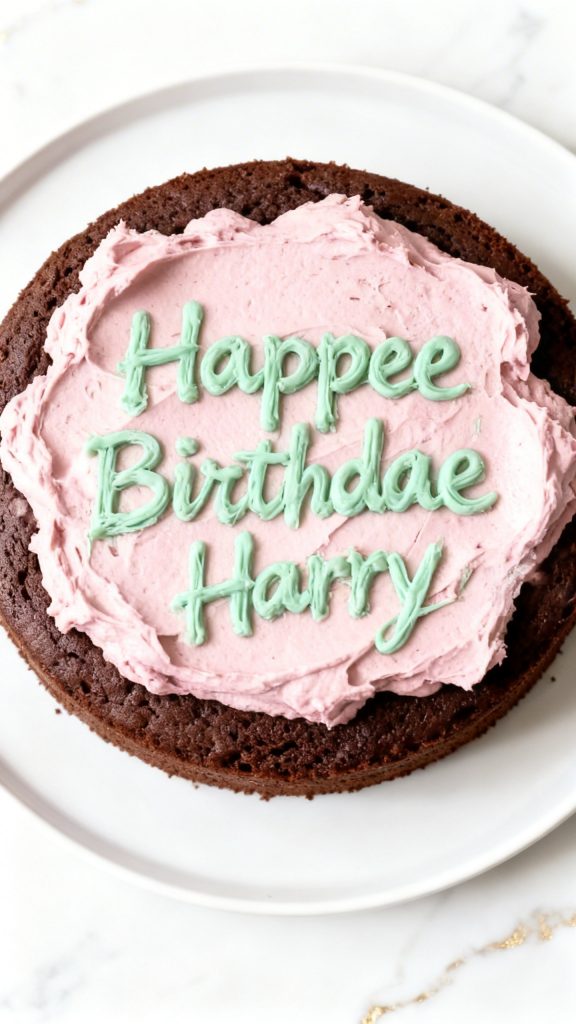
It’s rich, chocolatey, and decorated in that classic “Happee Birthdae Harry” style.
It’s fun, a little messy (on purpose!), and honestly one of the most memorable cakes you can make at home.
Why I Love This Recipe
The first time I made this cake, I leaned into the imperfections—and that’s exactly what makes it special. It’s not about clean lines or perfect piping. It’s about fun, nostalgia, and chocolate cake that tastes amazing.
- It’s simple but feels magical
- You don’t need perfect decorating skills
- The chocolate flavor is rich but not too heavy
- It’s great for themed birthdays or movie nights
- That messy frosting look? Totally intentional
Servings & Time
Servings: 10 slices
Prep Time: 25 minutes
Bake Time: 30 minutes
Total Time: About 1 hour 15 minutes
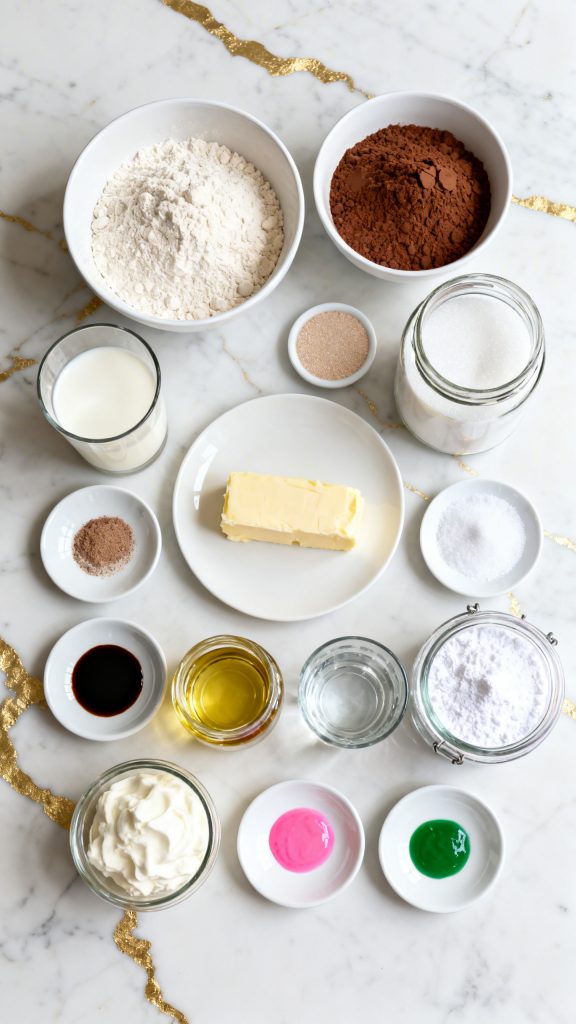
What You’ll Need
- 1 ¾ cups all-purpose flour
- ¾ cup unsweetened cocoa powder
- 2 cups granulated sugar
- 1 ½ teaspoons baking powder
- 1 ½ teaspoons baking soda
- 1 teaspoon salt
- 2 large eggs
- 1 cup whole milk
- ½ cup vegetable oil
- 2 teaspoons vanilla extract
- 1 cup hot water
Frosting:
- 1 cup unsalted butter, softened
- 3 ½ cups powdered sugar
- ¼ cup heavy cream
- 1 teaspoon vanilla extract
- Pink food coloring
- Green food coloring
Tools Required
- 2 round cake pans (8-inch)
- Mixing bowls
- Whisk
- Hand or stand mixer
- Spatula
- Cooling rack
- Cake plate
Substitutions and Variations
- Use gluten-free flour blend if needed
- Swap whole milk for almond or oat milk
- Use store-bought frosting if short on time
- Add chocolate chips for extra richness
Make Ahead Tips
Bake the cake layers a day ahead and wrap them tightly. Frost the next day for best texture.
Instructions
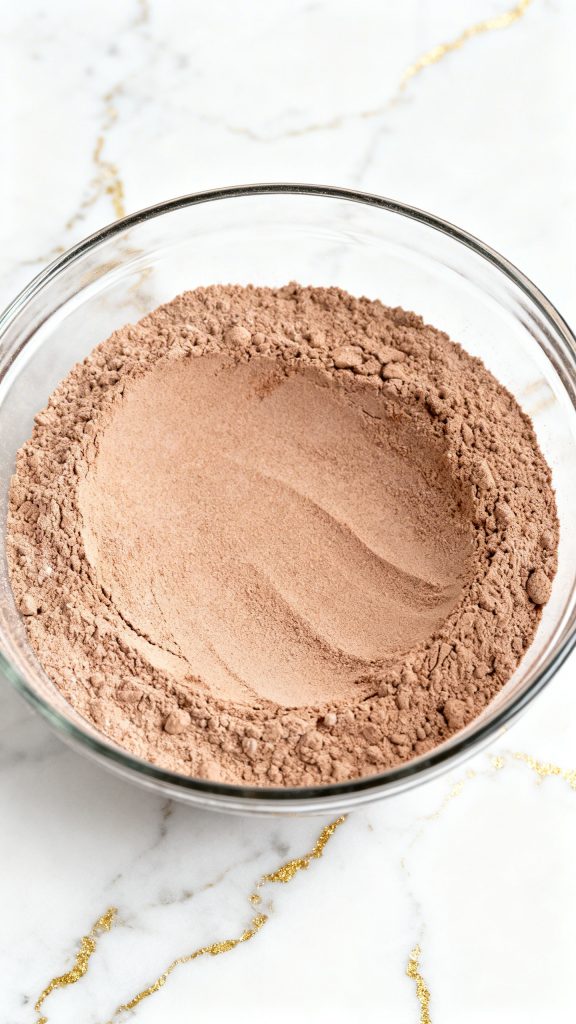
Step 1: Mix Dry Ingredients
In a large bowl, whisk together 1 ¾ cups flour, ¾ cup cocoa powder, 2 cups sugar, 1 ½ teaspoons baking powder, 1 ½ teaspoons baking soda, and 1 teaspoon salt.
Step 2: Add Wet Ingredients
Add 2 eggs, 1 cup milk, ½ cup vegetable oil, and 2 teaspoons vanilla extract. Mix until smooth.
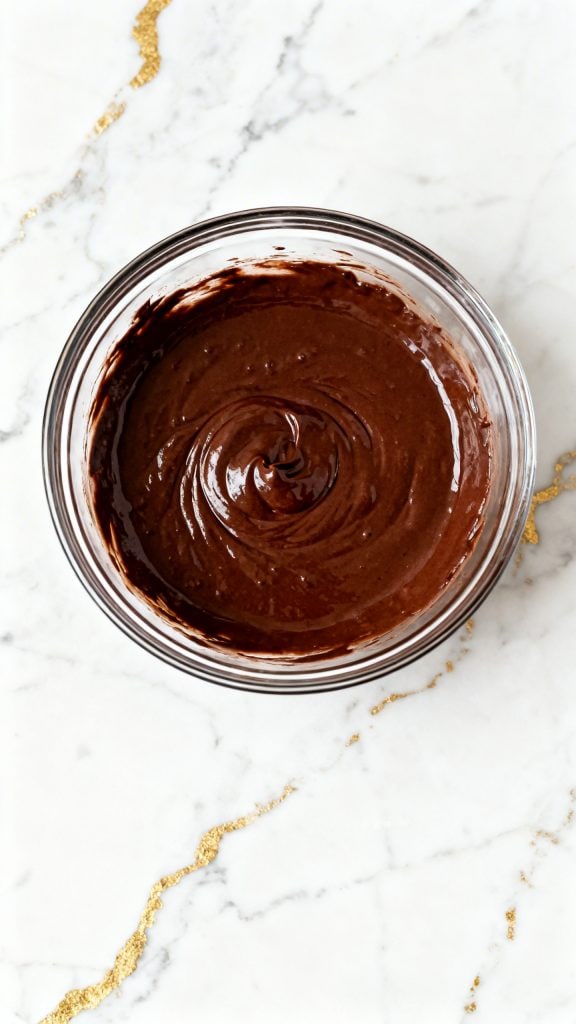
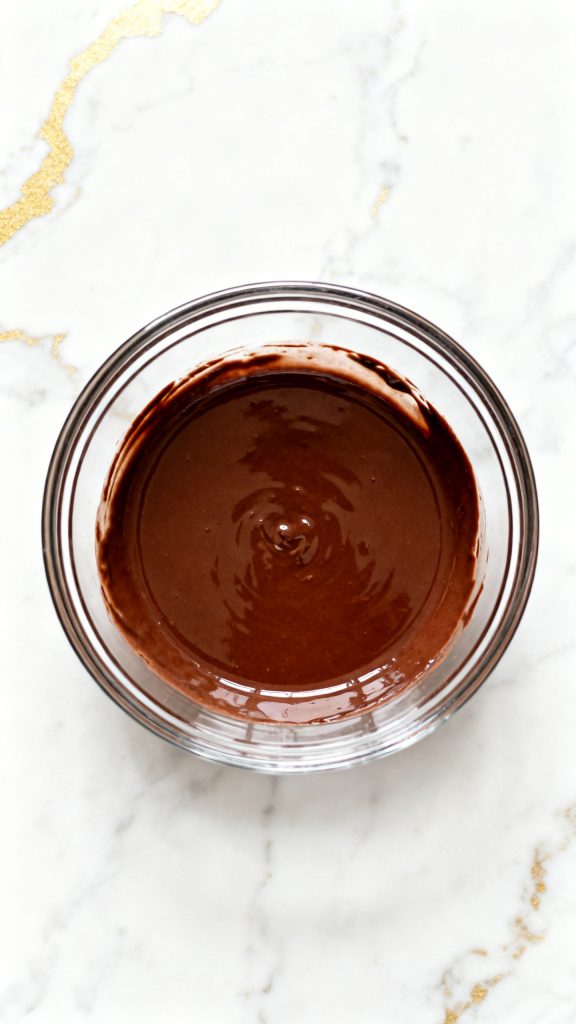
Step 3: Add Hot Water
Slowly pour in 1 cup hot water and mix. The batter will be thin.
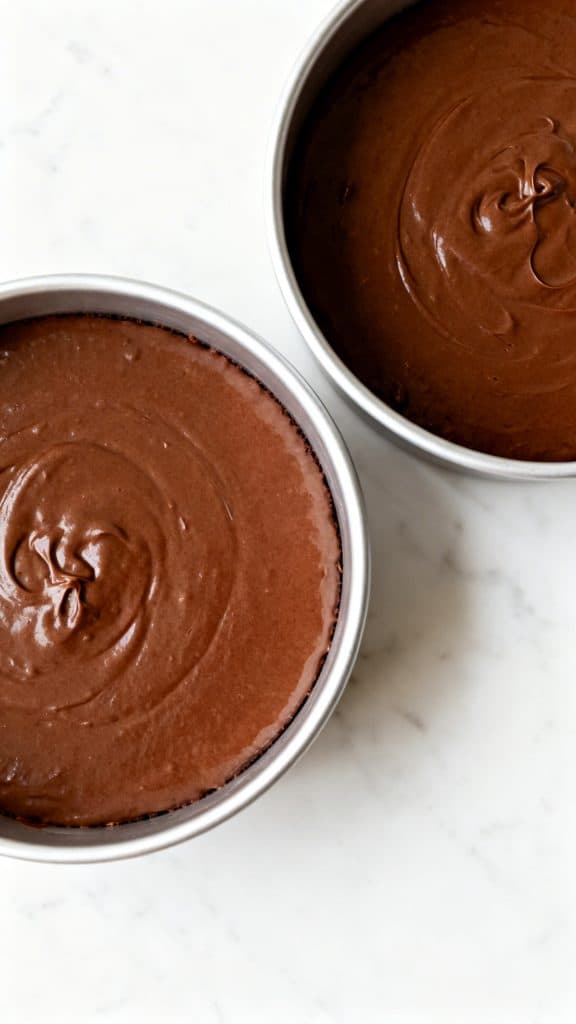
Step 4: Bake the Cake
Pour batter into greased pans and bake at 350°F for 30 minutes.
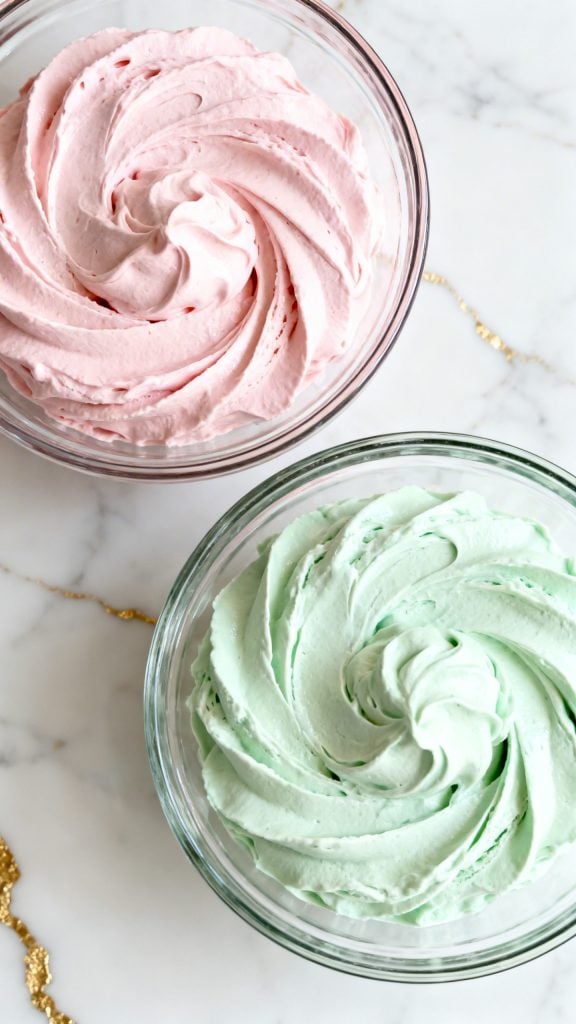
Step 5: Make Frosting
Beat 1 cup softened butter, then add 3 ½ cups powdered sugar, ¼ cup heavy cream, and 1 teaspoon vanilla extract. Divide and tint pink and green.
Step 6: Frost the Cake
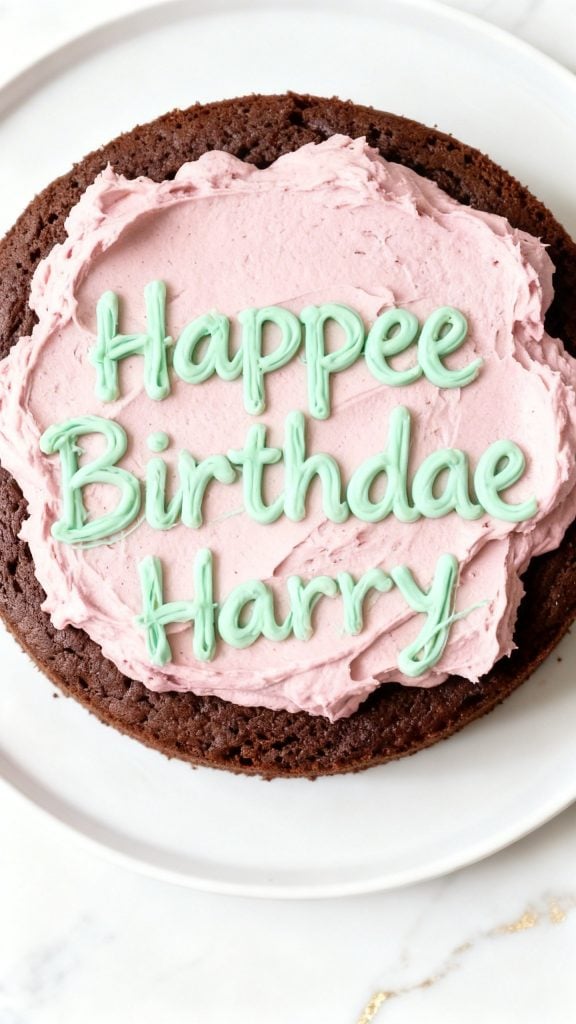
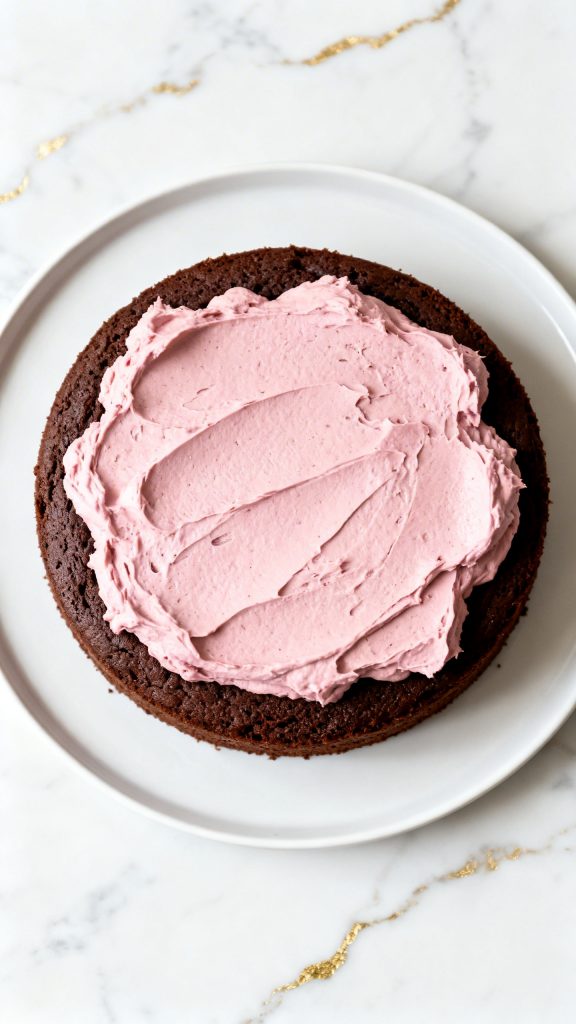
Spread pink frosting over cooled cake layers. Don’t worry about making it perfect.
Step 7: Add Writing
Use green frosting to pipe “Happee Birthdae Harry” in a messy style.
Pro Tips
- Let the cake cool completely before frosting
- Thin batter = super moist cake, don’t worry
- Use a spoon if you don’t have piping bags
- Messy frosting actually looks better for this cake
Why This Recipe Works (Quick Science)
The hot water helps bloom the cocoa powder, making the chocolate flavor deeper. Oil keeps the cake moist longer than butter. Baking soda and powder work together to give a soft, fluffy texture.
Common Mistakes
- Overmixing the batter (can make it dense)
- Frosting a warm cake (it melts)
- Adding too much flour (cake turns dry)
What to Serve With
- Cold milk
- Vanilla ice cream
- Fresh strawberries
- Hot chocolate
Macros Information (Per Slice)
Calories: ~420
Carbs: 58g
Fat: 20g
Protein: 5g
Leftovers and Storage
Store covered at room temp for up to 2 days or refrigerate for up to 5 days. Bring to room temp before serving.
FAQ
Can I make this ahead?
Yes, bake the cake layers a day early.
Do I have to use food coloring?
No, but it gives that classic look.
Can I use a boxed mix?
You can, but this homemade version tastes better.
Final Thoughts
This cake is all about having fun and not stressing over perfection. It’s rich, chocolatey, and full of personality. Give it a try, enjoy the process, and when you’re done, come back and share how it turned out—I’d love to hear your version of this magical cake!