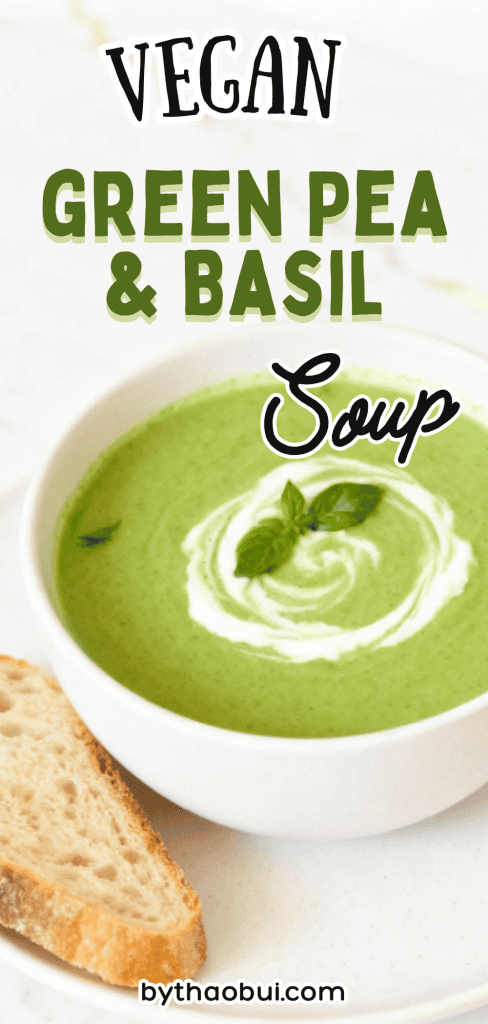
Vegan green Pea & Basil Soup
This soup is bright, fresh, and super easy to make.
It’s the kind of thing that looks fancy but comes together in one pot with almost no effort.
The flavor is herby and a little sweet from the peas, with a smooth texture that feels like a hug in a bowl.
It’s perfect for a light dinner or a cozy lunch.
Why I Love This Recipe
I started making this soup on busy weekdays when I wanted something fast but homemade. Then I realized I loved it even more cold the next day. It’s become a go-to recipe whenever I have frozen peas and a bit of fresh basil hanging around. Plus, everything goes into one pot, so cleanup is easy.
- It uses simple pantry and freezer staples
- You get a big flavor payoff for very little effort
- It tastes amazing hot or cold
- It’s naturally dairy-free if you skip the cream swirl
- It feels light but satisfying
Servings: 4
Cook Time: 25 minutes
Macros (per serving – without cream)
Calories: 185
Protein: 8g
Carbs: 28g
Fat: 5g
Fiber: 9g
Why This Recipe Works (Quick Science)
Frozen peas are blanched before freezing, which means they’re partly cooked already—so they blend into a smooth soup in minutes. Basil adds fresh top-notes because of its natural oils, and onion adds depth. Blending while hot helps create a silky texture because of the natural starches in the peas.
Common Mistakes
- Overcooking the peas: They lose their bright color and fresh flavor. Cook just until heated through.
- Not blending enough: The smoother, the better. Use a high-speed blender or immersion blender thoroughly.
- Using too much broth: It can make the soup too thin. Stick to the measurements.
- Adding basil too early: It can turn dark and bitter if cooked too long. Add it right before blending.
What to Serve With
- Crusty sourdough or garlic bread
- A grilled cheese sandwich
- Roasted chickpeas for topping
- Side salad with lemon vinaigrette
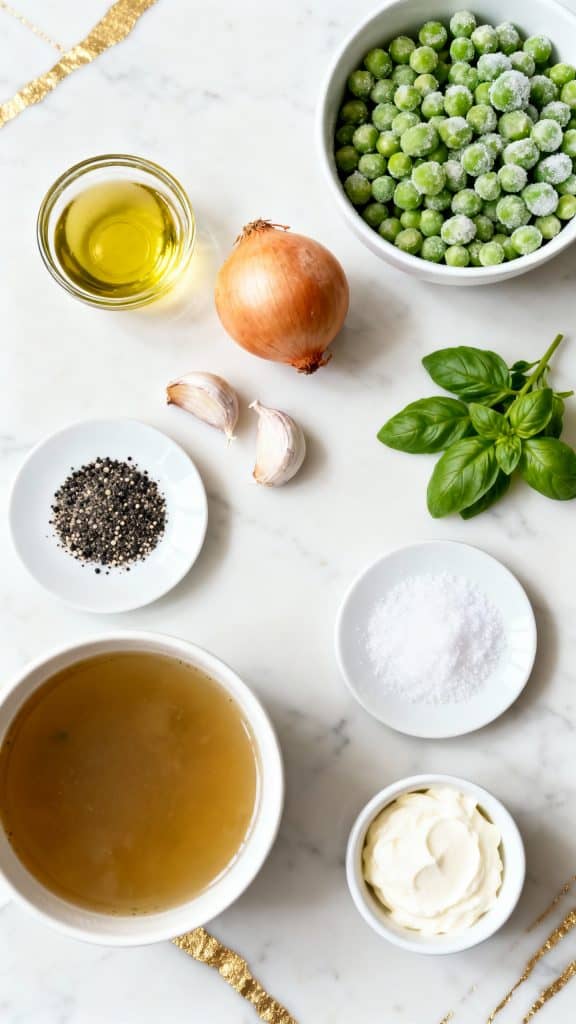
What You’ll Need
- 2 tablespoons olive oil
- 1 medium onion, diced
- 2 cloves garlic, minced
- 4 cups frozen green peas
- 3 cups vegetable broth
- ½ teaspoon salt
- ¼ teaspoon black pepper
- 1 cup fresh basil leaves, packed
- Optional: splash of cream or coconut milk for topping
Tools Needed
- Large soup pot
- Cutting board + knife
- Measuring cups and spoons
- Immersion blender or countertop blender
- Ladle
- Serving bowls
Substitutions and Variations
- Swap basil with fresh mint or cilantro
- Add a squeeze of lemon juice for brightness
- Use chicken broth instead of veggie broth if you prefer
- Add a handful of baby spinach for extra greens
- Top with crispy pancetta or parmesan for a savory twist
Make Ahead Tips
You can make the soup 2–3 days in advance. Store in a sealed container in the fridge. The flavor actually deepens overnight. Wait to add any cream topping until serving.
How to Make Green Pea & Basil Soup
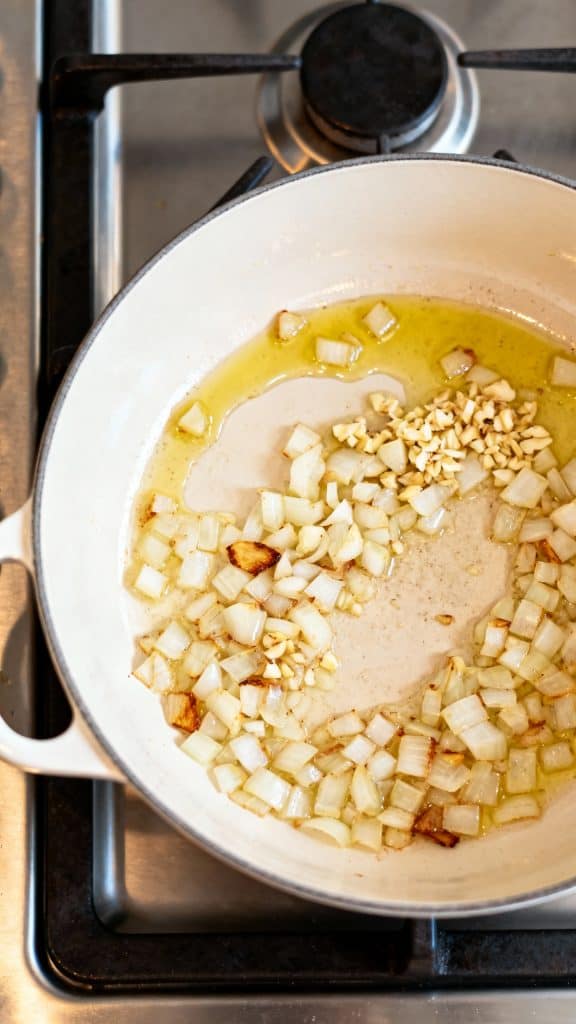
Step 1: Sauté the onion and garlic
Heat 2 tablespoons olive oil in a soup pot over medium heat. Add 1 medium diced onion and 2 minced garlic cloves. Cook for 4–5 minutes, stirring often, until the onion is soft and translucent.
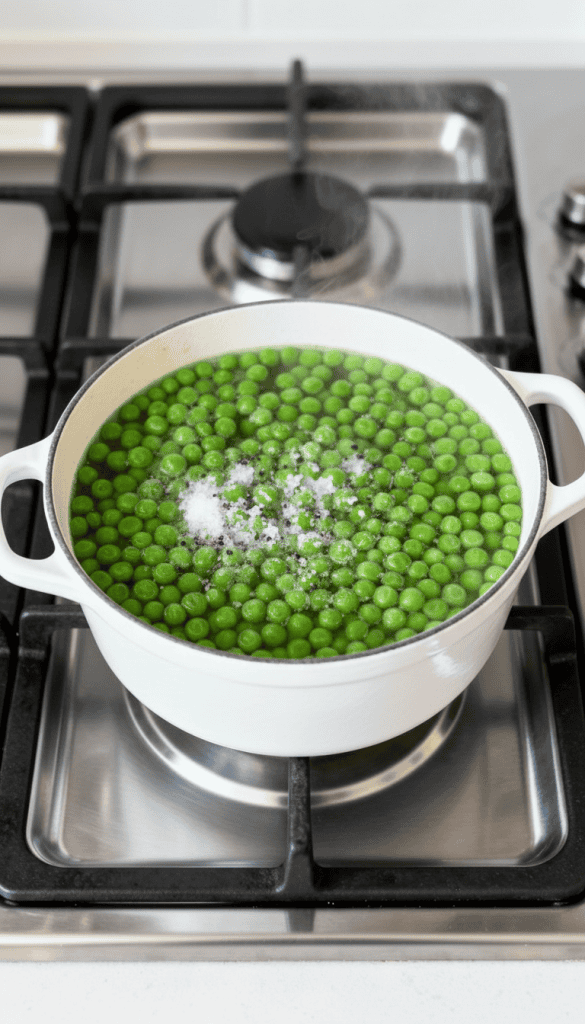
Step 2: Add peas, broth, salt, and pepper
Add 4 cups of frozen green peas, 3 cups of vegetable broth, ½ teaspoon salt, and ¼ teaspoon black pepper to the pot. Stir everything together and bring it to a simmer. Cook for about 5–7 minutes, just until the peas are heated through.
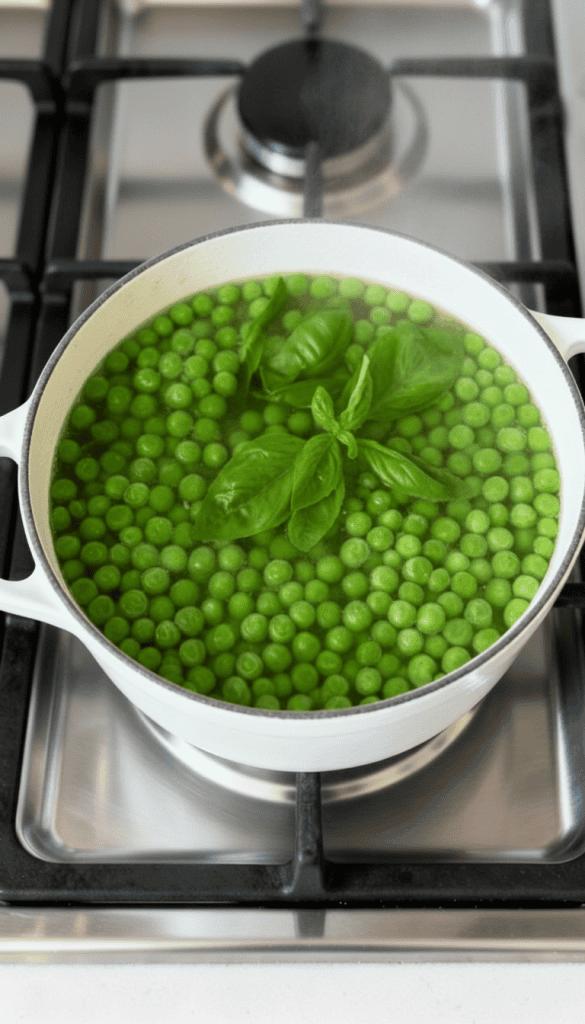
Step 3: Add fresh basil
Turn off the heat and stir in 1 cup of fresh basil leaves. Let them sit in the hot soup for 1 minute to soften without cooking too much.
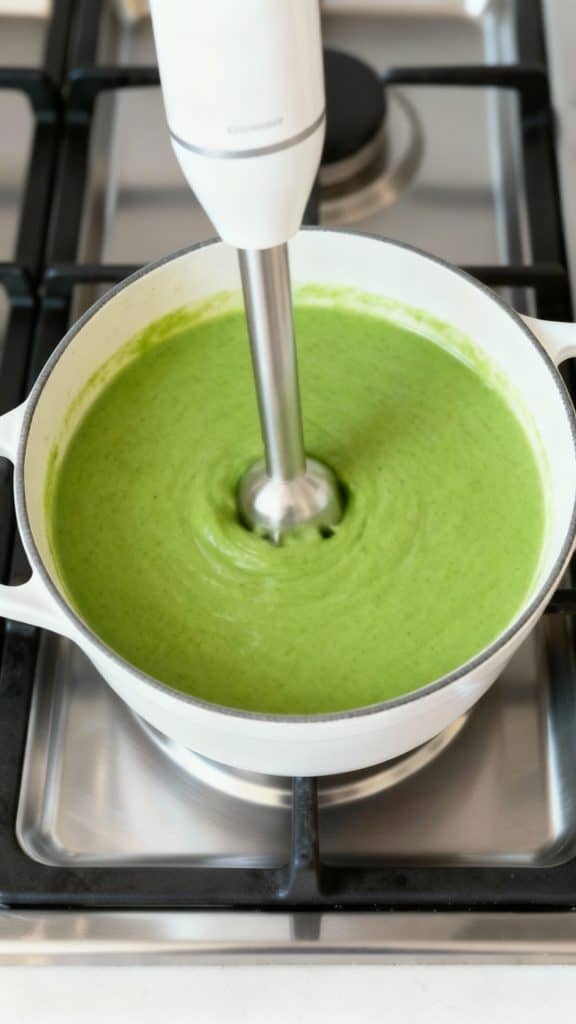
Step 4: Blend until smooth
Use an immersion blender to blend the soup directly in the pot, or transfer in batches to a countertop blender. Blend until completely smooth and creamy. Taste and adjust seasoning if needed.
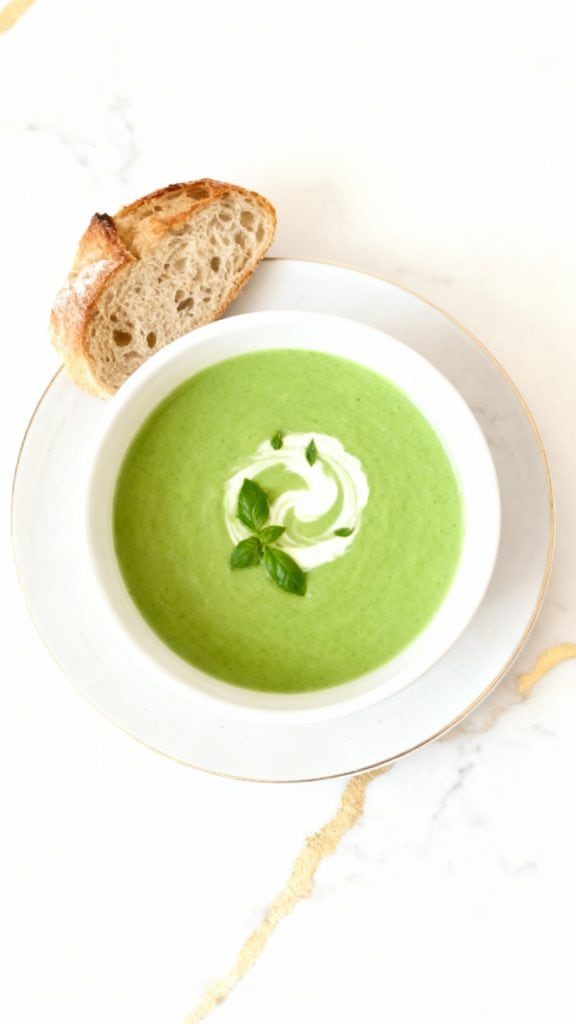
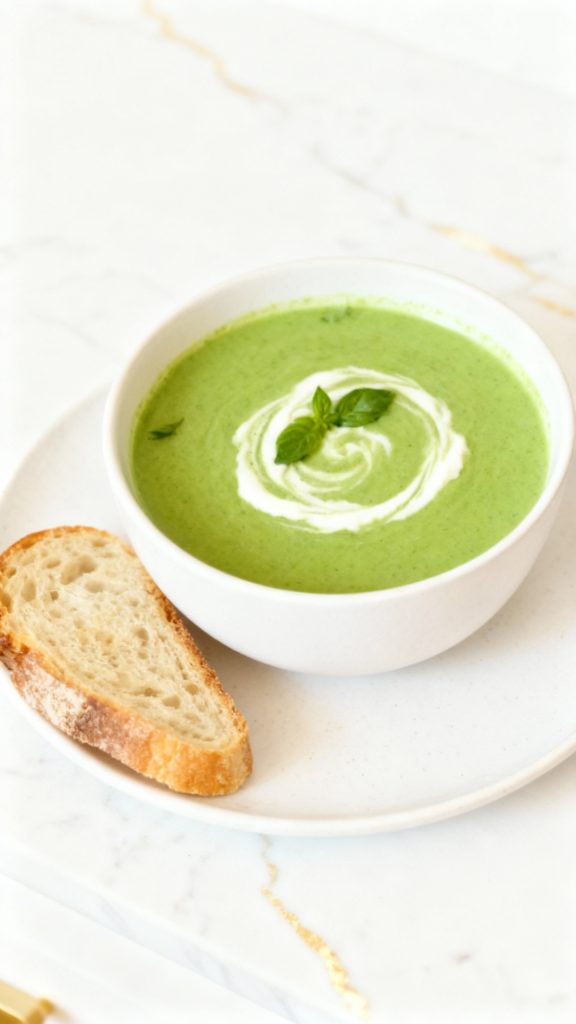
Step 5: Serve and top
Ladle the soup into bowls. If you’d like, add a swirl of cream or coconut milk and a few fresh basil leaves on top. Serve warm with crusty bread.
Leftovers and Storage
Store leftovers in an airtight container in the fridge for up to 3 days. Reheat gently on the stove or in the microwave. This soup also freezes well—just cool it completely first and freeze in individual portions.
FAQ
Can I use fresh peas instead of frozen?
Yes, but you’ll need to cook them a bit longer until soft.
Is this soup vegan?
Yes, as long as you skip any dairy toppings like cream.
Can I make it spicy?
Add a pinch of red pepper flakes when sautéing the onion if you want a little kick.
How do I keep the soup green?
Don’t overcook the peas or basil, and blend right away.
Final Thoughts
This Green Pea & Basil Soup is fresh, fast, and so easy to love. It’s the kind of meal you can throw together on a busy night and still feel like you’ve made something special. I hope you enjoy it as much as I do. If you try it, leave a comment and let me know how it went—I’d love to hear your spin on it!