
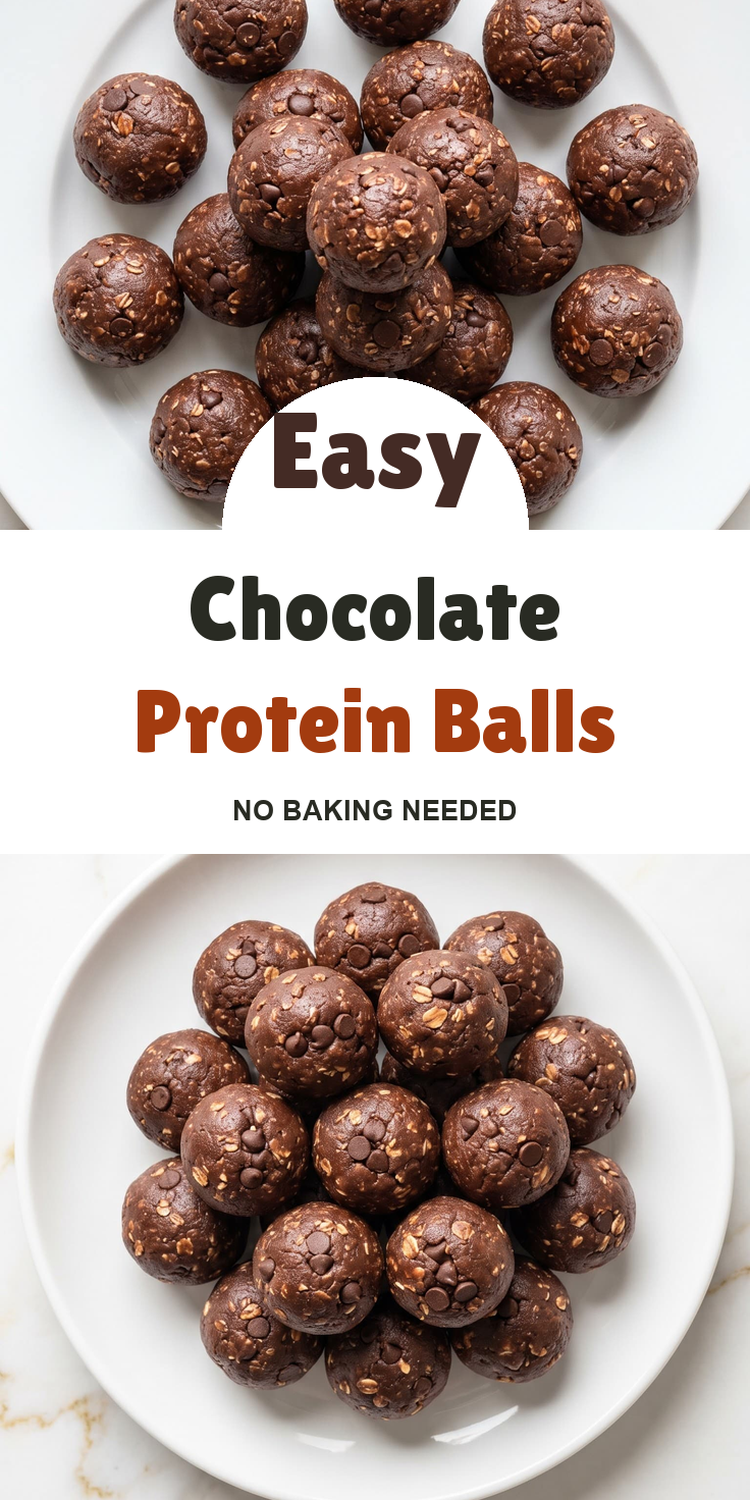
Easy Chocolate Protein Balls
These Easy Chocolate Protein Balls are soft, chocolatey, and super simple to make.
There is no baking and no fancy equipment.
Mix, roll, chill, and they are ready to grab when you want a quick snack.
Makes: 16 protein balls
Prep time: 15 minutes
Chill time: 30 minutes
Cook time: 0 minutes
Total time: 45 minutes
Why I Love This Recipe
I started making protein balls because I wanted a snack that was easy to keep in the fridge and did not need baking. This chocolate version quickly became one of my favorites. It tastes a little like brownie batter, but it is much easier to make.
I also love that the texture is easy to fix. If the mixture feels dry, a tiny splash of milk helps. If it feels sticky, a few more oats will firm it up.
- No oven needed.
- They take about 15 minutes of hands-on work.
- Peanut butter gives them a rich, creamy texture.
- Cocoa powder adds plenty of chocolate flavor.
- Oats make each ball more filling.
- They are easy to make ahead for busy days.
- You only need one bowl and a few basic tools.
What You’ll Need
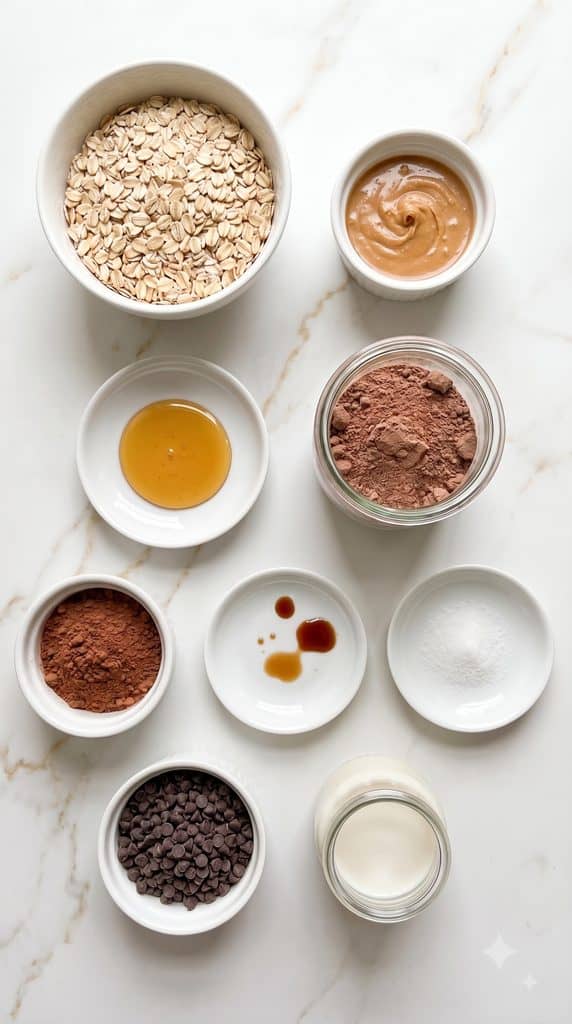
- 1 cup old-fashioned rolled oats
- 1/2 cup creamy peanut butter
- 1/3 cup honey
- 1/2 cup chocolate protein powder
- 2 tablespoons unsweetened cocoa powder
- 1 teaspoon vanilla extract
- 1/4 teaspoon fine salt
- 2 tablespoons mini chocolate chips
- 1 to 2 tablespoons milk, only if needed
Instructions
Step 1: Mix the Dry Ingredients
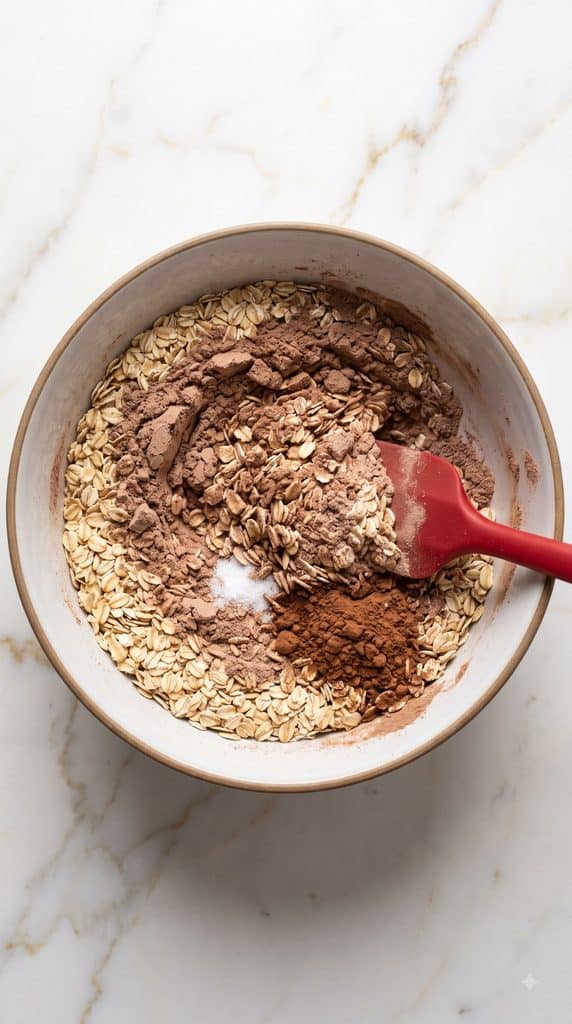
Add 1 cup old-fashioned rolled oats, 1/2 cup chocolate protein powder, 2 tablespoons unsweetened cocoa powder, and 1/4 teaspoon fine salt to a large mixing bowl. Stir well so the cocoa and protein powder are spread evenly through the oats. Breaking up the cocoa lumps now makes the finished balls smoother.
Step 2: Add the Wet Ingredients
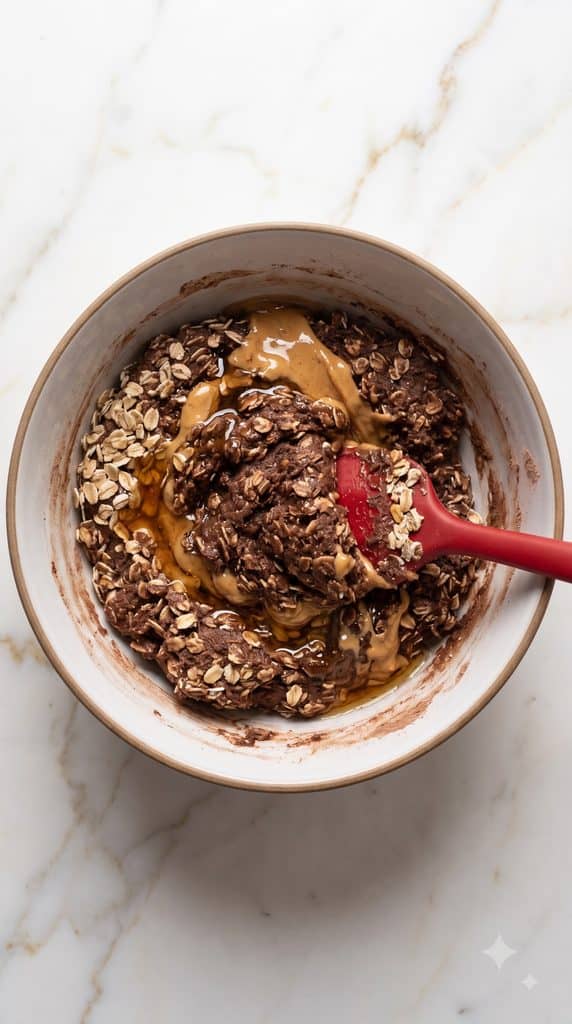
Add 1/2 cup creamy peanut butter, 1/3 cup honey, and 1 teaspoon vanilla extract to the dry mixture. Stir firmly until everything comes together into a thick, chocolatey dough. Scrape the bottom and sides of the bowl as you mix.
Step 3: Add the Chocolate Chips
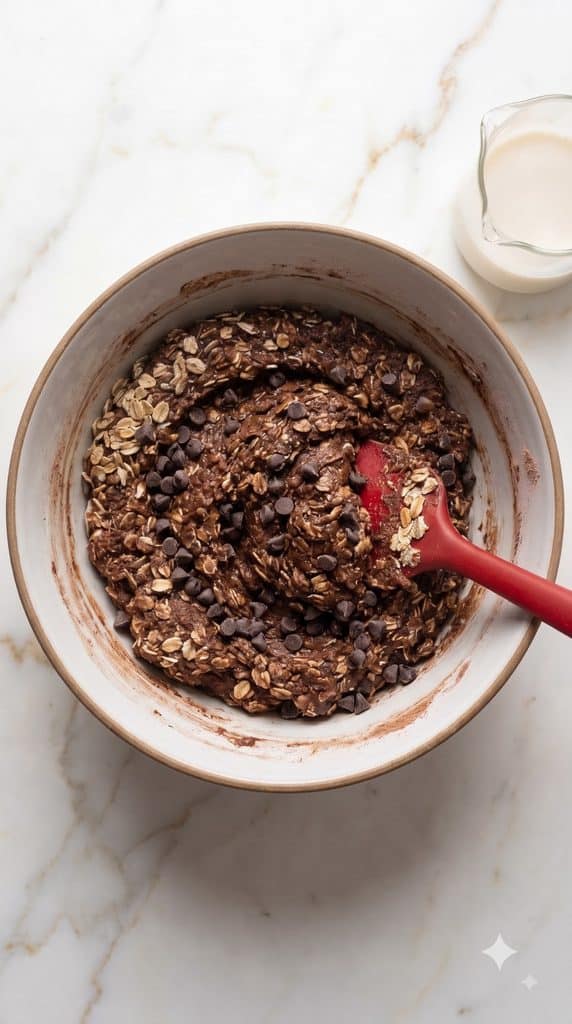
Fold 2 tablespoons mini chocolate chips into the dough. The mixture should be thick but soft enough to roll.
If it is too dry or crumbly, stir in 1 tablespoon milk. Add the second 1 tablespoon milk only if it still will not hold together. Different protein powders soak up different amounts of liquid, so you may not need any milk.
Step 4: Roll Into Balls
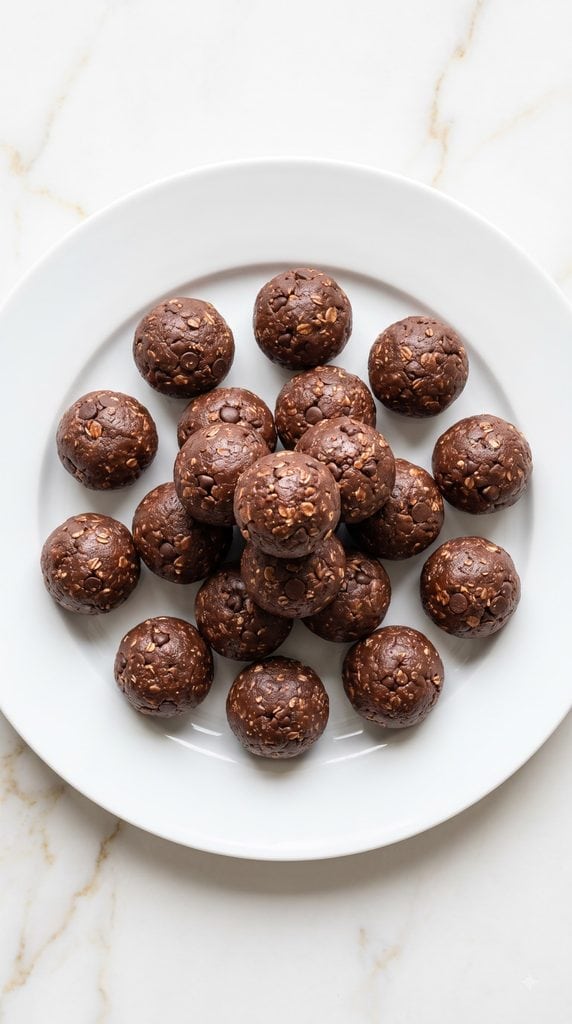
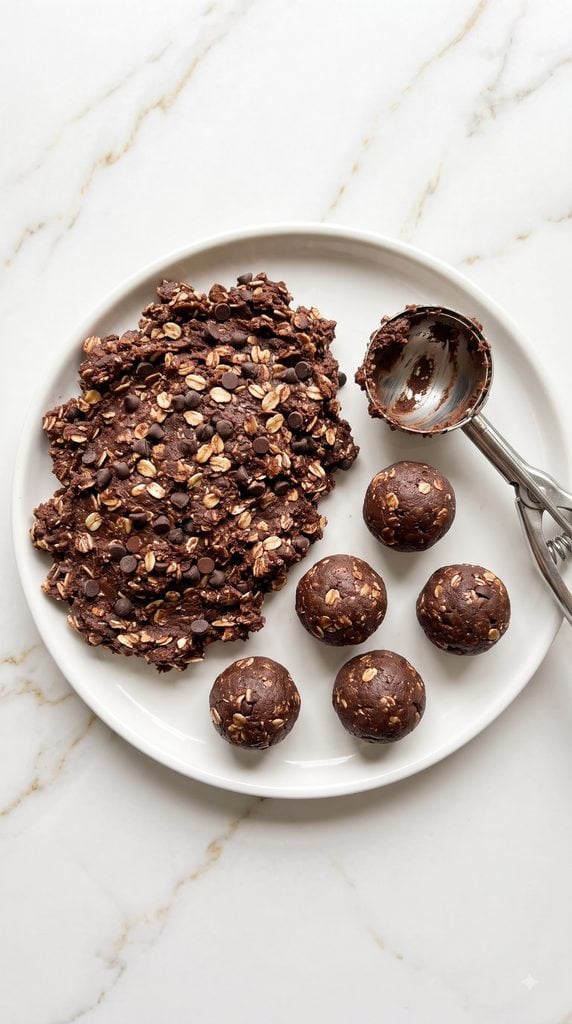
Use a tablespoon cookie scoop to divide the dough into 16 equal portions, about 1 heaping tablespoon each. Roll each portion gently between your palms until round. Place the finished balls on a round plate.
Step 5: Chill and Serve
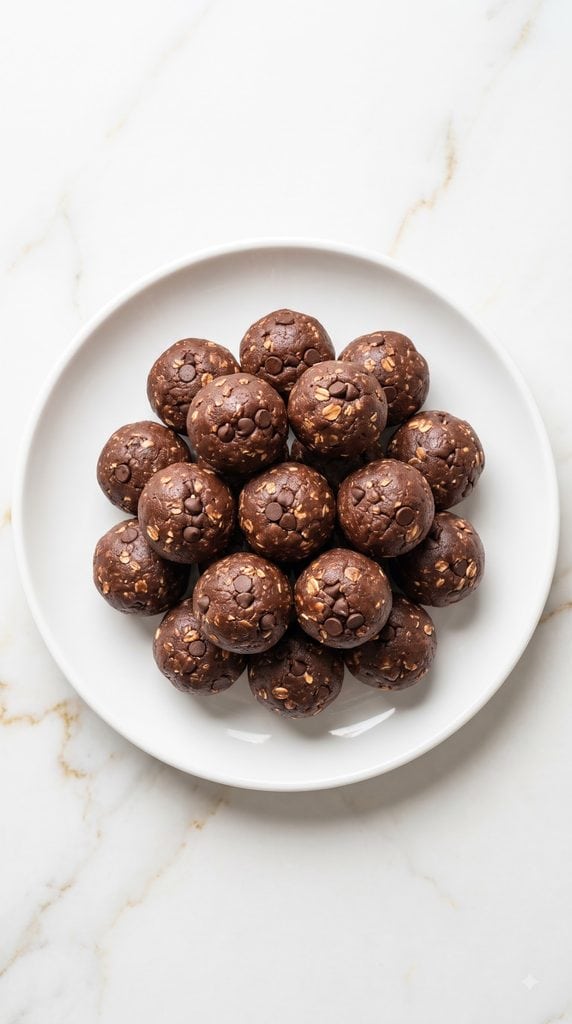
Arrange all 16 chocolate protein balls on the round plate. Refrigerate for 30 minutes. This helps the oats soften and gives the balls a firmer, fudgier texture. Serve cold or let them sit at room temperature for about 5 minutes first.
Why This Recipe Works (Quick Science)
Peanut butter and honey act like glue. They help the oats and protein powder stick together without baking.
The oats slowly soak up some moisture as the balls chill. That makes them softer while helping the balls stay firm. Protein powder also absorbs moisture, but brands can act very differently. That is why the milk is optional.
Chilling is important, too. The peanut butter becomes firmer in the fridge, giving each ball a more solid, fudgy bite.
Pro Tips
- Mix before adding milk. The dough may look dry at first but become softer as you keep stirring.
- Add milk slowly. One tablespoon can make a big difference.
- Use creamy peanut butter. Very runny natural peanut butter can make the balls softer.
- Use a cookie scoop. It makes it much easier to get 16 similar-size balls.
- Chill before eating. The texture gets noticeably better after about 30 minutes.
Tools You’ll Need
- Large mixing bowl
- Measuring cups
- Measuring spoons
- Silicone spatula or sturdy spoon
- Tablespoon cookie scoop or tablespoon
- Round plate
- Airtight storage container
Substitutions and Variations
- Peanut butter: Try almond butter or cashew butter. The texture may change slightly.
- Honey: Maple syrup can work, but the dough may be softer. Start with a little less.
- Chocolate protein powder: Vanilla protein powder works for a milder chocolate flavor.
- Mini chocolate chips: Leave them out or replace them with finely chopped dark chocolate.
- Rolled oats: Quick oats can work, but they make the balls softer and less chewy.
- Extra chocolate: Roll the finished balls in a light coating of cocoa powder.
Make-Ahead Tips
These are great for making ahead. Prepare and roll the full batch, then refrigerate them in a sealed container. You can also freeze them, so making a double batch is easy.
Macros Information
Approximate nutrition per protein ball, based on 16 balls:
- Calories: 130
- Protein: 6 g
- Carbohydrates: 15 g
- Fat: 6 g
- Fiber: 2 g
- Sugar: 8 g
Macros are estimates. Your numbers will change based on the protein powder, peanut butter, milk, and chocolate chips you use.
Common Mistakes
- Adding too much milk: Add it only after the dough is fully mixed, and add just 1 tablespoon at a time.
- Not mixing enough: Thick dough takes a little effort. Keep stirring until there are no dry pockets.
- Skipping the chill time: Freshly rolled balls are softer. Chilling helps them hold their shape.
- Making them too large: Bigger balls change both the serving size and nutrition per ball.
- Using very runny peanut butter: This can make the mixture sticky and harder to roll.
What to Serve With
These protein balls work well with:
- Fresh strawberries or banana slices
- Greek yogurt
- A cold glass of milk
- Hot coffee
- A fruit smoothie
- Apple slices
- A simple fruit bowl
Leftovers and Storage
Keep the protein balls in an airtight container in the refrigerator for up to 1 week.
For longer storage, freeze them in a freezer-safe container for up to 3 months. Put parchment paper between layers if you stack them.
You can eat them slightly frozen for a firmer bite or let them thaw in the refrigerator before serving.
FAQ
Q: Do I need to bake chocolate protein balls?
A: No. This is a no-bake recipe. Mixing and chilling are all you need.
Q: Why are my protein balls falling apart?
A: Your protein powder may have absorbed more moisture. Mix in 1 tablespoon of milk and check the dough again before adding more.
Q: Why is my mixture too sticky?
A: The peanut butter may be especially runny. Add 1 tablespoon of rolled oats at a time until the dough is easier to handle, then chill it.
Q: Can I make these without protein powder?
A: Not as a direct swap. Protein powder is part of the dry ingredient balance, so removing it would require changing the other amounts.
Q: Can I freeze them?
A: Yes. Store them in a freezer-safe container for up to 3 months.
Q: Can I use crunchy peanut butter?
A: Yes. It will give the protein balls little pieces of peanut and a crunchier texture.
Final Thoughts
Easy Chocolate Protein Balls are one of those recipes worth keeping around. They are chocolatey, filling, and simple enough to make whenever you have a few spare minutes.
Make a batch, give them time to chill, and keep a few ready in the fridge for an easy snack. If you try them, leave a comment and share how your batch turned out or any questions you had along the way.
