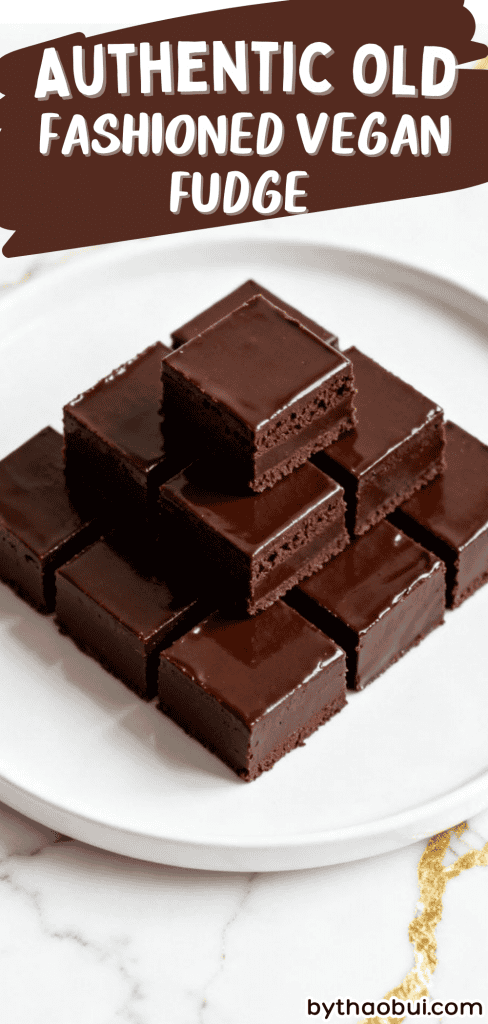
Authentic Old Fashioned Vegan Fudge
There’s something really special about old-fashioned fudge—the kind that’s rich, creamy, and melts slowly on your tongue.
This vegan version keeps all that classic flavor but skips the dairy, and honestly, you won’t miss it one bit.
It’s simple, cozy, and perfect when you want a sweet treat that feels homemade in the best way.
Servings: 16 squares
Total Time: 20 minutes + 2 hours chill time
Why I Love This Recipe
This recipe reminds me of the kind of fudge people used to make on stovetops, stirring carefully and waiting for that perfect texture. The first time I made it vegan, I wasn’t sure it would hit the same—but it absolutely did.
What makes it special:
- It has that classic dense, creamy bite—no grainy texture
- You only need a few simple ingredients
- No fancy equipment or candy thermometer needed
- It sets beautifully every time if you follow the steps
- It tastes like real old-school fudge, just plant-based
What You’ll Need
- 2 cups dairy-free chocolate chips
- 1 cup full-fat coconut milk
- 1/2 cup organic cane sugar
- 2 tablespoons coconut oil
- 1 teaspoon vanilla extract
- 1/4 teaspoon salt

Tools You’ll Need
- Medium saucepan
- Wooden spoon or silicone spatula
- 8×8 baking dish
- Parchment paper
- Measuring cups and spoons
Instructions
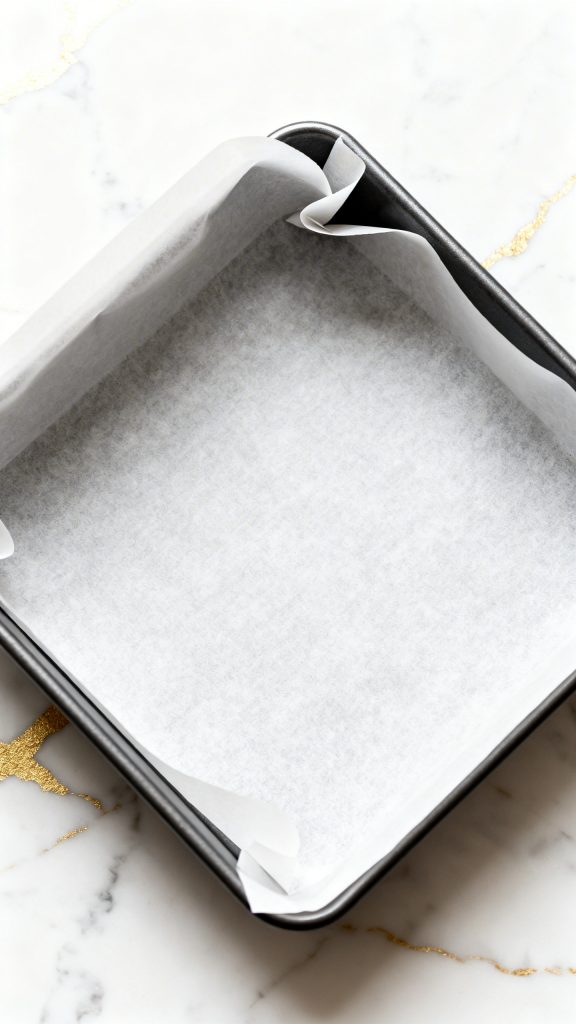
Step 1: Prep the Pan
Line an 8×8 baking dish with parchment paper, letting some hang over the edges for easy removal.
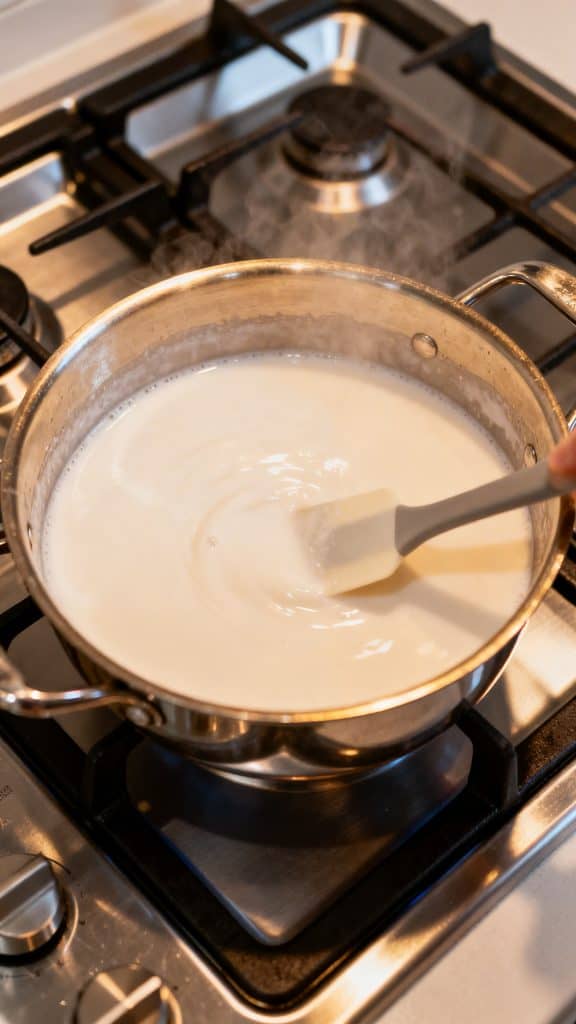
Step 2: Heat Coconut Milk and Sugar
Add 1 cup coconut milk and 1/2 cup sugar to a saucepan. Heat over medium, stirring until sugar fully dissolves and mixture is smooth.
Step 3: Add Chocolate and Melt
Add 2 cups chocolate chips and 2 tablespoons coconut oil into the hot mixture. Stir slowly until fully melted and glossy.

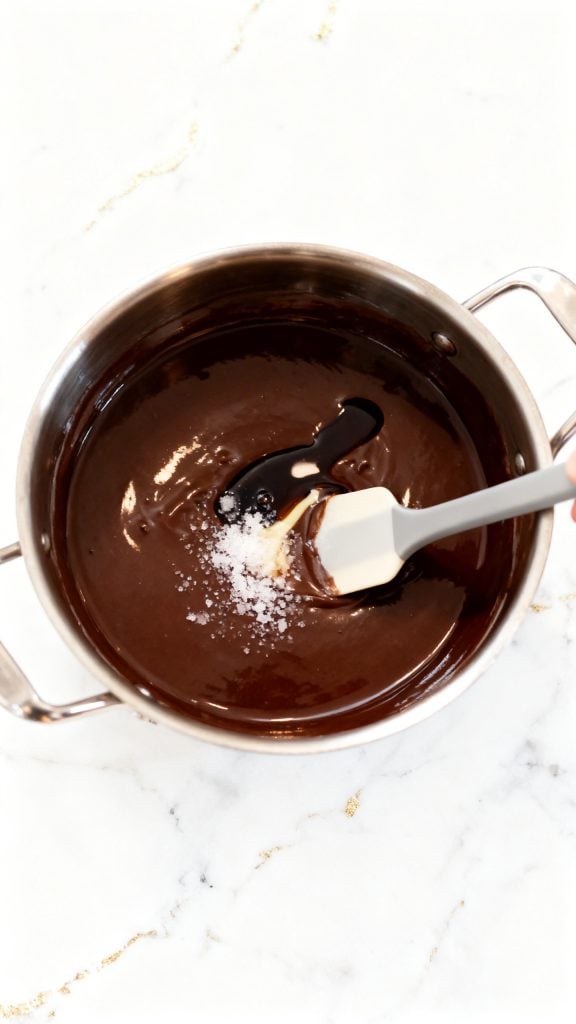
Step 4: Finish with Vanilla and Salt
Remove from heat. Stir in 1 teaspoon vanilla extract and 1/4 teaspoon salt until fully combined.
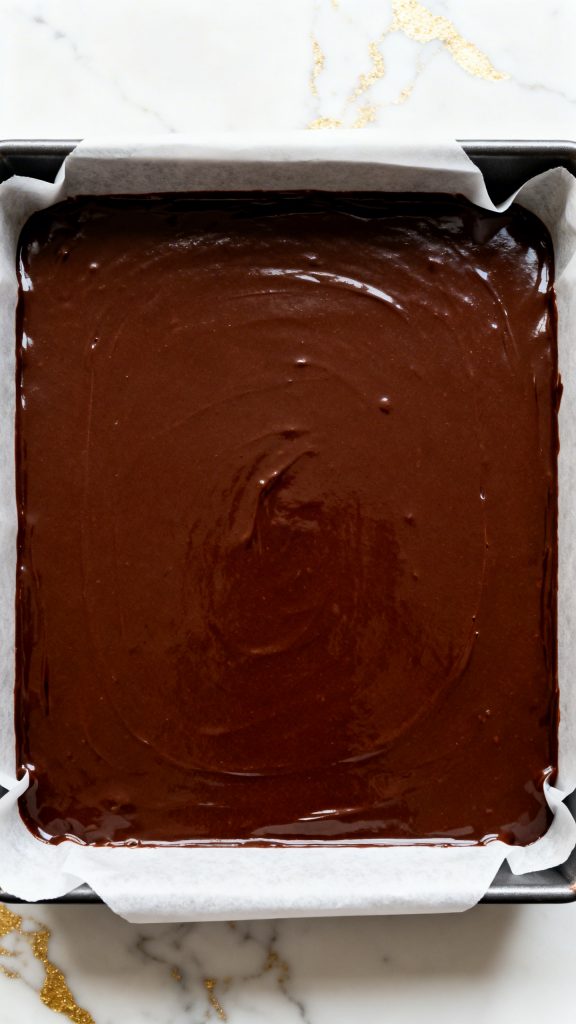
Step 5: Pour and Smooth
Pour the mixture into the prepared pan. Smooth the top evenly with a spatula.
Step 6: Chill and Set
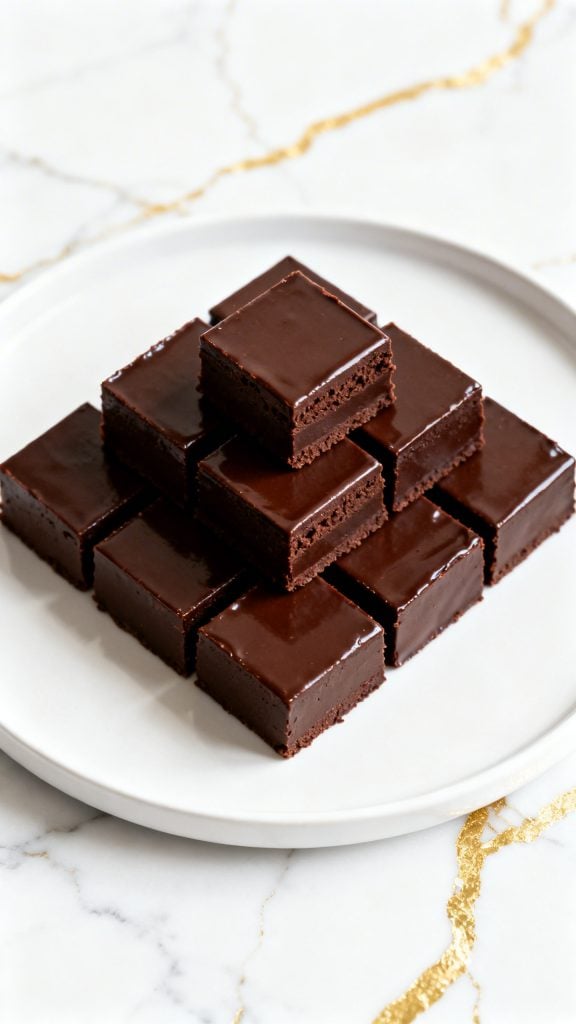
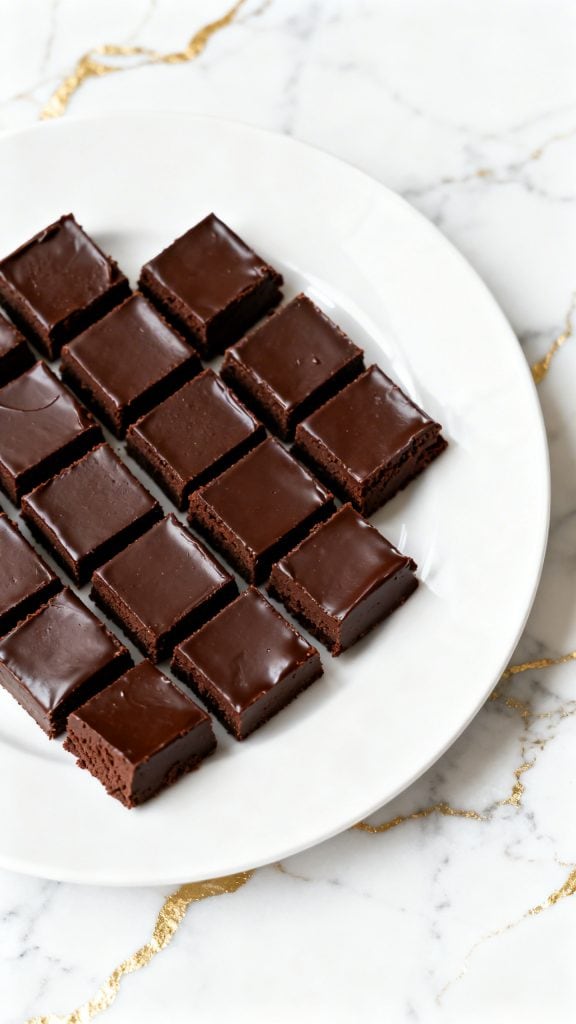
Place in the fridge for at least 2 hours until firm. Slice into 16 squares.
Pro Tips
- Use full-fat coconut milk only—light versions won’t set properly
- Stir slowly when melting chocolate to avoid splitting
- Let it cool slightly before pouring to prevent oil separation
- Chill fully before cutting for clean edges
- Wipe your knife between cuts for perfect squares
Substitutions and Variations
- Swap coconut oil with vegan butter
- Add chopped nuts or dried fruit before chilling
- Use dark or semi-sweet chocolate depending on sweetness level
- Add 1 tablespoon peanut butter for a swirl
Make Ahead Tips
You can make this 2–3 days ahead and keep it chilled until ready to serve. It actually tastes even better the next day.
Why This Recipe Works (Quick Science)
The coconut milk provides fat, which replaces dairy cream and gives fudge its richness. Chocolate chips contain cocoa butter, which firms up when chilled, creating that classic solid texture. Sugar dissolves into the liquid, helping create a smooth consistency instead of grainy fudge.
Common Mistakes
- Overheating the chocolate (it can seize or become oily)
- Not dissolving sugar fully
- Using low-fat coconut milk
- Skipping chill time
- Pouring mixture while too hot (can affect texture)
What to Serve With
- Fresh berries
- Hot coffee or espresso
- Dairy-free vanilla ice cream
- Crushed over oatmeal or pancakes
Macros Information (Per Square)
- Calories: ~140
- Fat: 9g
- Carbs: 14g
- Sugar: 11g
- Protein: 1g
FAQ
Can I freeze vegan fudge?
Yes, freeze in an airtight container for up to 2 months.
Why is my fudge too soft?
It likely needs more chill time or the coconut milk wasn’t full-fat.
Can I make this sugar-free?
You can try a sugar substitute, but texture may change slightly.
Do I taste coconut?
Very lightly, but the chocolate mostly covers it.
Leftovers and Storage
Store in an airtight container in the fridge for up to 1 week. Keep it chilled so it stays firm. Let sit at room temp for a few minutes before eating for the best texture.
Final Thoughts
This vegan fudge is one of those recipes you’ll keep coming back to. It’s simple, reliable, and gives you that classic treat without any dairy. Once you make it, you’ll see how easy it is to get that old-fashioned flavor at home. Try it out and let me know how it turns out—I’d love to hear what you think or how you made it your own.